45850101TH Rev.1
3-38
Oki Data CONFIDENTIAL
3. MAINTENANCE MENUS
3.5 Setup after part replacement
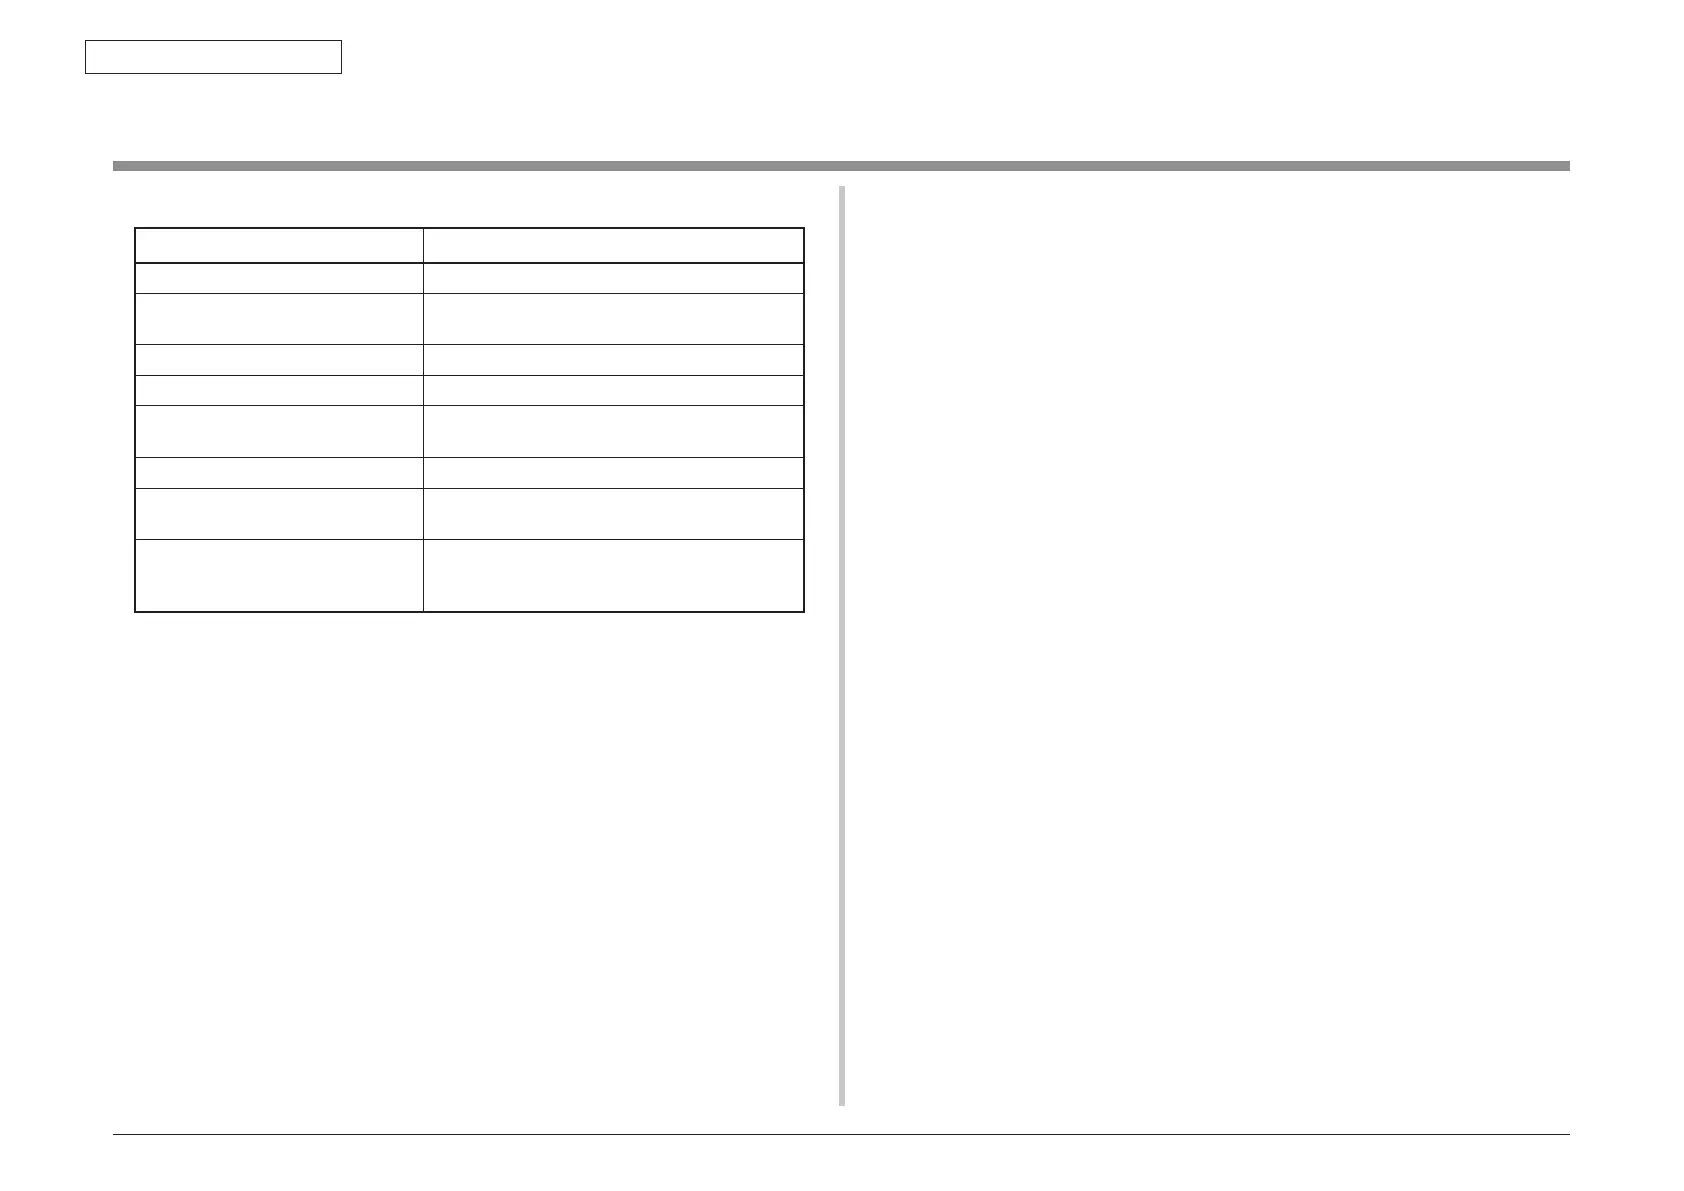
The following describes the adjustments necessary after part replacement:
Replaced part Adjustment
LED head Not necessary.
Drum cartridge (yellow, magenta,
cyan or black)
Not necessary.
Fuser unit Not necessary.
Belt unit Not necessary.
CU/ PU board (6CU) Copying information stored in EEPROM, which
requires utility software.
Scanner board (6SU) After replaced, adjust the clock.
Panel board (TP1) , LCD After replaced, to execute "Admin Menu"-"Panel
Calibration".
HDD After replaced, to need the HDD Format and
install all language files. When install the
language files, to need FW Update.
3.5.1 Notes on CU/ PU board replacement
1. When the EEPROM on a board to be removed can be accessed (when SERVICE
CALL 104 (Engine EEPROM Error), or 40 (EEPROM Error) is not displayed):
(1) Using the board replacement function of Maintenance Utility (Refer to
Maintenance Utility Operating Manual.), take out the information of the
EEPROM on PU and Information of the EEPROM settings on CU from the
board to be removed, and temporarily store it onto an HDD of the computer.
(2) Using the board replacement function of Maintenance Utility (Refer to
Maintenance Utility Operating Manual.), copy the information of the EEPROM
on PU stored in HDD of the computer and the information of EEPROM settings
on CU onto the EEPROM of a board to be newly installed.
(3) Even when either information of EEPROM on PU or information of the
EEPROM settings on CU is taken out, using the board replacement function
of Maintenance Utility (Refer to Maintenance Utility Operating Manual.), copy
either information of EEPROM on PU or information of the EEPROM settings
on CU which can be stored in the HDD of the computer onto EEPROM of a
board to be newly installed.
Information that cannot be taken out is separately set up in the same function.
When the information of EEPROM on PU cannot be taken out, make a setting
of the serial number on PU (Refer to Maintenance Utility Operating Manual.)
and a setting of switching to the Shipping mode (Refer to Maintenance Utility
Operating Manual.) on the setup screen.
When the information of EEPROM settings on CU cannot be taken out, make a
setting of the information about a serial number on CU (Refer to Maintenance
Utility Operating Manual.) on the setup screen.
Note! When taking out or writing information from/into EEPROM by using
Maintenance Utility, use the procedure shown below to place the printer to the
Forced ONLINE mode before accessing the EEPROM. An error message is
displayed even in the forced ONLINE mode when the printer has an error.
i. When turning on the printer, press and hold down the [1] Switch and [>]
Switch in combination until all the function key LEDs are tuned off after
being turned on.
ii. When the printer operates properly, the operator panel shows “Ready to
Copy”(when the copy is the standby mode).However, when the printer has
an error, it indicates an error, but the printer is internally online, being ready
to communicate.
2. When the EEPROM on a board to be removed cannot be accessed:
When SERVICE CALL 104 (Engine EEPROM Error), or 40 (EEPROM Error) is
displayed, or data cannot be read from the EEPROM, after replacing the board to a
new one, follow the following procedure to perform operation by using Maintenance
Utility:
(1) Serial number setting (Refer to Maintenance Utility Operating Manual.)
A SAP serial number is assigned to the printer. The number is placed at the top
of the serial number label of the printer, consisting of total twelve characters --
two characters that indicates a production place, two characters that indicates
a month and year, six characters that indicates a manufacture number
(sequence number) and two characters that indicates revision number.
• For the printer serial number, “PU serial number2 should be selected, and
for the output mode, “Display the serial number only” should be selected.
• The PU serial number is ten characters from the SAP serial number. The
rest two characters are the revision number.
• The PU serial number is set in the Serial number setting window described
in the Maintenance Utility operation manual.

 Loading...