6
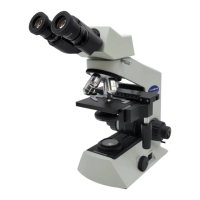
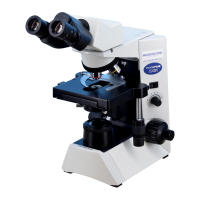
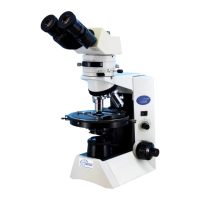
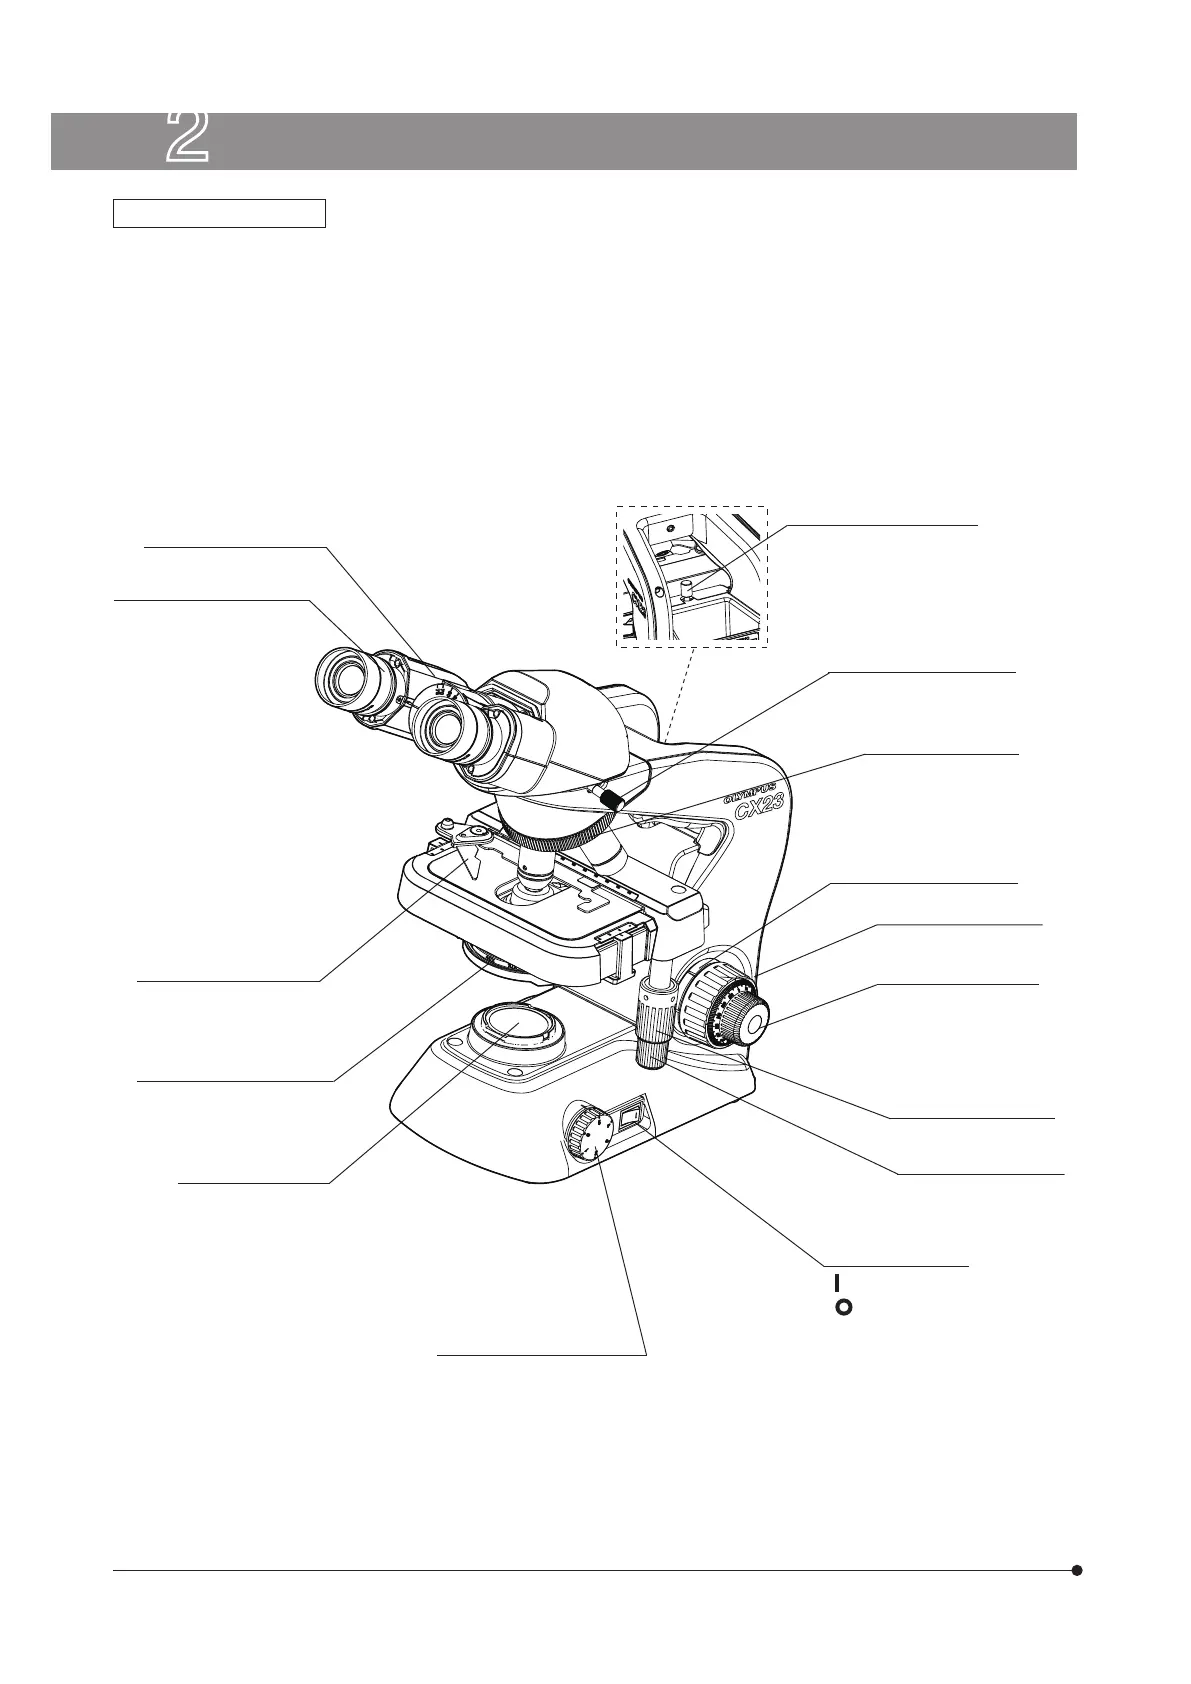
2 Nomenclature of operating portions
Diopter adjustment ring
(Page 11)
Specimen holder Y-axis
feed knob (Page 8)
Specimen holder X-axis
feed knob (Page 8)
Fine adjustment
knob (Page 9)
Coarse adjustment
knob (Page 9)
Pre-focusing knob (Page 10)
Observation tube clamping
knob
Filter holder
Accommodates a
45-mm diameter filter.
Aperture stop lever
(Page 10)
Specimen holder (Page 8)
Revolving nosepiece
(Page 12)
Brightness adjustment
knob (Page 8)
Main switch (Page 8)
“
”: Power ON
“
”: Power OFF
} Attach the AC adapter and power cord as described in chapter 9, “Assembly” on page 20”.
} For detailed explanation of each operation portion, refer to the page indicated inside parentheses.
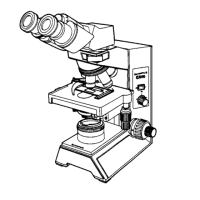
Cautions when unpacking
} The items 1 to 3 described below have been attached at the factory to prevent quality deterioration during transportation.
Remove these items from the products. However, do not dispose them of and keep them for future transportation. Loosen
the observation tube clamping knob and turn the observation tube so that the eyepieces come to the same direction as
shown in the illustration below.
1. Revolving nosepiece / Observation tube clamping knob.
2. Stage/sample holder protection sheet.
3. Protection pad under the stage.
Tension adjustment ring (Page 9)
Binocular observation tube

 Loading...