EasyManua.ls Logo

Olympus SP-565 User Manual

Olympus SP-565
94 pages
To Next Page IconTo Next Page
To Previous Page IconTo Previous Page
Page #72 background imageLoading...
Page #72 background image
---- -- -- -- --
X
YM
YMD
D TIME
MENU
CANCEL
72
EN
Usage Tips
If the camera does not work as intended, or if an
error message is displayed on the screen, refer
to the information below to x the problem(s).
Troubleshooting
Battery
“The camera does not work even when
batteries are installed”
Insert new or recharged batteries in the correct
direction.
“Loading the batteries” (p. 10)
Battery performance may have been reduced
temporarily due to low temperature. Take the
batteries out of the camera, and warm them by
putting them in your pocket for a while.
Card/Internal memory
“An error message is displayed”
“Error message” (p. 73)
Shutter button
“No picture is taken when the shutter
button is pressed”
Cancel sleep mode.
To save battery power, the camera automatically
enters sleep mode and the monitor turns off if
there is no operation for a certain amount of
time when the camera is turned on (the lens is
extended and the monitor is on). You can select
the time to enter the sleep mode from 1, 3, 5 or
10 minutes. No picture is taken even if the shutter
button is fully pressed in this mode. Operate the
shutter button or other buttons to restore the
camera from sleep mode before taking a picture.
If the camera is further left for 12 minutes, it
automatically turns off (the lens retracts and the
monitor turns off). Press the o button to turn
the camera on.
[SLEEP] (p. 63)
Set the mode dial to a position other than q
and R.
Wait until #( ash charge) stops blinking before
taking pictures.
With prolonged camera use, the internal
temperature may increase, resulting in automatic
shutdown. If this occurs, remove the battery
from the camera and wait until the camera
has suf ciently cooled. The camera’s external
temperature may also increase during use,
however this is normal and does not indicate
malfunction.
Monitor/Viewfinder
“Nothing is displayed/Dif cult to see”
Change the display with the u button.
Use the diopter adjustment dial to bring the display
into focus.
“Switching between the monitor and
view nder” (p. 25)
Condensation
*1
may have occurred. Turn off the
power, and wait for the camera body to become
acclimated to the surrounding temperature and dry
out before taking pictures.
*1
Dew drops can form in the camera when it is
suddenly taken from a cold location into a warm,
humid room.
“Vertical lines appear on the screen”
Vertical lines will appear on the screen when the
camera is pointed at an extremely bright subject
under a clear sky and so on. The lines do not
appear, however, in the nal image.
“The light is caught in the picture”
Shooting with ash in dark situations results in
an image with many ash re ections on dust in
the air.
Date and time function
“Date and time settings returns to the
default setting”
If the batteries are removed and left out of the
camera for about 3 days
*2
, the date and time
settings returns to the default setting, and must
be reset.
*2
The time until the date and time settings returns
to the default setting varies depending on how
long the batteries have been loaded.
“Setting the date and time” (p. 12)
book_d4374_en.indb 72book_d4374_en.indb 72 18/07/2008 13:39:2818/07/2008 13:39:28
Question and Answer IconNeed help?

Do you have a question about the Olympus SP-565 and is the answer not in the manual?

Olympus SP-565 Specifications

General IconGeneral
BrandOlympus
ModelSP-565
CategoryDigital Camera
LanguageEnglish

Summary

Names of Parts

Camera unit

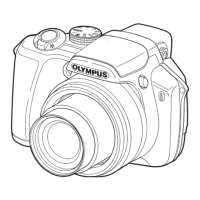
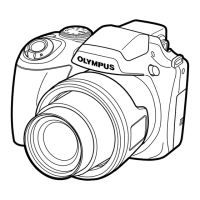
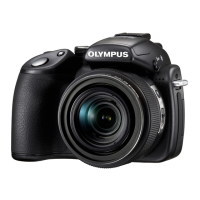
Identifies the main components of the camera body.

Preparing the Camera

Checking the contents of the box

Lists items included in the camera package.

Loading the batteries

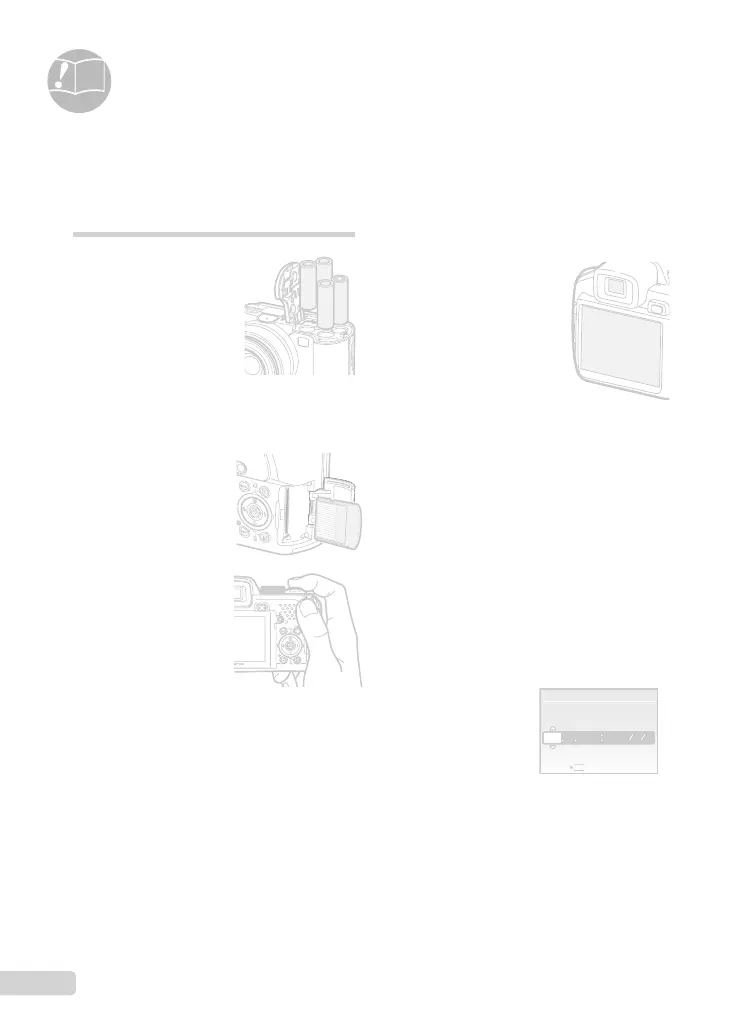
Guides on inserting batteries correctly for power.

Attaching the camera strap and lens cap

Instructions for attaching accessories for secure handling.

Shooting, Playback and Erasing

Shooting with automatic settings (AUTO mode)

Explains fully automatic shooting without manual adjustments.

Viewing images

How to navigate and view captured still pictures and movies.

Erasing images during playback (Single image erase)

Process for deleting individual photos from the camera.

Using Shooting Modes

Using the best mode for the shooting scene (SCN mode)

Selects scene-specific shooting modes for optimal results.

Shooting with optimum aperture value and shutter speed (P mode)

Allows automatic shooting with control over aperture and shutter speed.

Selecting the aperture value for shooting pictures (A mode)

Controls aperture for depth of field while shutter speed is automatic.

Selecting the shutter speed for shooting pictures (S mode)

Controls shutter speed for motion, with automatic aperture.

Selecting the aperture value and shutter speed for shooting pictures (M mode)

Manual control over both aperture and shutter speed for creative control.

Shooting movies (& mode)

Instructions for recording video clips with the camera.

Using Shooting Functions

Using the optical zoom

Explains how to use the zoom lever to adjust magnification.

Menus for Shooting Functions

Selecting the appropriate image quality for your application [IMAGE QUALITY]

Sets resolution and compression for still pictures.

Adjusting image color [WB]

Controls white balance for accurate color reproduction in different lighting.

Selecting the ISO sensitivity [ISO]

Adjusts sensitivity to light, affecting image brightness and noise.

Shooting pictures sequentially while the shutter button is held down [DRIVE]

Configures continuous shooting modes and burst rates.

Selecting the focusing area [AF MODE]

Determines how the camera focuses on the subject.

Retouch the blur effects caused by the camera shake when shooting [IMAGE STABILIZER]

Activates image stabilization to reduce blur from camera shake.

Adjusting the flash intensity [2]

Controls the power output of the flash for optimal exposure.

Menus for Playback, Editing and Printing Functions

Playing back pictures automatically [SLIDESHOW]

Automatically displays images with transitions and music.

Retouching images [PERFECT FIX]

Applies automatic corrections like lighting and red-eye removal.

Editing RAW data [RAW DATA EDIT]

Allows editing of RAW image files for enhanced control.

Cropping images []

Allows adjusting the composition by trimming image edges.

Menus for Other Camera Settings

Erasing data completely [MEMORY FORMAT]/[FORMAT]

Initializes the memory card or internal memory, erasing all data.

Changing the display language [C]

Selects the language for menus and messages.

Setting the startup display screen and sound [PW ON SETUP]

Customizes the screen and sound when the camera powers on.

Printing

Direct printing (PictBridge*1)

Prints images directly to a PictBridge-compatible printer.

Printing at the printer's standard settings [EASY PRINT]

Starts printing using the printer's default settings.

Changing the printer's settings for printing [CUSTOM PRINT]

Adjusts print settings like size, layout, and borders.

Using OLYMPUS Master 2

Connecting the camera to a computer

Guides on establishing a connection between camera and PC.

Usage Tips

Troubleshooting

Provides solutions for common camera operational issues and error messages.

SAFETY PRECAUTIONS

General Precautions

Important safety guidelines for product use and handling.

Handling the Camera

Specific warnings and precautions for camera operation and care.

Battery Handling Precautions

Guidelines for safe battery use, charging, and disposal.

SPECIFICATIONS

Camera

Technical specifications and features of the digital camera.

Related product manuals