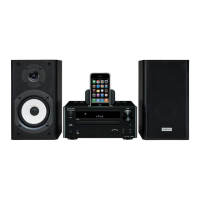
18
Connecting Other Components—Continued
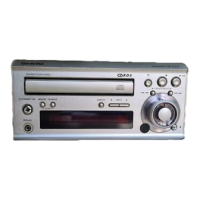
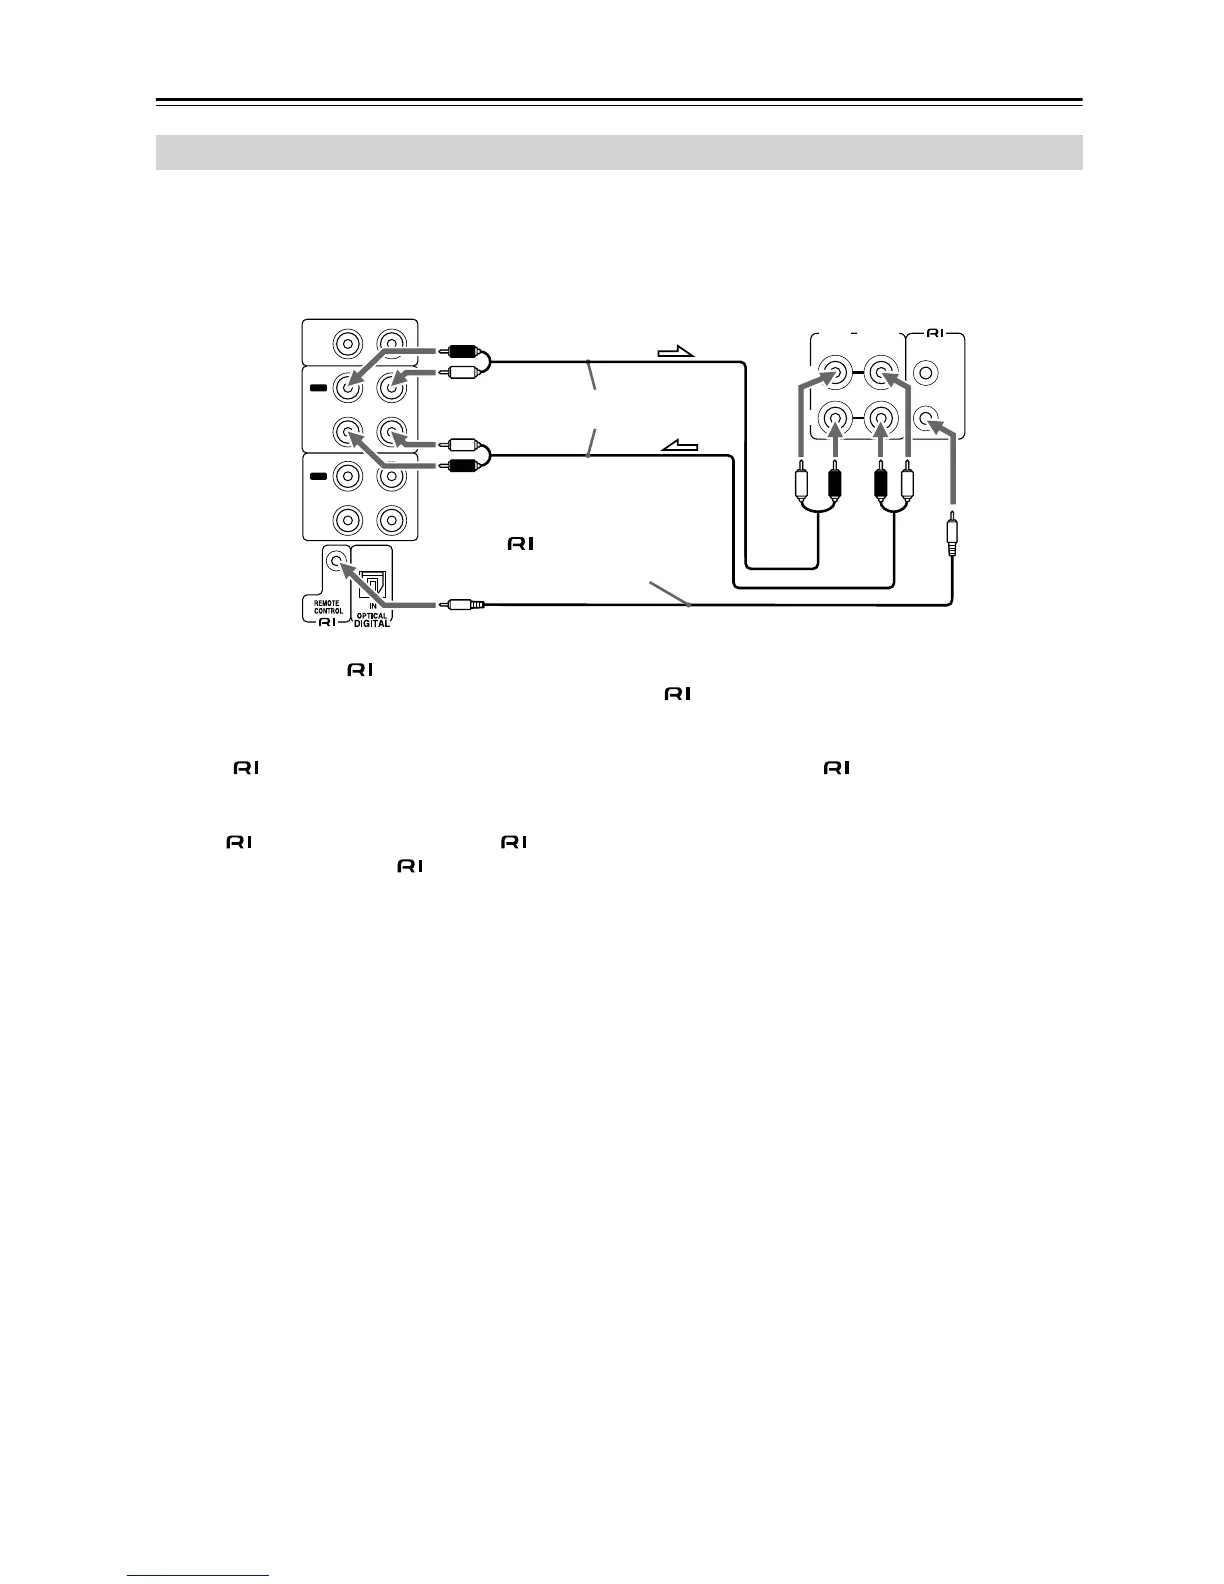
The following diagram shows how to connect an optional Onkyo cassette deck.
Connect the CD receiver’s MD/TAPE OUT jacks to the cassette deck’s INPUT (REC) jacks, and connect the CD
receiver’s MD/TAPE IN jacks to the cassette deck’s OUTPUT (PLAY) jacks.
What can you do with ?
• Connecting an Onkyo cassette deck to the CD receiver with an cable allows you to control the cassette deck with
the CD receiver’s remote controller. In addition, when playback is started on the cassette deck, the CD receiver will
automatically select it as the input source.
•To use , you must connect the Onkyo cassette deck to the CD receiver with an cable and an analog audio
cable (RCA). In addition, the Input Display for the MD/TAPE jacks must be set to “TAPE.” Since this is the default
setting, unless you’ve changed it, it can be left as it is (see page 27).
• Some -capable components have two jacks. They’re both the same, so you can use either one. The extra jack
is for connecting additional -capable components.
Connecting an Onkyo Cassette Deck
IN
IN
R
LINE 1
MD/
TAPE
L
IN
OUT
OUT
DOCK/
CDR
(REC) (PLAY)
INPUT OUTPUT
REMOTE
CONTROL
L
R
Onkyo cassette deck’s
rear panel
Analog audio cables (RCA)
cable supplied with
the Onkyo cassette deck
White
Red
White
Red Red
Red
White White
CD receiver’s
rear panel
 Loading...