26
Using USB interface/Network Service—Continued
Internet radio URLs in the following formats are
supported: PLS, M3U, and podcast (RSS). However,
depending on the type of data or audio format used by
the Internet radio station, you may not be able to listen to
some stations.
To listen to other Internet radio stations, you must
register your station in “My Favorites” of the network
service menu, as described below.
Note:
• Services available may vary depending on the region.
• Certain network service or contents available through
this device may not be accessible in case the service
provider terminates its service.
Tip:
• You can find stations similar to the one being played.
During playback, press and hold the [MENU] button,
then select “Stations like this” and press [ENTER].
• If you want to add a new station directly from “My
Favorites”, select an empty slot in the list, and then
press and hold the [MENU] button. Then, select
“Create New Station” and press [ENTER]. Pressing
[ENTER] again will display the available characters.
Use the Arrow [!]/["]/[#]/[$] buttons to enter
the station’s name and URL respectively, and then
press [ENTER].
• If you want to delete a station saved in “My
Favorites”, press and hold the [MENU] button with
the station selected or while the station is playing.
Then, use the Arrow [!]/["] buttons to select
“Delete from My Favorites” and press [ENTER]. You
can also delete stations from the Web Setup.
• If you want to rename a station, select the desired
station in the list, and then press and hold the [MENU]
button. Then, use the Arrow [!]/["] buttons to
select “Rename this station” and press [ENTER].
• You can save up to 40 Internet radio stations.
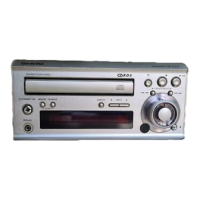
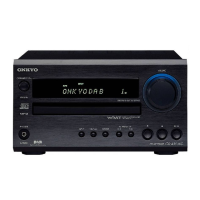
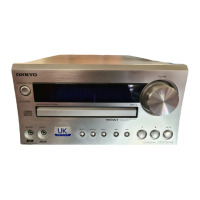
This section explains how to play music files on a
computer or media server through the CD receiver
(Server Playback).
Registering Other Internet Radio
1
Select “Net Setting” on the setting menu to
verify your IP address (see page 36).
Take a note of the IP address.
2
On your computer, start your web browser.
3
Enter the CD receiver’s IP address in the
browser’s Internet address (URL) field.
If you are using Internet Explorer
®
, you can also
enter the URL by selecting “Open...” on the “File”
menu.
Information on the CD receiver is then shown on
your Internet browser (Web Setup).
4
Click on the “My Favorites” tab, and enter
the Internet radio station’s name and URL.
5
Click “Save” to save the Internet radio
station.
The Internet radio station is then added to “My
Favorites”. To play the registered station, press the
[NET] button, and then select “My Favorites” on the
network service menu. A list of registered Internet
radio stations appears. Select the one that you saved
and press [ENTER].
Playing Music Files on a Server
(DLNA)
You need to connect the CD receiver to your home
network (see page 44).
1
Start your computer or media server.
2
Press the [NET] button.
The network service menu appears.
3
Use the Arrow [!]/["]/[#]/[$] buttons to
select “DLNA”, and press [ENTER].
4
Use the Arrow [!]/["] buttons to select a
server, and then press [ENTER].
The menu is displayed according to the server
functions.
Note:
• The search function does not work with media
servers which do not support this function.
• Photos and movies stored on a media server
cannot be accessed from the CD receiver.
• Depending on the sharing settings in the media
server, the CD receiver may not able to access the
content. See the instruction manual of the media
server.
5
Use the Arrow [!]/["] buttons to select an
item, and then press [ENTER] or Play [1]
button to start playback.
Note:
• Depending on the media server, the Fast Reverse/
Fast Forward [5]/[4] and Pause [3]
buttons may not work.
• If the message “No Item” appears, this means that
no information can be retrieved from the server. In
this case, check your server, network, and CD
receiver connections.
 Loading...