- 95 -
Advanced (Recording pictures)
You can take pictures with connections suitable for creating panorama images.
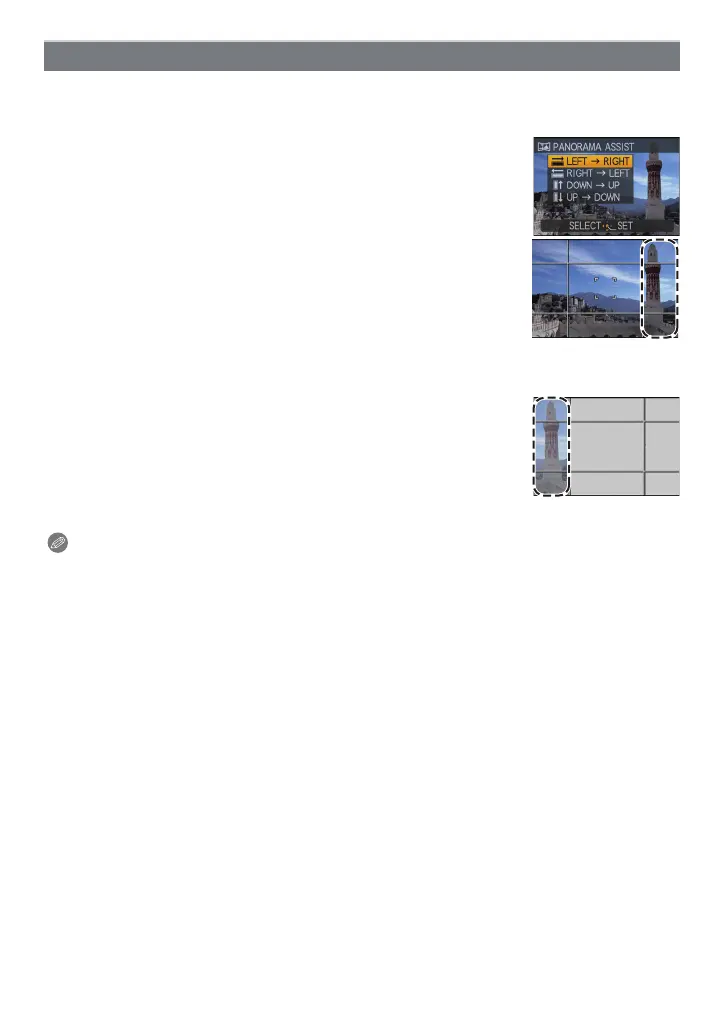
∫ Setting the recording direction
1 Press 3/4 to select the recording direction and then
press [MENU/SET].
•
The horizontal/vertical guideline will be displayed.
2 Take the picture.
•
You can retake the picture by selecting [RETAKE].
3 Press 3 to select [NEXT] and then press [MENU/SET].
•
You can also press the shutter button halfway to set the menu.
• Part of the recorded image is displayed as a transparent image.
4 Take picture after moving the camera horizontally or
vertically so the transparent image overlaps.
•
When taking the third and later pictures, repeat steps 3 and 4.
• You can retake the picture by selecting [RETAKE].
5 Press 3/4 to select [EXIT] and then press [MENU/SET].
Note
•
It will be a normal motion picture recording during the motion picture recording.
• The flash setting is fixed to [Œ].
• [I.RESOLUTION] is fixed to [OFF].
• The focus, zoom, exposure, White Balance, shutter speed and ISO sensitivity are fixed to the
settings for the first picture.
• We recommend using a tripod. When it is dark, we recommend using the Self-timer for taking
pictures.
• When the camera is set to [STABILIZER] and there is very little jitter, or if [STABILIZER] is set
to [OFF], shutter speed may slow down up to 8 seconds.
• The shutter may remain closed (max. about 8 sec.) after taking the picture because of signal
processing. This is not a malfunction.
• The recorded images can be combined into panorama pictures using the software
“PHOTOfunSTUDIO 5.0 HD Edition” on the CD-ROM (supplied).
[PANORAMA ASSIST]
 Loading...