EasyManuals Logo
Home>Panasonic>Monitor>TH-65CQE1W

Panasonic TH-65CQE1W User Manual

Panasonic TH-65CQE1W
61 pages
To Next Page IconTo Next Page
To Previous Page IconTo Previous Page
Page #23 background imageLoading...
Page #23 background image
  Regular       
      

       Home
 Apps      Reset Menu
   Settings    
 ENTER     
YesENTER
Media Playback via
USB Input
You can connect 2.5” and 3.5” inch (HDD with
external power supply) external hard disk drives or
USB memory stick to your Display by using the USB
input/s of the Display.
IMPORTANT! Back up the files on your storage
devices before connecting them to the Display.
Manufacturer will not be responsible for any file
damage or data loss. Certain types of USB devices
(e.g. MP3 Players) or USB hard disk drives/memory
sticks may not be compatible with this Display. The
Display supports FAT32 and NTFS disk formatting.
Wait a little while before each plugging and unplugging
as the player may still be reading files. Failure to do so
may cause physical damage to the USB player and
the USB device itself. Do not pull out your drive while
playing a file.
You can use USB hubs with your Display’s USB
input/s. External power supplied USB hubs are
recommended in such a case.
It is recommended to use the Display’s USB input/s
directly, if you are going to connect a USB hard disk.
Note: When viewing image iles the Media Browser menu
can only display 1000 image iles stored on the connected
USB device.
Media Browser Menu
You can play back music and movie files and display
photo files stored on a USB storage device by
connecting it to your Display. Connect a USB storage
device to one of the USB inputs located on the rear
side of the Display.
After connecting a USB storage device to your Display
Media Browser menu will be displayed on the screen.
You can access the content of the connected USB
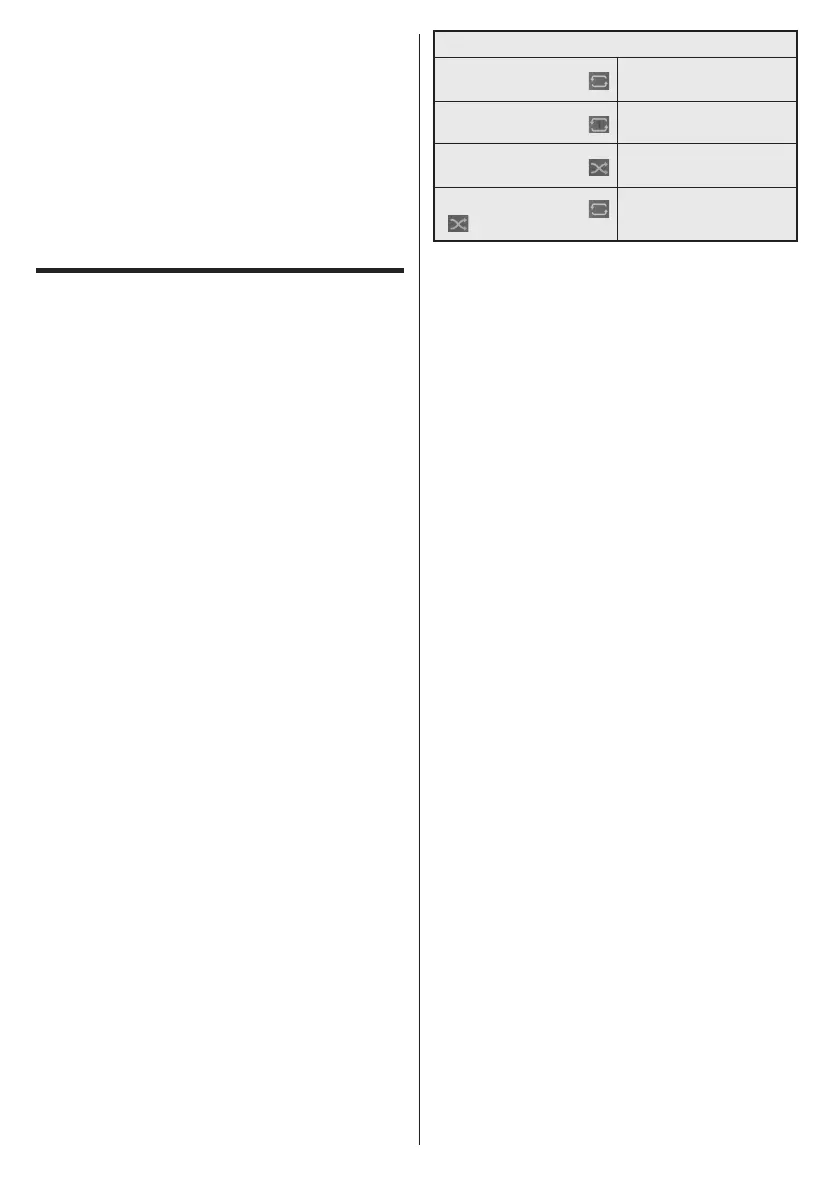
Loop/Shue Mode Operation

-


   






   -
   

        
       ENTER

     ENTER   
 

        
         

Set Boot Logo
You can set the JPEG file displayed in Media Browser
as the Boot Logo.
While displaying a JPEG file, highlight the gear wheel
symbol positioned on the right side of the information
bar and press ENTER.
Highlight Options and press ENTER.
Highlight Set Boot Logo and press ENTER.
A confirmation message will be displayed. Highlight
Yes and press ENTER to proceed.
Note: The size of the JPEG file set for the startup logo must be
less than 1MByte. The recommended image size for JPEG files
is 3840x2160 or 1920x1080. If you do Shipping, the Boot Logo
will also reset to the factory settings.
USB Auto Play Feature
        

    
       

         


USB Auto Play
Settings>System>More
USB Auto Play Feature with Playlist Scenario

       


English - 22 -
  Sources

ENTER 
ENTER
    Media Browser  
  Settings  Settings   
  
        RECALL
       
RECALL 
  
ENTERPicture Settings
Sound Settings Media Browser Settings 
Options
        
Sound Settings 


Other manuals for Panasonic TH-65CQE1W

Questions and Answers:

Question and Answer IconNeed help?

Do you have a question about the Panasonic TH-65CQE1W and is the answer not in the manual?

Panasonic TH-65CQE1W Specifications

General IconGeneral
BrandPanasonic
ModelTH-65CQE1W
CategoryMonitor
LanguageEnglish

Related product manuals