Esprit E55 4
User Codes
User codes are personal identification numbers for each user that allow you to enter certain programming
modes, arm or disarm your system, as well as activate or deactivate PGMs. The system supports the following:
• 1 System Master Code
• 2 Master Codes
• 29 User Codes
System Master Code (Default: 123456)
The System Master Code can arm or disarm any partition, and can create, modify or delete any user code.
Master Codes
Master Code 1 is permanently assigned to Partition 1 and can be used to create, modify or delete user codes
that are assigned to Partition 1. Master Code 2 is permanently assigned to Partition 2 (exception: when
partitioning is disabled, Master Code 2 will be assigned to Partition 1) and can be used to create, modify or
delete user codes that are assigned to the same partition.
NOTE:
Master Codes cannot modify or delete user codes assigned to both partitions. Only the System Master
Code can modify or delete user codes assigned to both partitions.
Duress Code
If you are forced to arm or disarm your system, entering the user code with the duress option enabled will arm or
disarm the system and immediately transmit a silent alert (Duress Code) to the monitoring station. The duress
code must be enabled by your installer.
User Code Length
Your system can be programmed to use either 4- or 6-digit user codes, where each digit can be any value from
0 to 9. Six-digit codes are considered more difficult to “crack” and therefore, more secure. Avoid programming
simple or obvious user codes, such as your telephone number, address, or codes such as 1234.
Adding / Modifying a User
Deleting a User
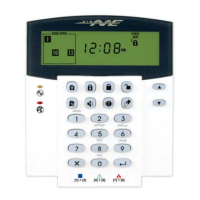
How do I add / modify a user? Visual Feedback
1
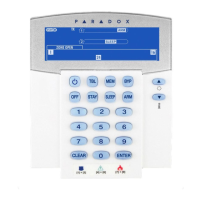
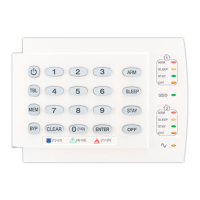
Press the [] key.
2 Enter your [
MASTER CODE].
[] and [1] flash. When a number on the
keypad is lit, the user is already programmed.
3 Select a user by entering a 2-digit user number (01 to 32). “Arm” flashes.
4 Enter a 4- or 6-digit [
USER CODE]. “Sleep” flashes.
5 Confirm the code. “Stay” flashes.
6Press [
ENTER].
Go to step 3 or press [
CLEAR] to exit.
For partitioned systems, go to step 7.
“Off” flashes.
7Press [1] and/or [2] to assign the user to a partition.
8Press [
ENTER].
Go to step 3 or press [
CLEAR] to exit.
How do I delete a user?
1
Press the [] key.
2 Enter your [
MASTER CODE].
3 Select a user by entering a 2-digit user number.
4 Press and hold the [
SLEEP] key until you hear the confirmation beep.