GB
│
IE
│
NI
│
7 ■
External extraction:
When using dust extraction systems, e.g. a work-
shop extractor, it may be necessary to use the
adapter for external extraction
. The vacuum
cleaner must be suitable for the material being
processed.
Connecting:
♦ Push the adapter for external extraction
firmly into the chip ejector .
♦ Push the hose of a suitable dust extraction ap-
pliance (e.g. a workshop vacuum cleaner) onto
the chip ejector
(or the adapter for external
extraction
, if required).
Removal:
♦ Pull the hose of the vacuum cleaner off the chip
ejector
or the adapter.
♦ Pull the adapter for external extraction
off.
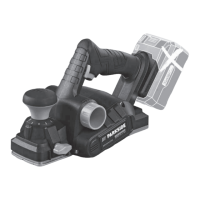
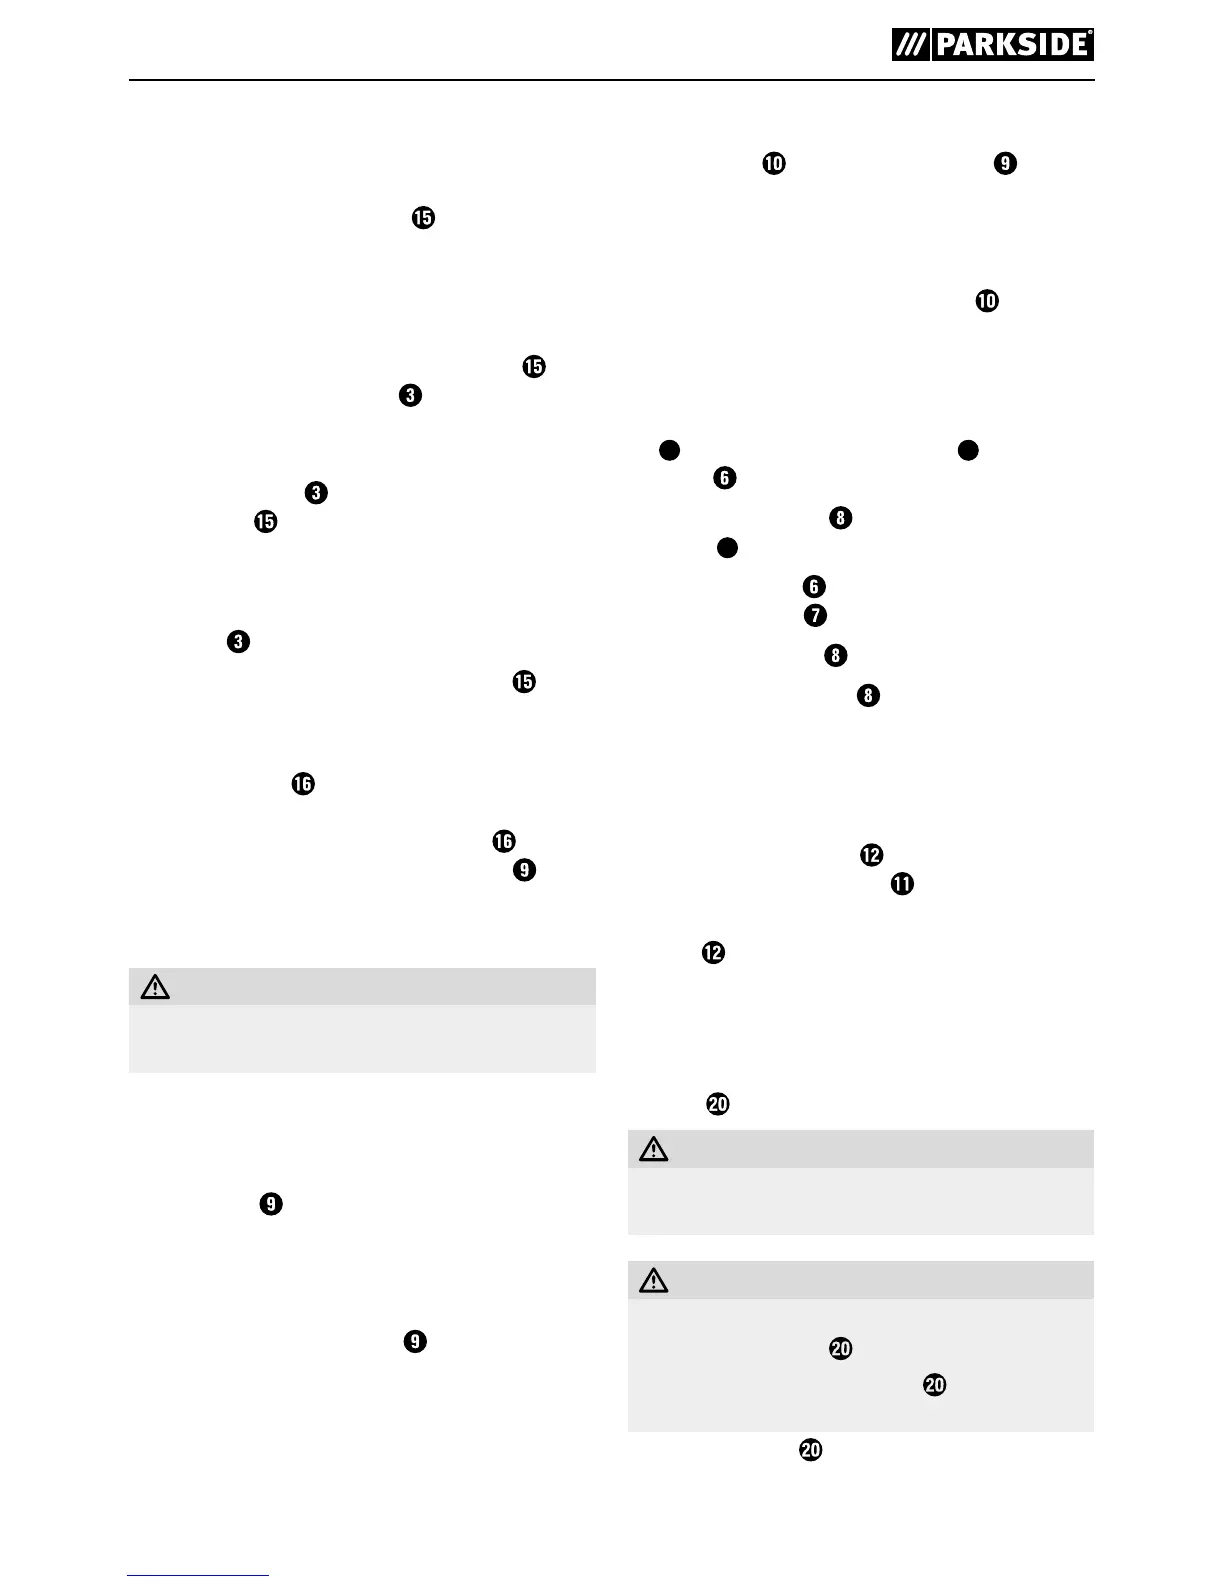
Parking shoe (see fig. B)
The parking shoe allows you to put down the
appliance without risking damage to the work-
piece. While working, the parking shoe is
flipped up and rear part of the plane sole is
exposed.
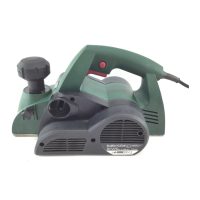
Planing
CAUTION! RISK OF KICKBACK!
Always switch the appliance on before applying
it to the workpiece.
♦ Set desired cut depth.
♦ Switch the appliance on.
♦ Place the appliance with the front part of the
plane sole
on the workpiece.
♦ Move the appliance with straight, even motions
over the workpiece.
♦ Push forward slowly and do not exert excessive
pressure on the plane sole
. Excessive speed
reduces the surface finish and can lead to a jam
in the chip ejector.
Chamfering edges
The V grooves in the front plane sole allow
easy chamfering of workpiece edges.
♦ Use the V groove that corresponds to the chamfer
width required.
♦ Place the planer with the V groove
onto the
workpiece edge and guide it forwards.
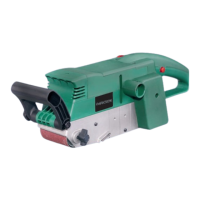
Using the rip fence
♦ The fit the rip fence, guide the connecting screw
.
♦ Fit the rip fence
onto the appliance using the
fastening screw .
♦ Undo the lock nut
and set the desired width.
♦ Retighten the lock nut
.
♦ Ensure that the plane is applied with lateral
pressure.
Using the fold depth stop
♦ Fit the fold depth stop onto the appliance
using the fastening screw .
♦ Set the desired fold depth using the fold depth
stop
.
♦ Repeat the planing process several times until
the required fold depth is achieved.
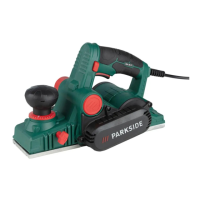
Removing/replacing the planing
blade (see figs. C + D)
WARNING! RISK OF INJURY
► Always remove the plug from the power
socket before working on the appliance.
CAUTION!
There is a risk of injury due to the cutting edges
of the planing blade
!
Never touch the planing blade
on its cutting
edges.
The planing blade
has two cutting edges and
can be turned.
 Loading...