GB MT
3 6
2. Slide the rechargeable battery
(9) onto the charger (15). It locks
into place audibly.
3. Plug the charger (15) into an
electrical outlet.
4. After the charging process, dis-
connect the charger (15) from the
mains supply.
5. Pull the rechargeable battery (9)
out of the charger (15).
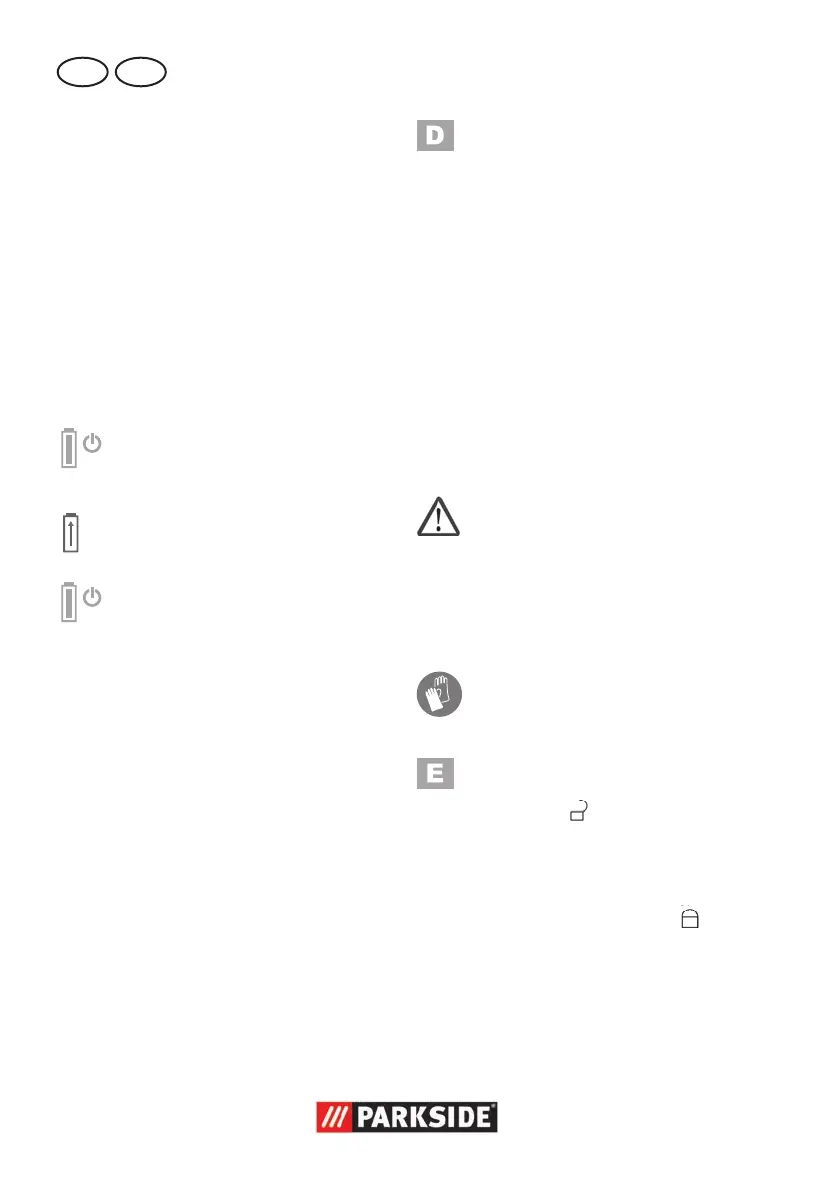
Overview of the LED indicators
(15a) on the charger (15):
reen ahe
Charger is connected to the
mains without a battery.
red LED lights up:
Battery charging.
green LED lights up:
Battery is charged.
Used batteries
• If a fully recharged battery lasts for
considerably shorter operating times,
the battery is used up and needs to be
replaced. Only use an OEM battery
pack replacement available from our
Customer Service.
• Always take heed of the applicable
safety instructions as well as the envi-
ronmental protection regulations and
information (see “Waste Disposal/
Environmental Protection”).
Checking the charge status
of the rechargeable battery
The battery charge status indicator (9a)
signalises the state of charge of the battery
(9).
Press the button (9b) on the battery
(9). The state of charge of the bat-
tery is displayed by illuminating the
3-colour LED lights of the state of
charge display (9a).
All LEDs are on: Battery is fully
charged.
Red and yellow LEDs are on: Battery
has a residual charge (< 90 %).
Red LED lights up: Battery is empty,
please charge.
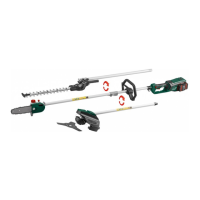
Operation
Replacing the appliance at-
tachment
Secure the appliance against
switching on (see “Switch-
ing on/off”) or remove the
rechargeable battery from
the appliance. There is an
injury hazard if the device is
switched on accidentally.
Wear safety gloves. The appliance
attachment might have heated up
after use.
Removing appliance attachment
1. Push the unlocking lever (5) into
position
Push the unlocking lever (5) into
as far as the stop
and then hold it in this position.
2. Pull the unlocked appliance at-
tachment off (4/17/23/26).
3. Allow the unlocking lever (5) to
slide back into position
Allow the unlocking lever (5) to
.
Fitting appliance attachment
4. Push the appliance attachment
(4/17/23/26) along the guide
rail into the motor unit (6). It
locks into place audibly.
 Loading...