Controls
5
2 Controls
2.01 Puller functions
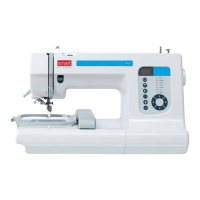
Engaging/disengaging the puller
● Raise the puller drive unit 1 until it locks
into place and swing puller arm 2 back as
far as possible. To engage the puller,
follow the instructions in the reverse
order.
Switching the puller on/off
● The puller is automatically switched on or
off when the puller unit is engaged or
disengaged.
Setting the puller feed motion
● The feed motion of the puller is set by
means of parameters (see Chap. 1.06
Parameter settings and the Motor
Instruction Manual)
Fig. 2 - 01
1
2
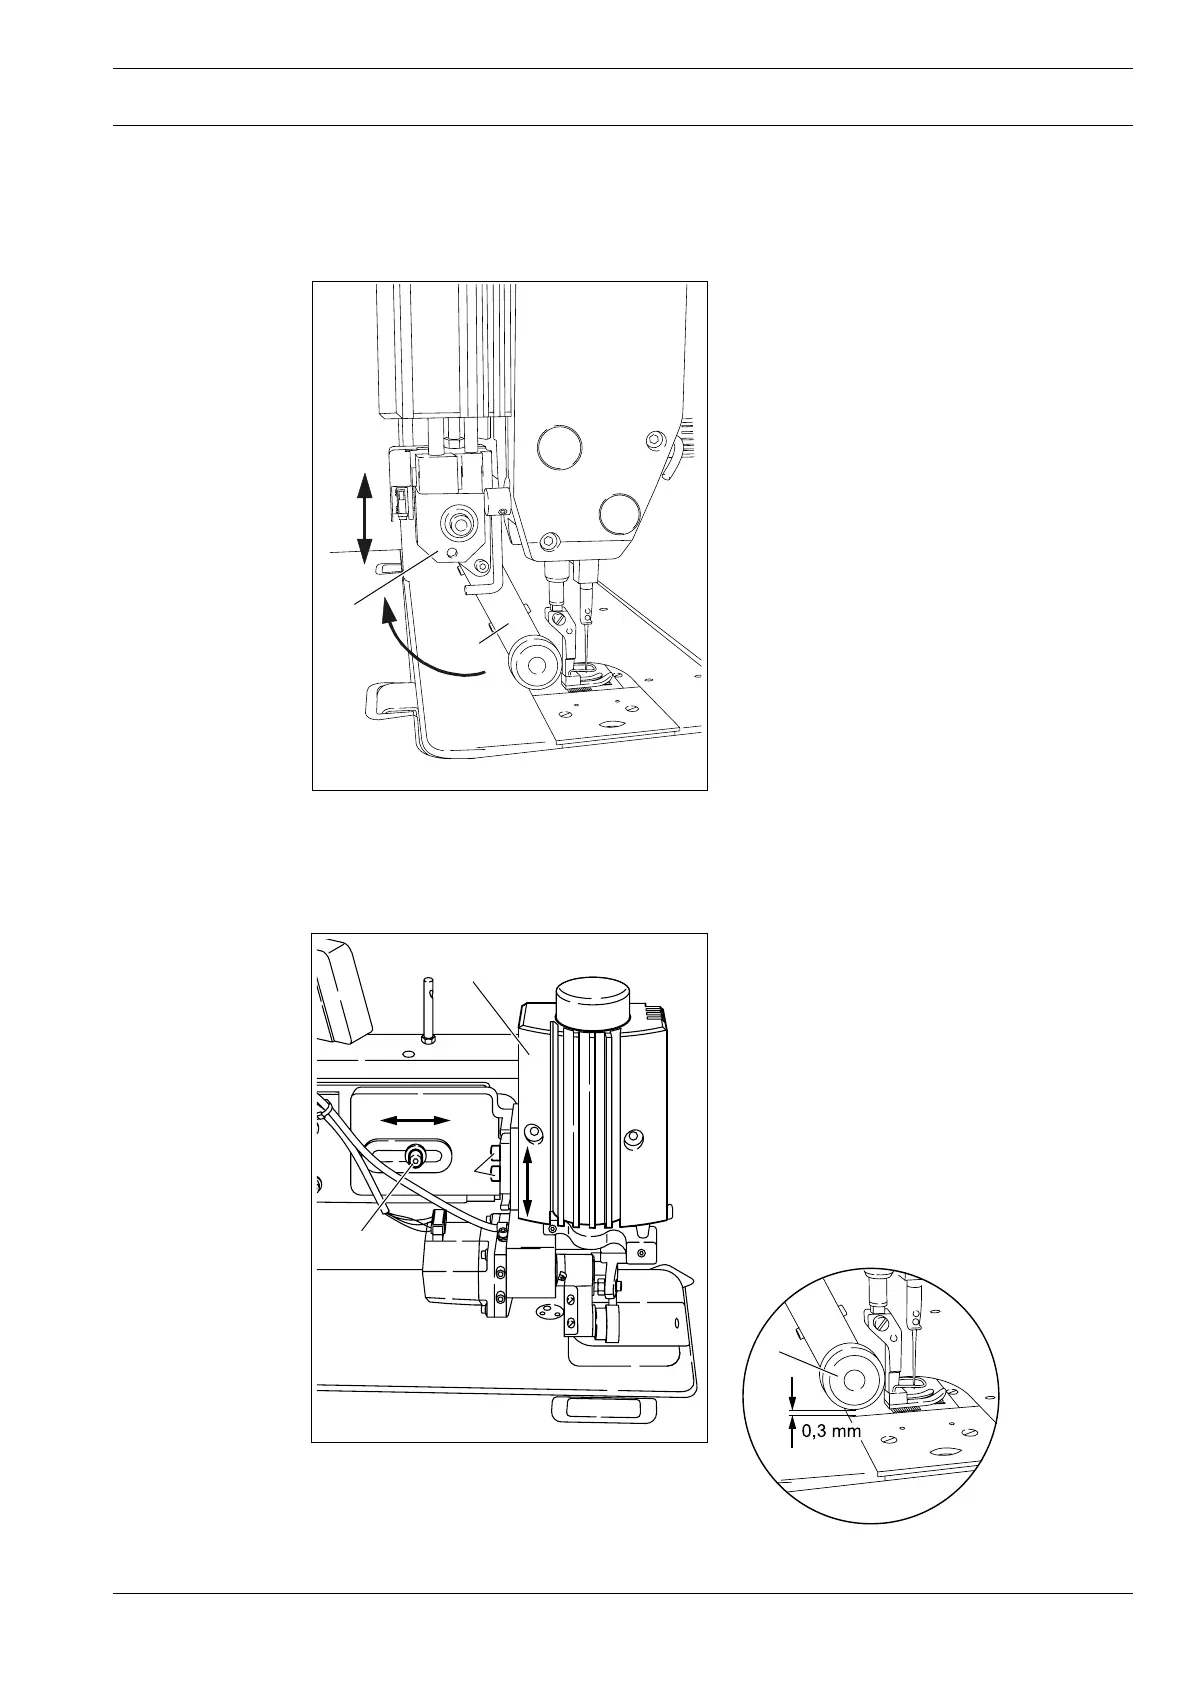
2.02 Aligning the puller
Puller crosswise to sewing direction
● Loosen screw 1.
● Align puller 2 to the seam.
● Tighten screw 1.
Height of the puller roller
● Loosen screw 3
● Align puller 2, so that there is a clearance
of approx. 0.3 mm between the puller
roller 4 and the cloth plate.
● Tighten screw 3.
4
Fig. 2 - 02
1
2
3
 Loading...