UPGRADING ETHERNET INTERFACE SOFTWARE
16 Planmeca Ethernet interface Installation manual
7 UPGRADING ETHERNET INTERFACE SOFTWARE
Required items:
- The file containing a new software version, for example dixibox1_4_2_0R.sr
- The loader software
- A cross connected Cat. 5 UTP cable to the computer or possibility to use 10.1.0.x IP
addresses in the local network
Upgrading the software
While the
Set
button is pressed and held with a sharp pin when the Planmeca Ethernet Box is
powered up, Ethernet Box will boot up using the 10.1.0.5 IP address and listen for a new soft-
ware on the network. To be able send data to that IP address on the local network, the Com-
puter IP address must be changed to 10.1.0.x, i.e. the computer must be in the same subnet
as the Ethernet box.
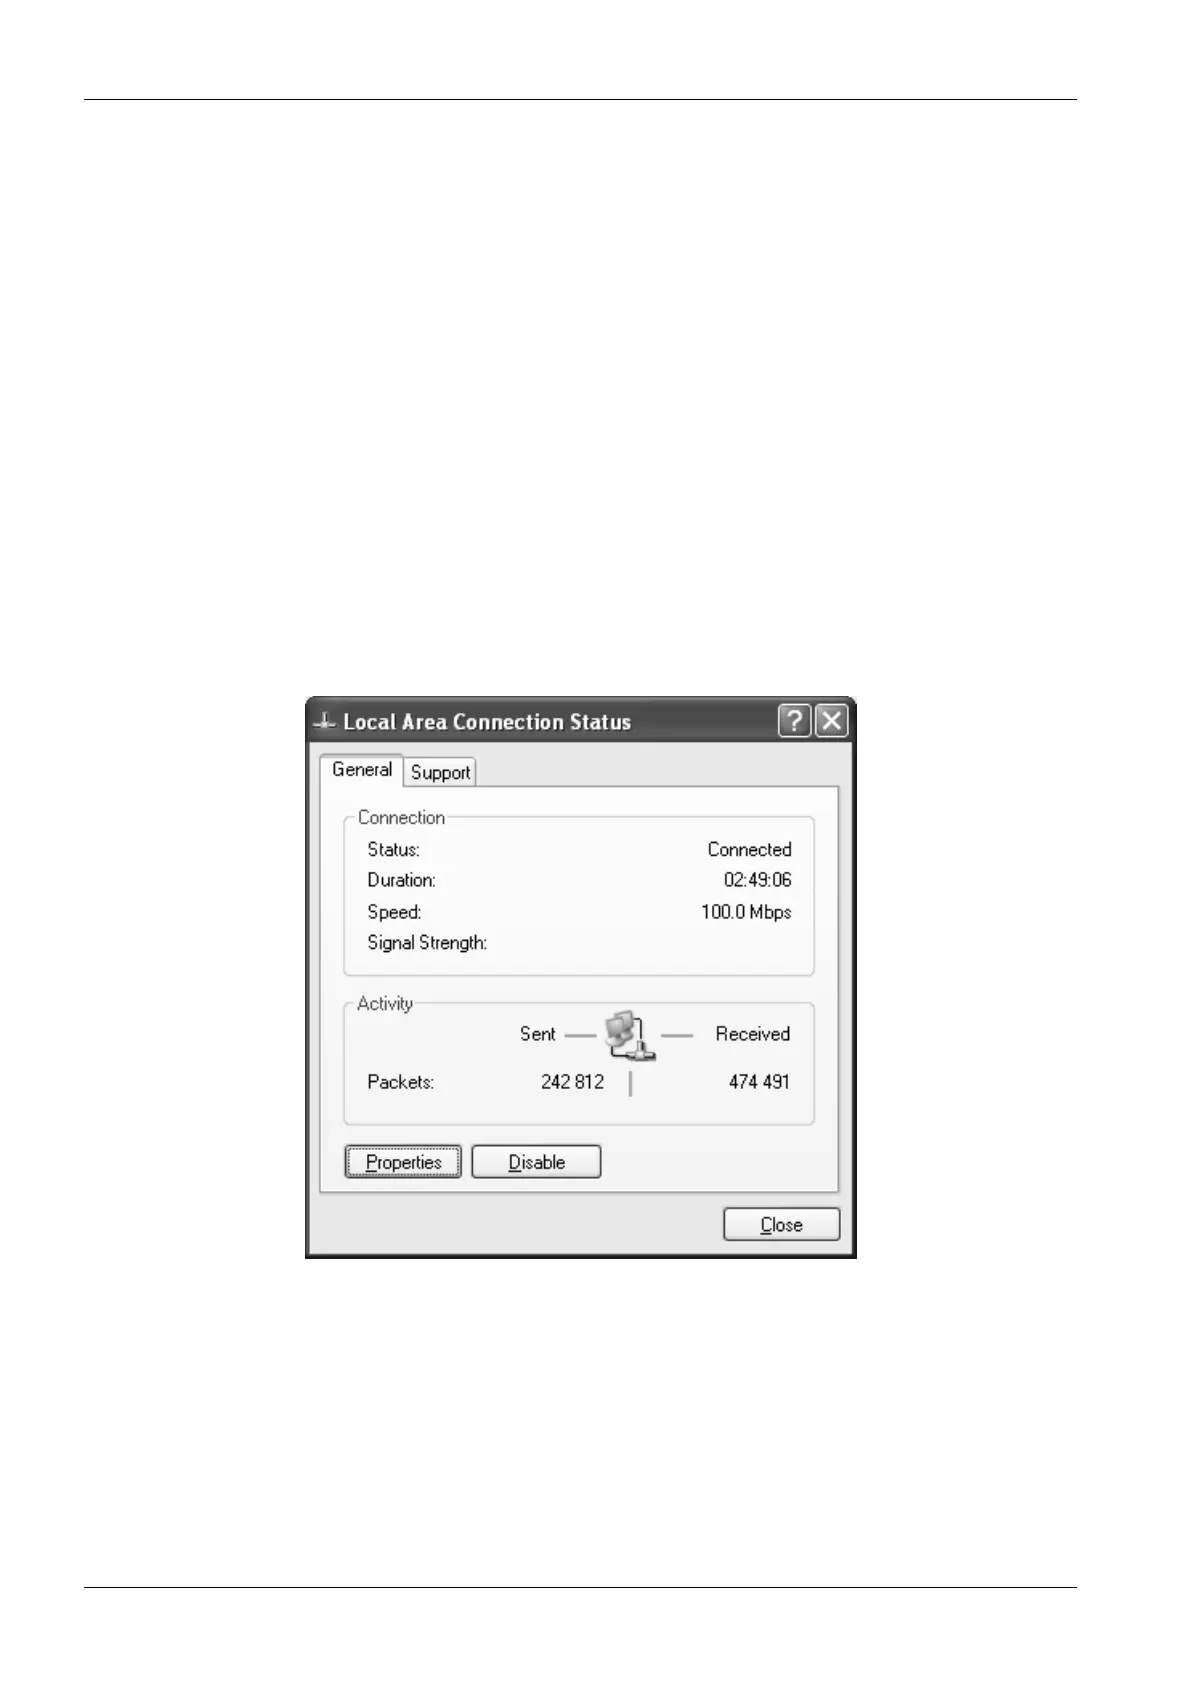
1. To change the computer’s IP address, select
Network Connections
from the Control
panel. Then double-click the Local Area Connection. The Local area connection status
window appears. Click Properties.
 Loading...