10.11
ELECTRICAL
10
P
RELIMINARY
V
ERS
I
ON
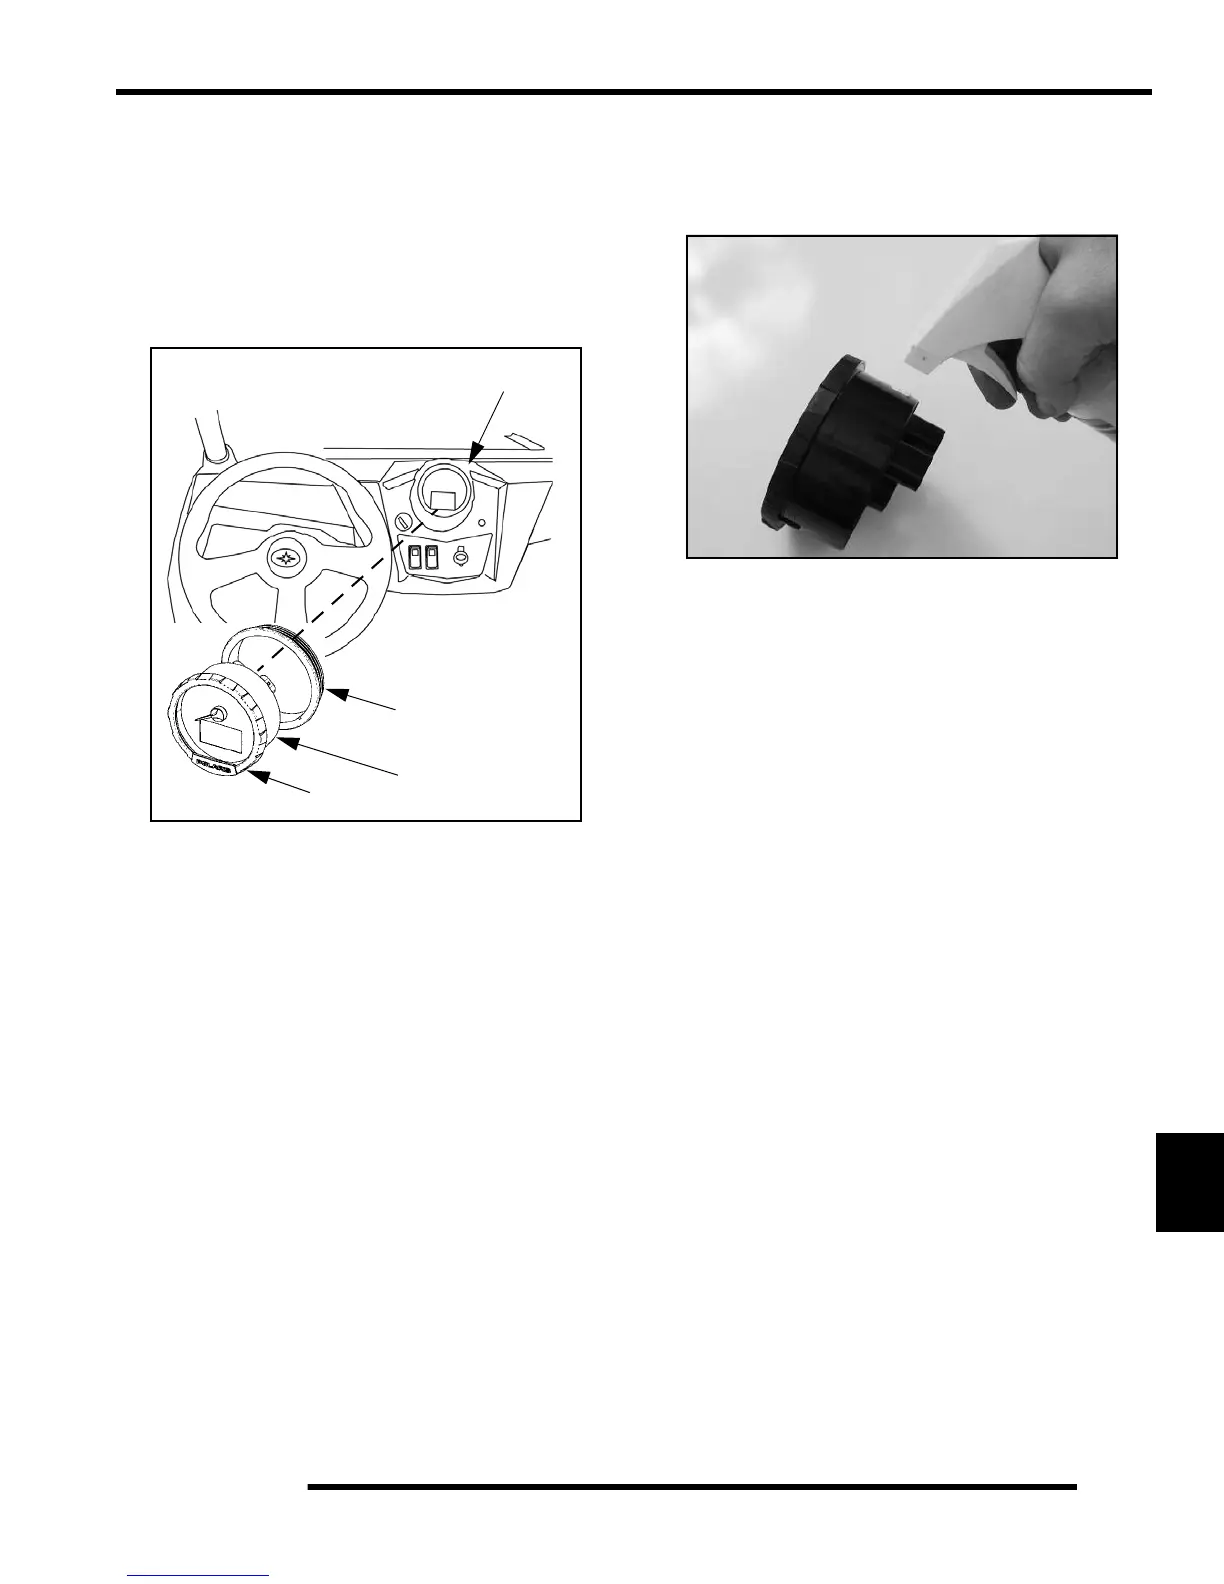
Instrument Cluster Removal
NOTE: Do not allow alcohol or petroleum products
to come in contact with the instrument cluster lens.
1. Disconnect the wire harness connectors from the back side
of the instrument cluster.
2. Push the instrument cluster out from the back side of the
dash while securely holding the dash and rubber mount.
NOTE: Do not remove the rubber mount from the
dash panel. Only remove the rubber mount if
necessary. The bezel is a snap-on assembly and is a
serviceable part.
Instrument Cluster Installation
1. Spray a soap and water mixture onto the outer surface area
of the instrument cluster. This will help the instrument
cluster slide into the rubber mount more easily.
2. Be sure the rubber mount inside the dash is fully installed
and that the indexing key on the rubber mount is lined up
with the keyway in the dash.
3. Hold the dash securely and insert the instrument cluster into
the dash. Twist the instrument cluster gently in a clockwise
motion to properly seat the instrument cluster into the
rubber mount. Apply pressure on the bezel while pressing
down on the instrument cluster.
Rubber Mount
Instrument Cluster
Bezel
Push Instrument
Cluster Outward
Dash Panel

 Loading...