Page 7
ENG
93 94 95 SERIES
2.0 Test for
93 Series
(9300 / P93 / 9300xi / 9350 / P935)
94 Series
(9400 / P94 / 9450 / P945)
95 Series
(9550 / P955)
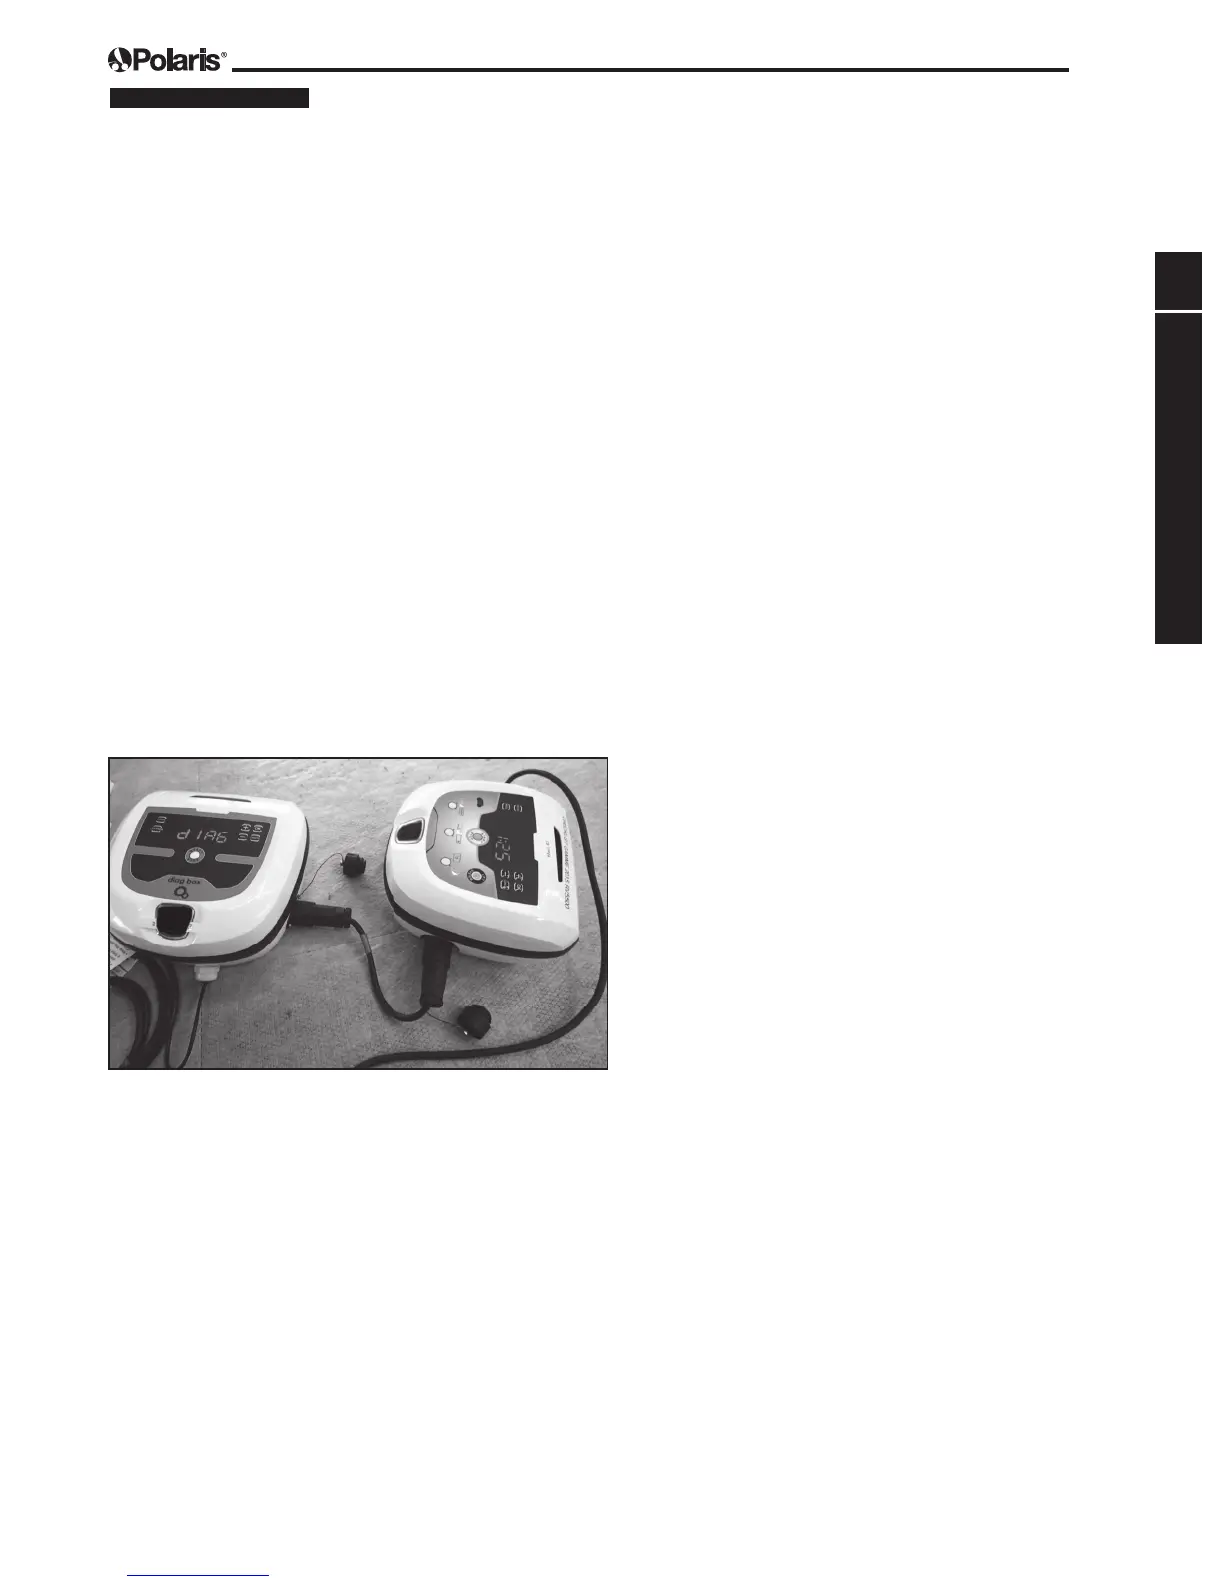
2.1 Perform Control Box Test
1. Plug the consumer’s Control Box into a GFCI
protected outlet.
2. Plug the Diagnostic Box into a GFCI protected
outlet.
3. Connect one end of the GREEN test cable to
the cleaner Control Box.
4. Connect the other end of the GREEN test
cable to the Diagnostic Box.
5. On the Diagnostic Box, press [EBOX] button
then Start/Stop button to begin the test. The
Diagnostic Box displays the test status and
progress message (see Section 1.6).
6. The propeller motor will turn on for
approximately three to ve (3-5) seconds.
7. If the test completes and the Diagnostic Box
displays the message: good, the cleaner
Control Box is fully functional. Turn off the
power to the Control Box and disconnect.
8. If there is an error message on the Diagnostic
Box display, see Section 2.4 Control Box
Diagnostic Test for explanation. Replace the
Control Box and repeat the test.
2.2 Perform Cleaner Test
1. Set the cleaner head on a block of wood or
some object that allows the cleaner wheels to
rotate freely.
2. Make sure the Diagnostic Box is plugged into
a GFCI protected outlet.
3. Connect the Floating Cable from the cleaner
directly into the Diagnostic Box.
4. On the Diagnostic Box, press [CLEANER]
button then Start/Stop button to begin the test.
5. The drive motor starts and the Diagnostic Box
displays test progress (see Section 1.7). The
wheels should turn during this part of the test.
6. The pump motor will turn on and off. The
Diagnostic Box displays the test status and
progress message (see Section 1.7).
7. If the cycle completes and the Diagnostic
Box displays the message: End, the oating
cable and cleaner pass the test and are fully
functional.
8. If there is an error message on the Diagnostic
Box display, see Section 2.5 Control Box
Test for explanation and action.
 Loading...