© 2014 Proceq SA 30
7. Maintenance and Support
7.1 Maintenance and Cleaning
To guarantee consistent, reliable and accurate measurements, the instru
ment should be calibrated on a yearly basis. The customer may however,
determine the service interval based on his or her own experience and
usage.
Do not immerse the instrument in water or other fluids. Keep the housing
clean at all times. Wipe off contamination using a moist and soft cloth.
Do not use any cleaning agents or solvents. Do not open the housing of
the instrument yourself.
7.2 Support Concept
Proceq is committed to providing a complete support service for this
instrument by means of our global service and support facilities. It is
recommended that the user register the product on www.proceq.com
to obtain the latest on available updates and other valuable information.
7.3 Standard Warranty and Extended Warranty
The standard warranty covers the electronic portion of the instrument for
24 months and the me chanical portion of the instrument for 6 months. An
extended warranty for one, two or three years for the electronic portion
of the instrument may be purchased up to 90 days of date of purchase.
7.4 Disposal
Disposal of electric appliances together with household waste is not
permissible. In observance of European Directives 2002/96/EC,
2006/66/EC and 2012/19/EC on waste, electrical and electronic
equipment and its implementation, in accordance with national law,
electric tools and batteries that have reached the end of their life
must be collected separately and returned to an environmentally
compatible recycling facility.
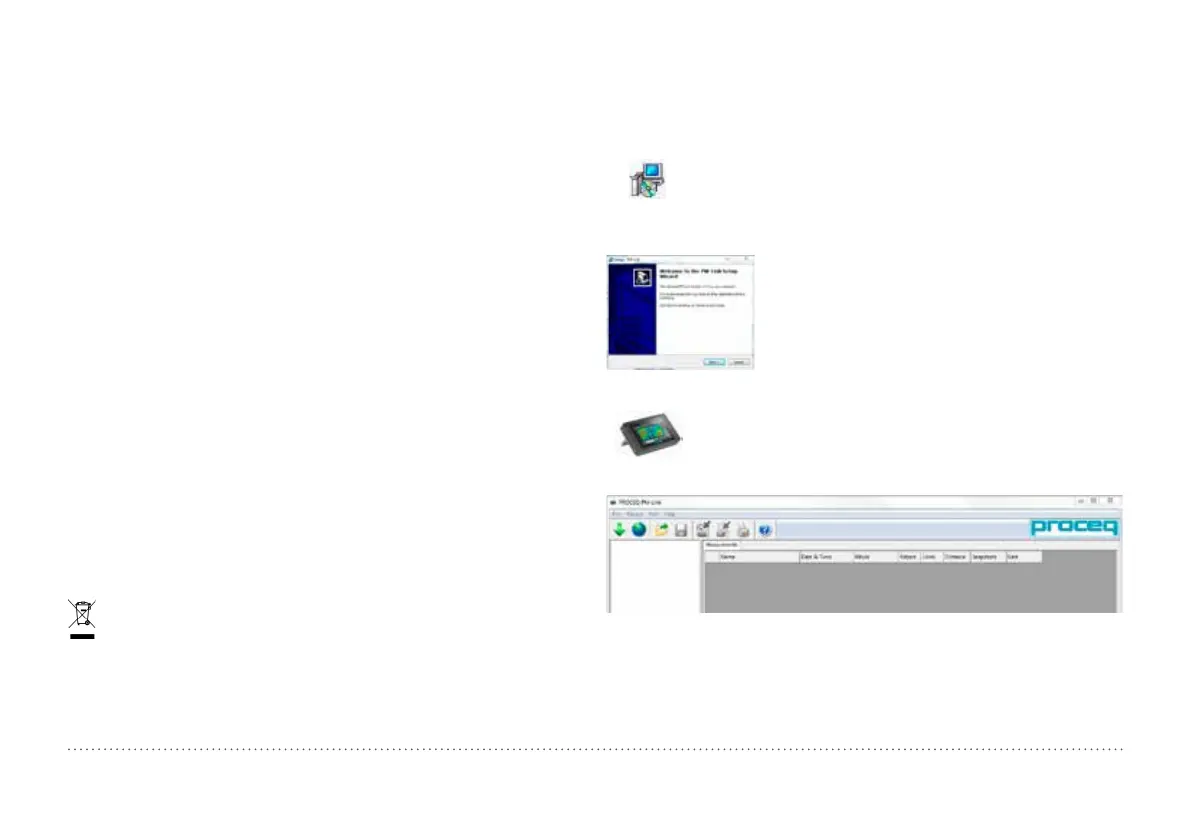
8. PM-Link Software
8.1 Starting PM-Link
Locate the file “PM-Link Setup.exe” on your computer or
on the DVD and click on it. Follow the instructions on the
screen.
Make sure that the “Launch USB Driver install”
tick is selected.
The USB driver installs a virtual com port which
is needed to communicate with the Profometer
Touchscreen Unit.
Double click on the PM-Link Icon on your desktop or
start the Link via the start menu.
The Link starts with a blank list.
Application Settings
The menu item “File – Application settings” allows the user to select the
language and the date and time format to be used.
 Loading...