Hold Print
Sending a Hold Print File
1. Click the WordPad menu button in the upper left corner of the window, and then click
[Print].
2. In the "Select Printer" list, select the printer you want to use.
3. Click [Preferences].
4. In the "Job Type:" list, click [Hold Print].
5. Click [Details...].
6. Enter a User ID in the "User ID:" box.
You can optionally set a file name of a Hold Print file.
7. To specify the print time of the document, select the [Set Print Time] check box, and then
specify the time.
You can specify the time in 24-hour format.
8. Click [OK].
9. Change any other print settings if necessary.
10. Click [OK].
11. Start printing from the application's [Print] dialog box.
Printing a Hold Print File Using the Control Panel
• When printing is completed, the stored file will be deleted.
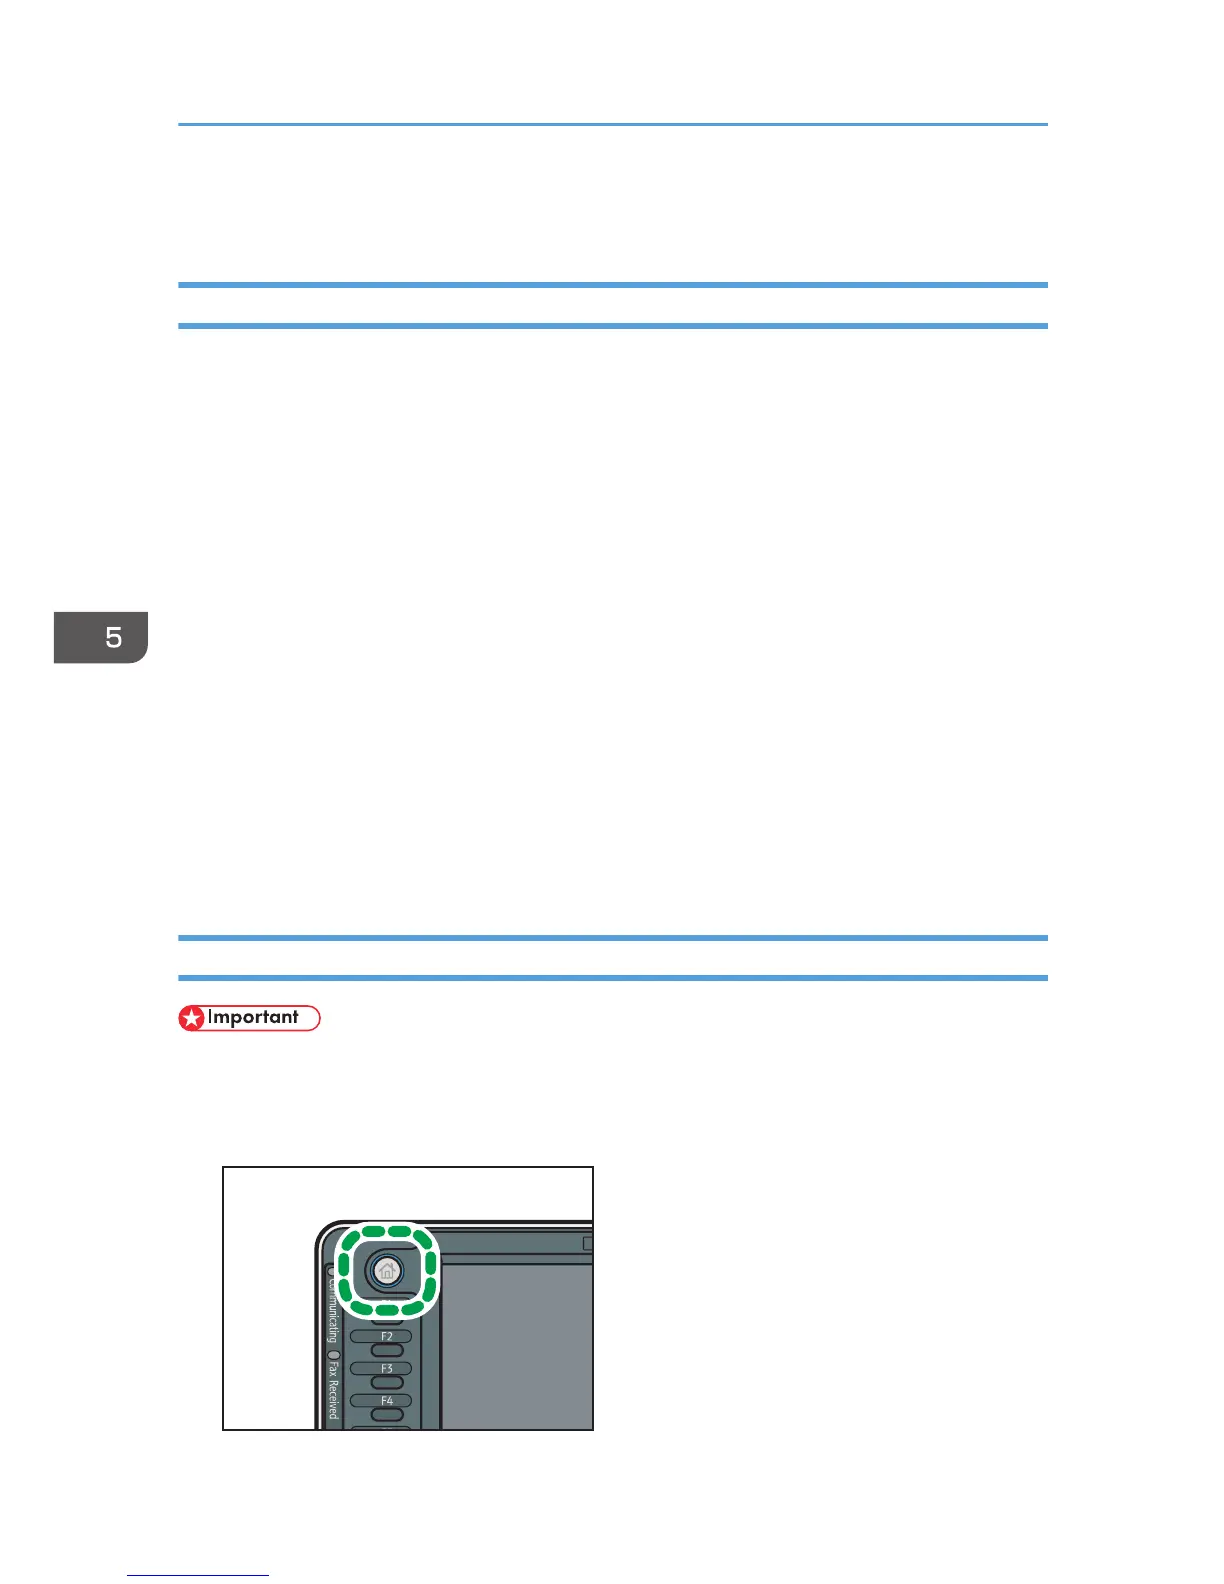
1. Press the [Home] key on the top left of the control panel, and press the [Printer] icon on
the [Home] screen.
 Loading...