3. Press the [ ] or [ ] key to select [Off], [On], or [Next Fax Only], and then press the [OK]
key.
For Memory Transmission, select [Off].
For Immediate Transmission, select [On] or [Next Fax Only].
4. Press the [User Tools] key to return to the initial screen.
Basic Operation for Sending a Fax
• The original in the ADF takes precedence over the original on the exposure glass if you place
originals both in the ADF and on the exposure glass.
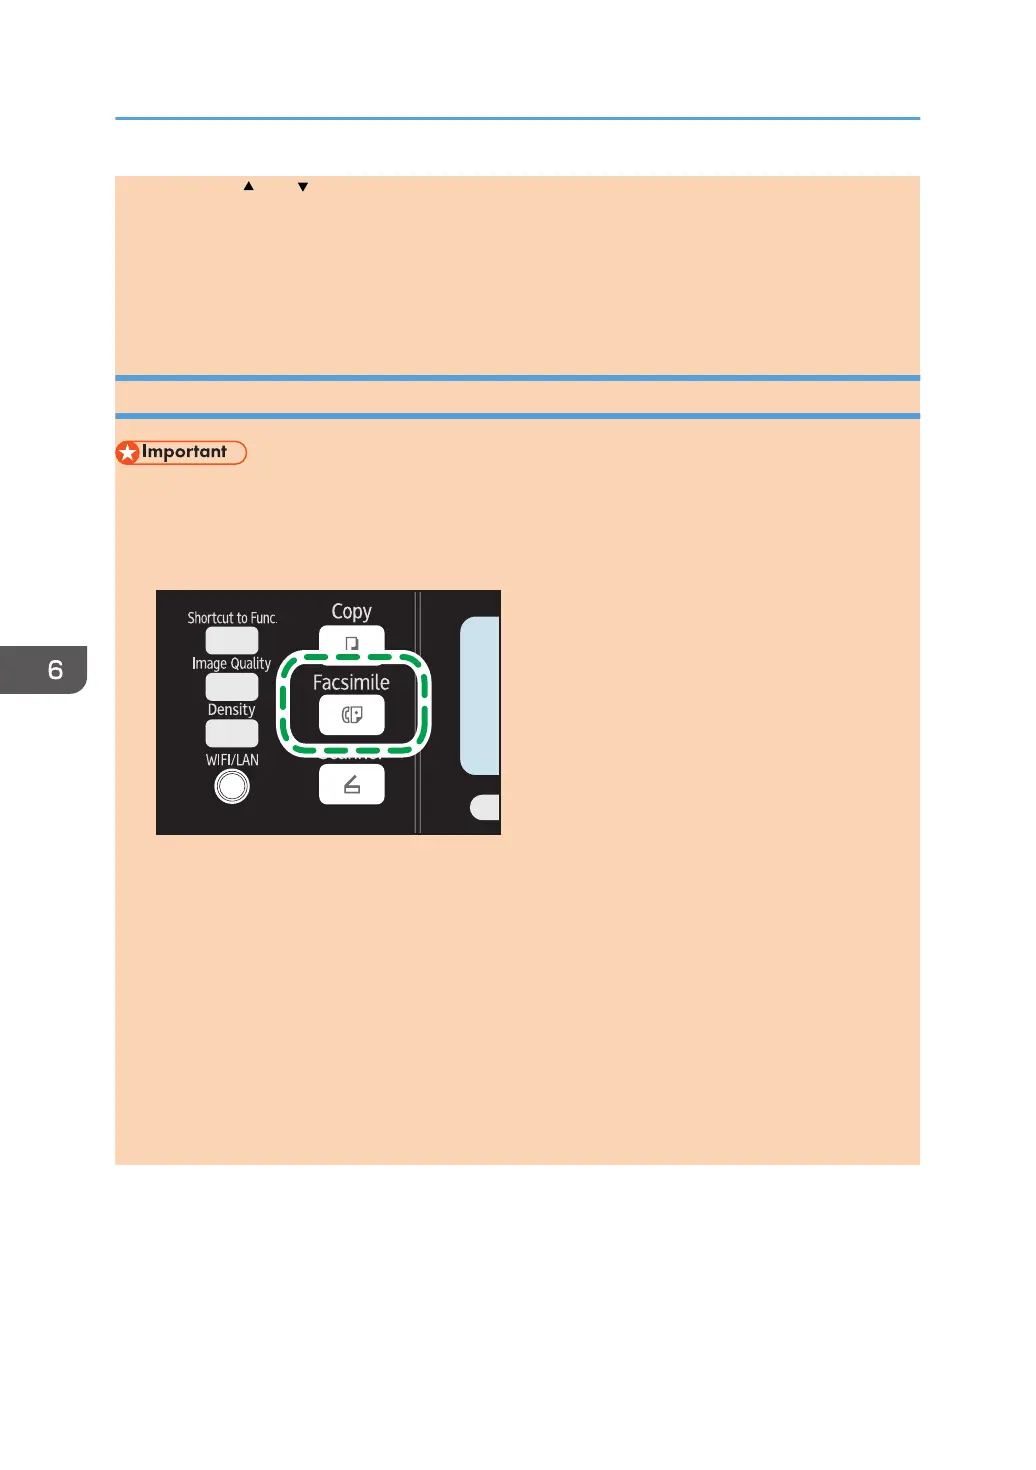
1. Press the [Facsimile] key.
2. Place the original on the exposure glass or in the ADF.
To place the originals, see page 54 "Placing Originals".
3. Enter the fax number (up to 40 characters) using the number keys, or specify a
destination using the One Touch buttons or Speed Dial function.
For details about entering characters, see page 103 "Entering Characters". For details about
specifying destinations using the One Touch buttons or Speed Dial function, see page 111
"Specifying the Fax Destination".
• If the machine is connected to the telephone network through a PBX, make sure to enter the
outside line access number specified in [PBX Access Number] before the fax number. For [PBX
Access Number], see page 159 "Administrator Settings".
6. Sending and Receiving a Fax
108 opal-p2_mf2_com_user_guide_00142109_eng.xml
 Loading...