Rockwell Automation Publication 1783-IN011B-EN-P - April 2023 9
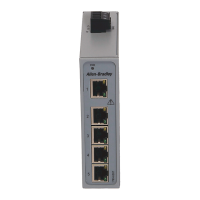
Stratix 2500 Lightly Managed Switches Installation Instructions
Confirm Installation
Before you install the switch in its final location, power on the switch, and verify that the switch powers up within 30 seconds.
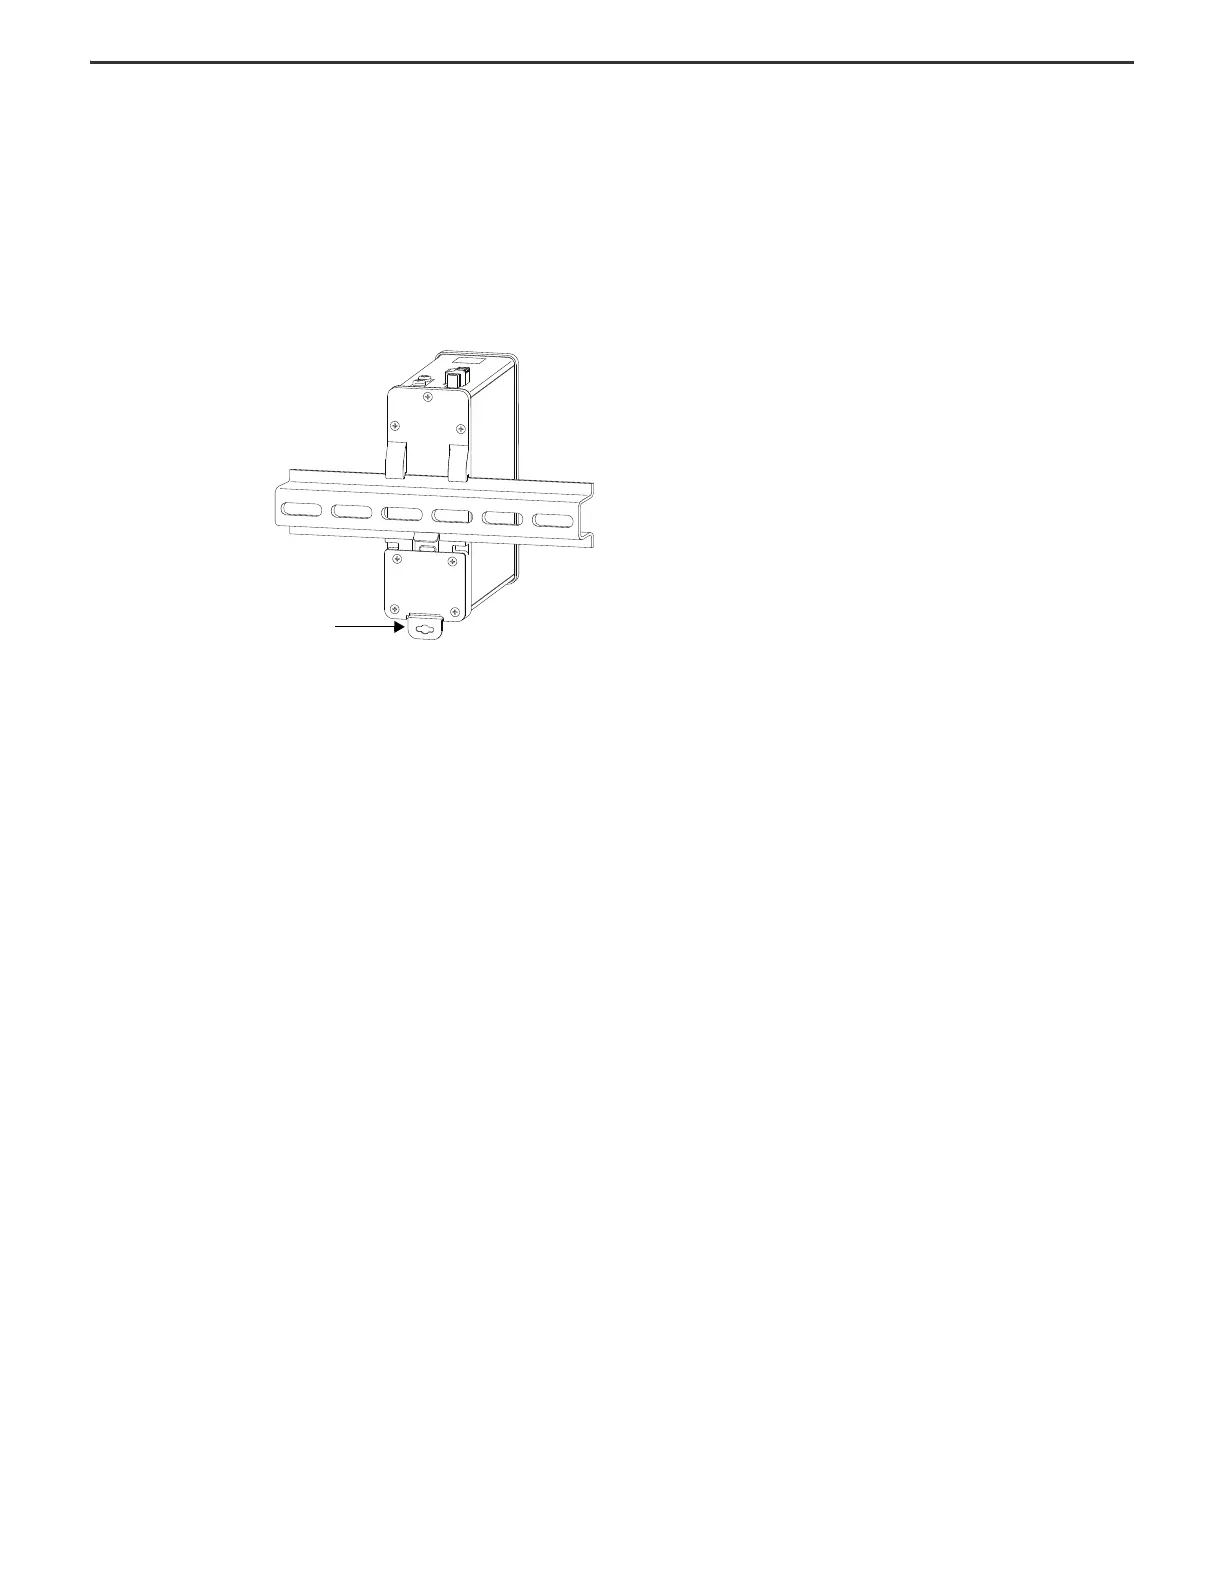
Remove the Switch from a DIN Rail
To remove the switch from a DIN rail, follow these steps.
1. Remove power from the switch, and disconnect all cables and connectors from the switch.
2. Insert a tool, such as a flathead screwdriver, in the slot at the bottom of the spring-loaded latch and use it to release the latch from the DIN rail.
3. Pull the bottom of the switch away from the DIN rail, and lift the hooks off the top of the DIN rail.
4. Remove the switch from the DIN rail.
Pull down on DIN rail release latch.
 Loading...