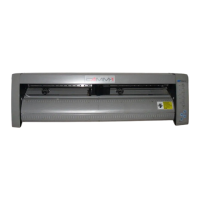
Setup Instructions for Roland model CX-300
Note: This setup also applies to the CX-400 & CX-500 models
Important:
1. Do not throw away the box and foam packaging. If warranty service is ever
needed, shipping in insuffi cient packaging could void your warranty.
2. Do not install the driver software that came in your cutter box if you are going
to use a FlexiSIGN or Signmate software product.
Choosing the correct interface cable:
PC Installation
: If you are connecting the CX-24 to a PC, then you will be using the included USB
cable or the parallel cable; but not both.
MAC installation
: If you purchased MAC signmaking software, do NOT use the cables that came with
the CX-24. You will use the MAC cable ordered with your MAC software. If you are using a PowerMac
with a serial port then you will use the special MAC serial interface cable (Part No. XY2606).
Parallel cable connection to a PC:
Use this connection if you do not plan to connect a separate desktop printer to the Parallel / Printer
port on your computer, otherwise see “Serial cable connection”, below.
The parallel cable is the cable with the 25 pin connector on each end.
1) Connect one end to the port on the cutter labeled “Parallel” and attach the two wire clips to it.
2) Connect the other end of the cable to the Parallel / Printer (LPT1) port on your computer.
USB cable connection to a PC:
important
Beacon Graphic Systems
189 Meister Avenue
Somerville, NJ 08876
www.BeaconGraphics.com
800.762.9205
908.231.8077
FAX 908.231.8943
Create the cutting edge!