73
Connecting to Other Devices
Connecting the HP305/HP302 to a V-LINK compatible image device allows you to control the images with the HP305/HP302.
* To prevent malfunction and/or damage to speakers or other devices, always turn down the volume, and turn off the power on all devices before
making any connections.
fig.aaa
1.
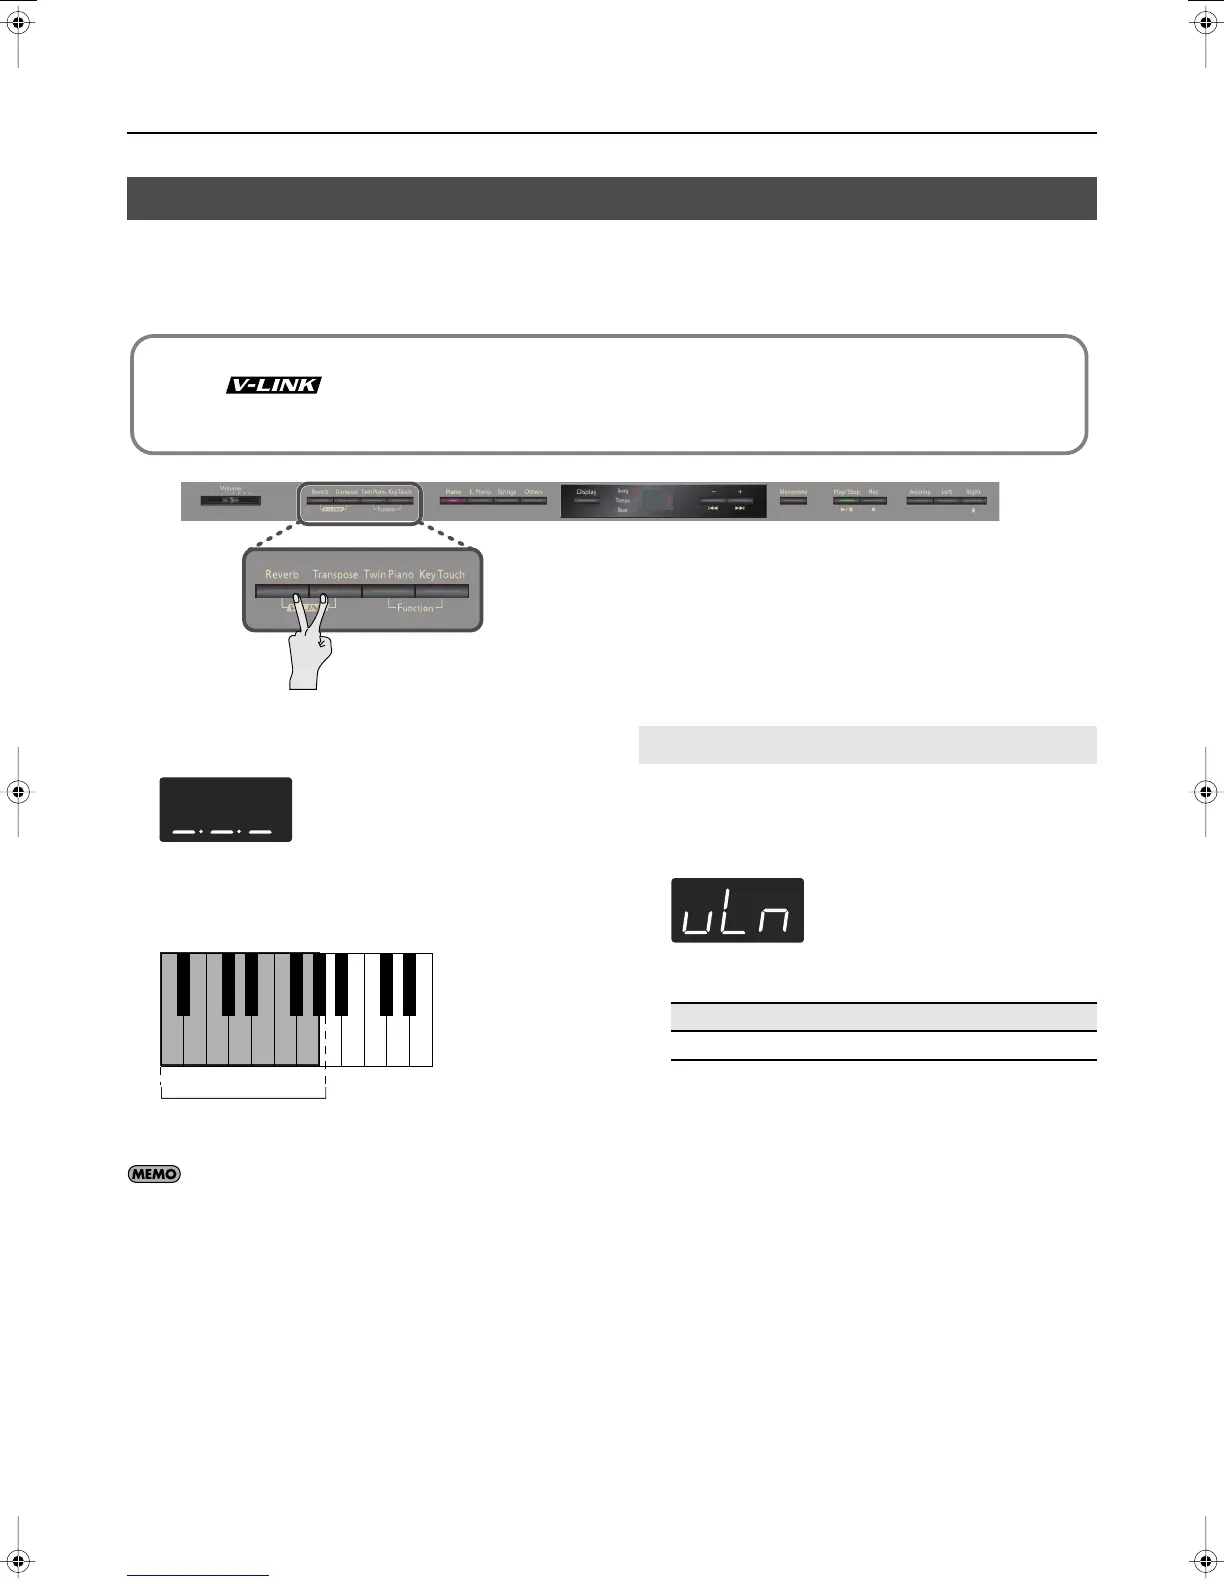
Hold down the [Reverb] button and press the
[Transpose] button.
fig.aaa
When V-LINK is on, the bars at the bottom of the display will be lit.
You can control images using the twelve keys at the left end of the
keyboard.
fig.aaa
* While V-LINK is switched on, no sound is produced when you press
any of the twelve keys at the left end of the keyboard.
To cancel V-LINK, hold down the [Reverb] button and press the
[Transpose] button.
Here’s how to specify the channel on which messages used to
control video will be sent.
1.
Enter Function mode, choose “vLn” (p. 55).
2.
Use the [-] or [+] button to edit the setting.
Using the V-LINK Function
V-LINK
V-LINK ( ) is a function that allows music and images to be performed together. By using MIDI to connect two or more V-LINK
compatible devices, you can easily enjoy performing a wide range of visual effects that are linked to the expressive elements of a music
performance.
C1 D1 E1 F1 G1A0
A0 – G#1
B0
Specifying the V-LINK Transmit Channel
Setting
1–16
HP305_302_e.book 73 ページ 2010年1月5日 火曜日 午後12時2分
 Loading...