17
Getting Ready to Play
Quick Start
5
Use the tool supplied with the Wave Expansion Board to
rotate the board holders to LOCK, securing the Wave
Expansion Board in place.
fig.1-03d.e
6
Use the (specified) screws you removed in step 2 to reattach
the cover.
This completes the installation of the Wave Expansion Board. Next, make
sure the board is installed correctly.
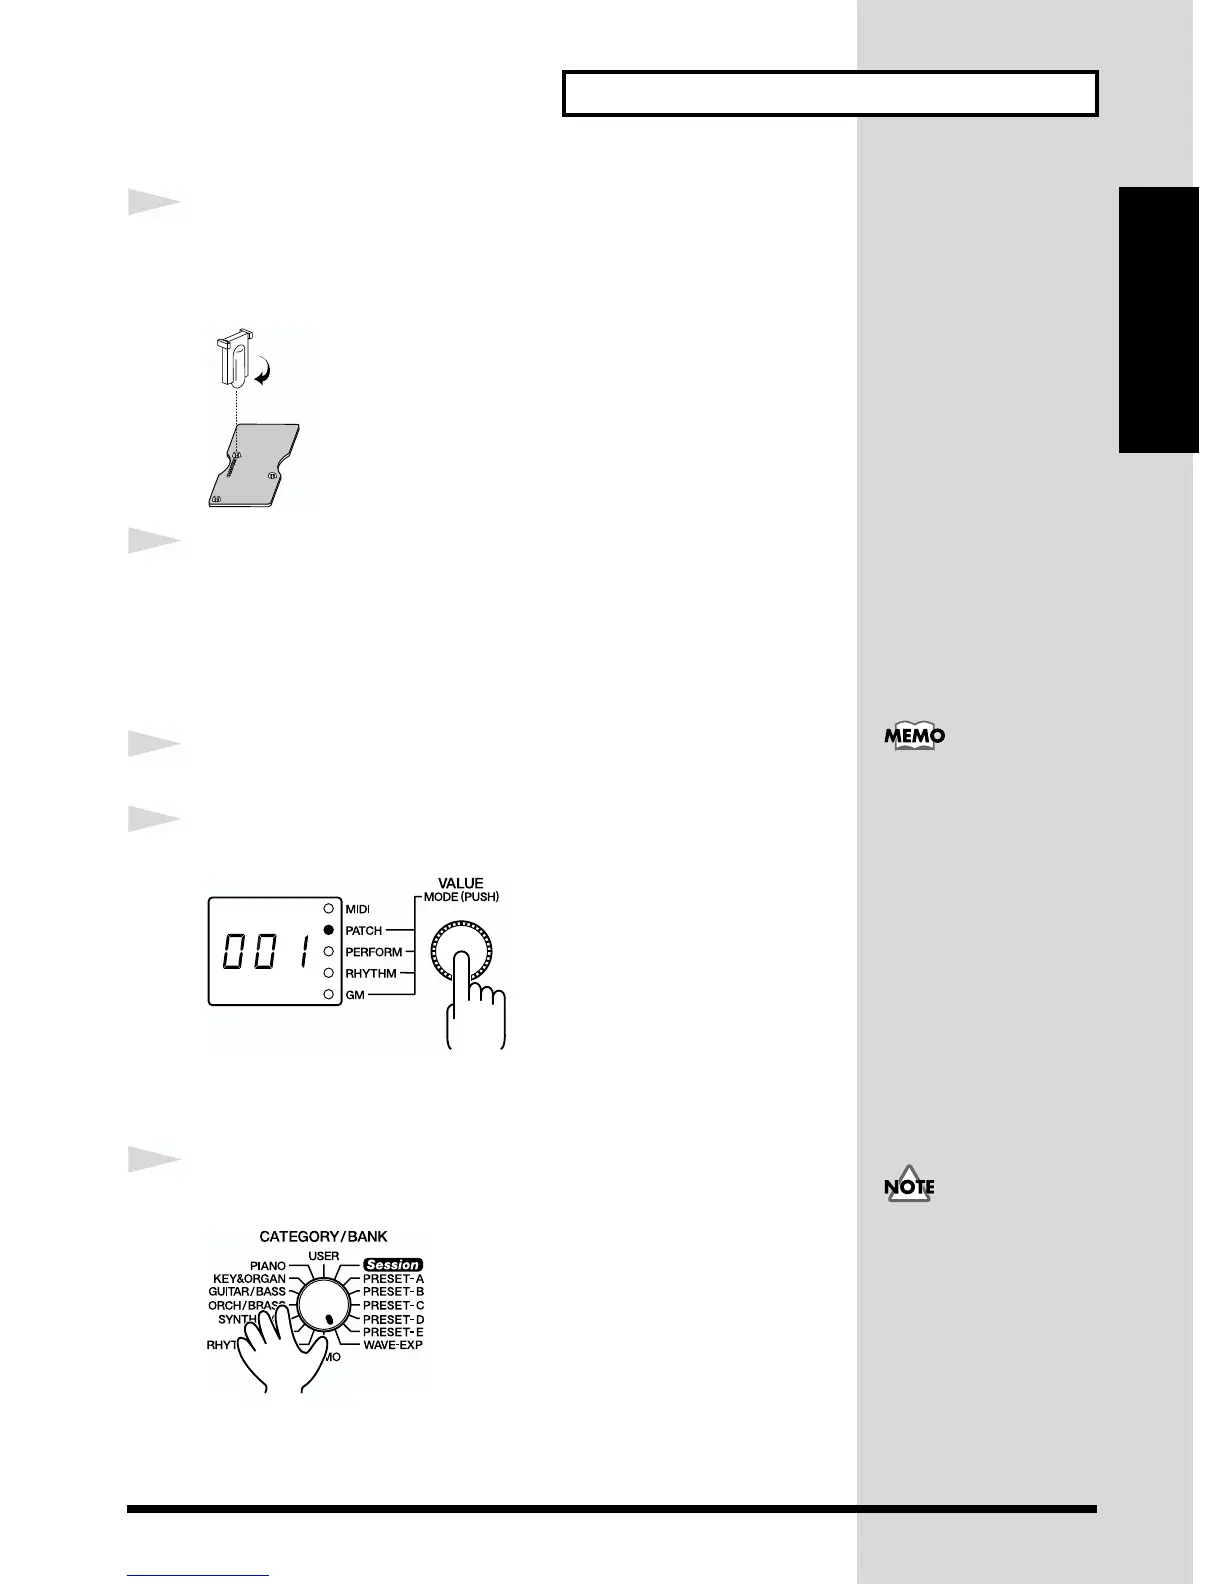
1
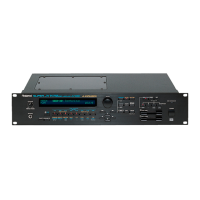
Switch on the power to the JV-1010 (p. 20).
2
Press the VALUE knob to choose the Patch mode (PATCH).
fig.1-04
Pressing the VALUE knob makes the mode change sequentially. Press the
knob several times, until the PATCH indicator lights up.
3
Turn the CATEGORY/BANK knob to choose WAVE-EXP.
fig.1-05
If 001 appears in the display, the Wave Expansion Board has been installed
correctly.
LOCK
When a Wave Expansion
Board is installed, then
when you switch on the
power first roland Jv-1010
is displayed, and after that
the final two digits of the
model number for the
installed Wave Expansion
Board flash twice on the
display.
For example, when the SR-
V80-02 “Orchestral” Wave
Expansion Board is
installed, 02 flashes twice
on the display.
If the display shows - - -,
it’s likely that the Wave
Expansion Board is not
eing recognized correctly.
Follow the steps in
“Switching Off the
Power” (p. 20) to switch off
the power, then reinstall
the Wave Expansion Board,
making sure you do it
correctly.
 Loading...