 Loading...
Do you have a question about the Roland V-Drums TD-50X and is the answer not in the manual?
| Sound Module | TD-50X |
|---|---|
| Preset Kits | 100 |
| User Kits | 100 |
| Bluetooth | No |
| Sound Engine | Prismatic Sound Modeling |
| User Sample Import | Yes |
| Outputs | 12 |
| Sequencer | No |
| Power Supply | AC Adaptor |
| MIDI | In, Out |
| Display | LCD |
| Pads | Not included |
| Trigger Inputs | 14 |
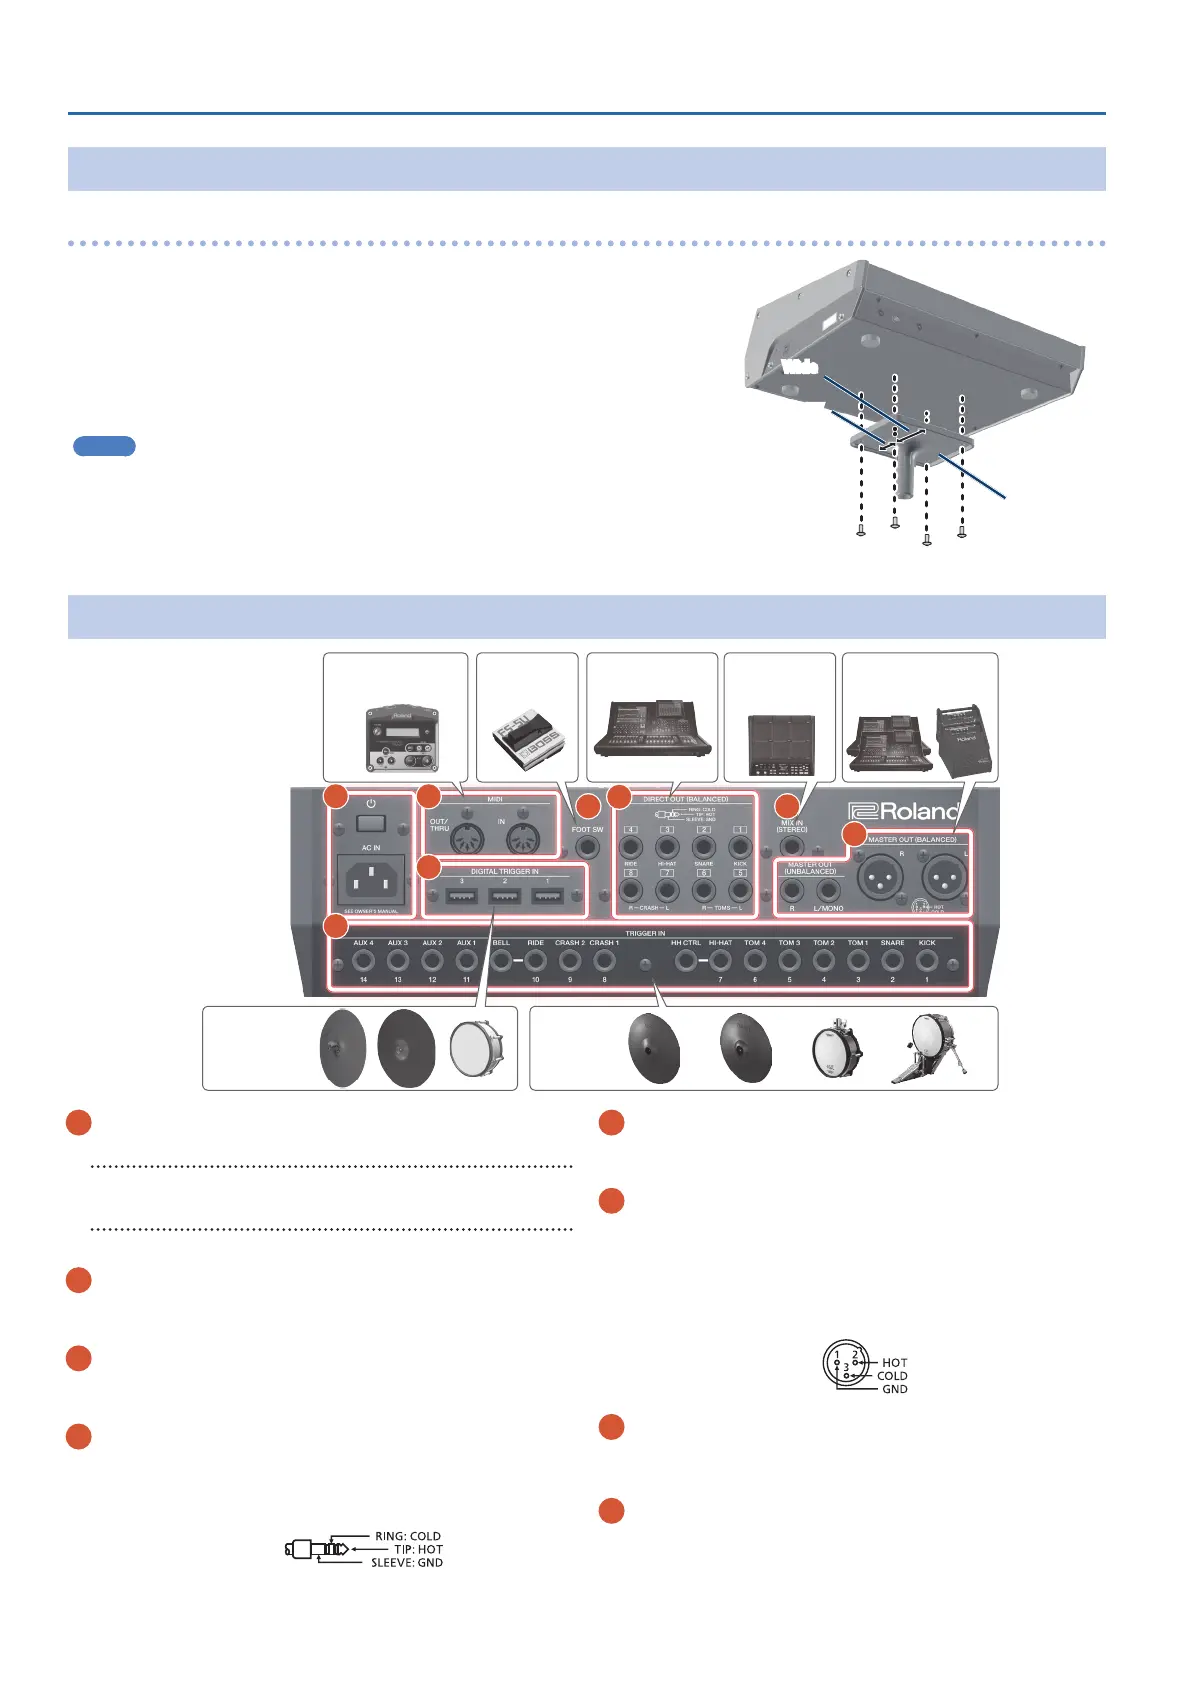
| Direct Outputs | 8 (1/4-inch TRS) |
Explains the meaning of WARNING and CAUTION notices used in the manual for safety instructions.
Explains the meaning of symbols used in the manual to convey important instructions or warnings.
Groups essential safety instructions for usage, placement, and handling to prevent hazards.
Notes on electrical connections and potential interference from other appliances.
Guidance on unit placement to avoid interference and maintenance for cleaning.
Information on repairs, data backups, and general usage tips for safe operation.
Information on intellectual property rights and precautions for external memory devices.
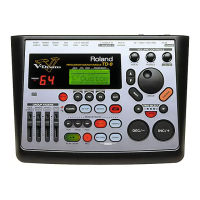
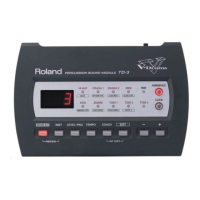
Describes the main controls, buttons, and the display on the unit's top surface.
Details all ports for connecting external devices, power, and audio.
Step-by-step guide for powering the unit on and off safely.
Adjusts digital hi-hats (VH-14D, VH-13, VH-11/10) for proper detection.
Explains fundamental controls, screen navigation, and value editing.
Details how to play different sounds using various techniques on pads, cymbals, and hi-hats.
Guides on selecting drum kits, playing along with songs, and using the click track.
Introduces practice modes for timing and skill, and managing favorite drum kits.
How to record, playback, and export drum performances to an SD card.
Steps to record while a song is playing and then playback the result.
How to modify individual sounds, select instruments, and choose pads for editing.
Adjusting room sound, reverb, mixer settings, pad compressor, equalizer, and multi-effects.
Setting kit volume, snapshot, illumination color, renaming, and importing audio files.
Configuring trigger inputs, pad types, and sensitivity for accurate signal processing.
Saving/restoring settings, and preparing SD cards for use with the unit.
Returning the unit to default settings and configuring system-wide options.
Details on drum kits, effects, user samples, and recorder capabilities.
Information on power supply, dimensions, weight, and included accessories.