66
Chapter 3. Creating Your Own Sounds
Modifying the Patch Assigned to a Part
When using Patches in Performance mode, some settings
such as effects settings will be affected by Performance
settings. If you wish to edit a Patch while hearing how it will
sound in the Performance, use this procedure:
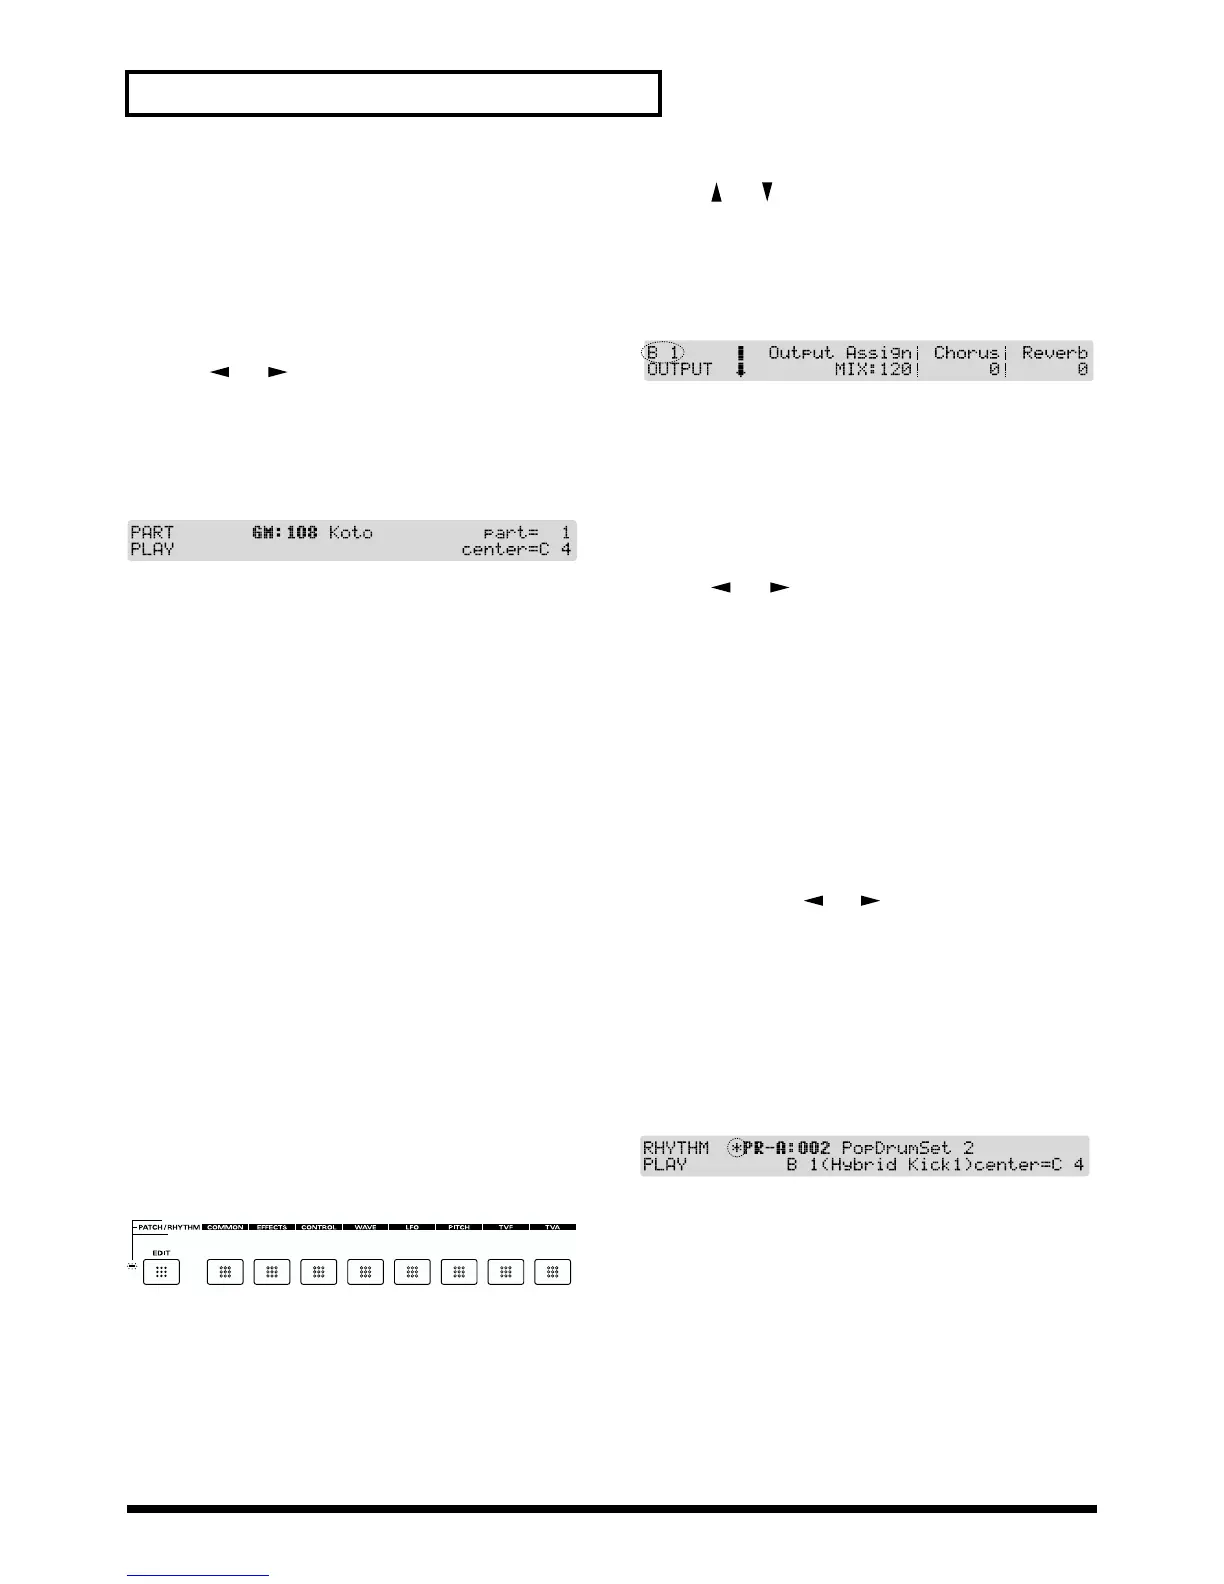
1. Make sure that the PERFORM PLAY display is showing.
2. Press [ ] or [ ] to select the Part to which the selected
Patch is assigned.
3. While holding down [PERFORM], press [PATCH].
Both button indicators will light. This will call up the PLAY
display of the Patch assigned to the currently selected Part.
fig.3-15
4. The following steps are the same as when you modify a
Patch in Patch mode.
5. When you finish making settings, press [EXIT] to call up
the PLAY display of the Patch assigned to the Part.
An asterisk (*) will be displayed at the left of the Patch group.
This indicates the Patch settings have been modified.
6. To return to the PERFORM PLAY display, press
[PERFORM] or [EXIT].
* If you select another Patch in the group with an asterisk (*), the
modified Patch settings will be lost. To keep these modified
settings, you must write them into user memory (p. 68).
■ Editing a Rhythm Set
You can change the percussion instrument assigned to each
key. As each percussion instrument consists of a single
Rhythm Tone, there is no Palette display.
1. Press [RHYTHM] to access the RHYTHM PLAY display,
and select the Rhythm Set whose settings you wish to
modify (p. 55).
2. Press [EDIT] to make the indicator light.
3. Use the function buttons to select the display group.
The button indicator of the selected display group will blink.
fig.3-16
* Since Rhythm Sets do not have an LFO, it will not be possible to
select the LFO group.
4. Use [ ] or [ ] to select a display page.
5. If you have selected a parameter display that can be set
independently for each key, the key selected for editing
will be shown in the display. To select a different key,
play the desired key on the keyboard.
fig.3-17
* If [EDIT] indicator is turned off, you can also use the TONE
SELECT [1]–[4] (located in the row of function buttons) to
select the displayed key.
TONE SELECT [1]: move to an octave lower key
TONE SELECT [2]: move to the semitone below
TONE SELECT [3]: move to the semitone above
TONE SELECT [4]: move to an octave higher key
6. Use [ ] or [ ] to move the cursor to the parameter
you wish to modify.
7. Use the VALUE dial, [INC]/[DEC] or numeric keys and
modify the parameter value.
* If you’ve made a mistake in setting the parameter value or you
don’t like the changes, just press [UNDO/COMPARE] to
restore the value to what it was.
8. If you wish to move to another display group, press
[EDIT] to make the indicator light, and use the function
buttons.
* You can also move to another display group by holding down
[SHIFT] and using [ ] or [ ]. Since this can be done even
when [EDIT] indicator is dark, it is a faster way to get around
because you don’t have to turn on [EDIT] indicator each time.
9. Repeat steps 3–8 to complete a Rhythm Set.
10.When you finish making settings, press [EXIT] or
[RHYTHM] to return to the RHYTHM PLAY display.
An asterisk (*) will be displayed at the left of the Rhythm Set
group. This shows Rhythm Set settings have been modified.
fig.3-18
* If you select another Rhythm Set in the group with an asterisk
(*), the modified Rhythm Set settings will be lost. If you wish to
keep these modified settings, you must write them into user
memory (p. 68).

 Loading...