17
damage. Therefore, do not look directly into the laser
beam.
■ If the laser pointer is stored for more than 3 months
without use, please remove the batteries to avoid
damage from possibly leaking batteries.
■ The laser pointer includes no servicing components.
Never open the housing for repair or adjustments.
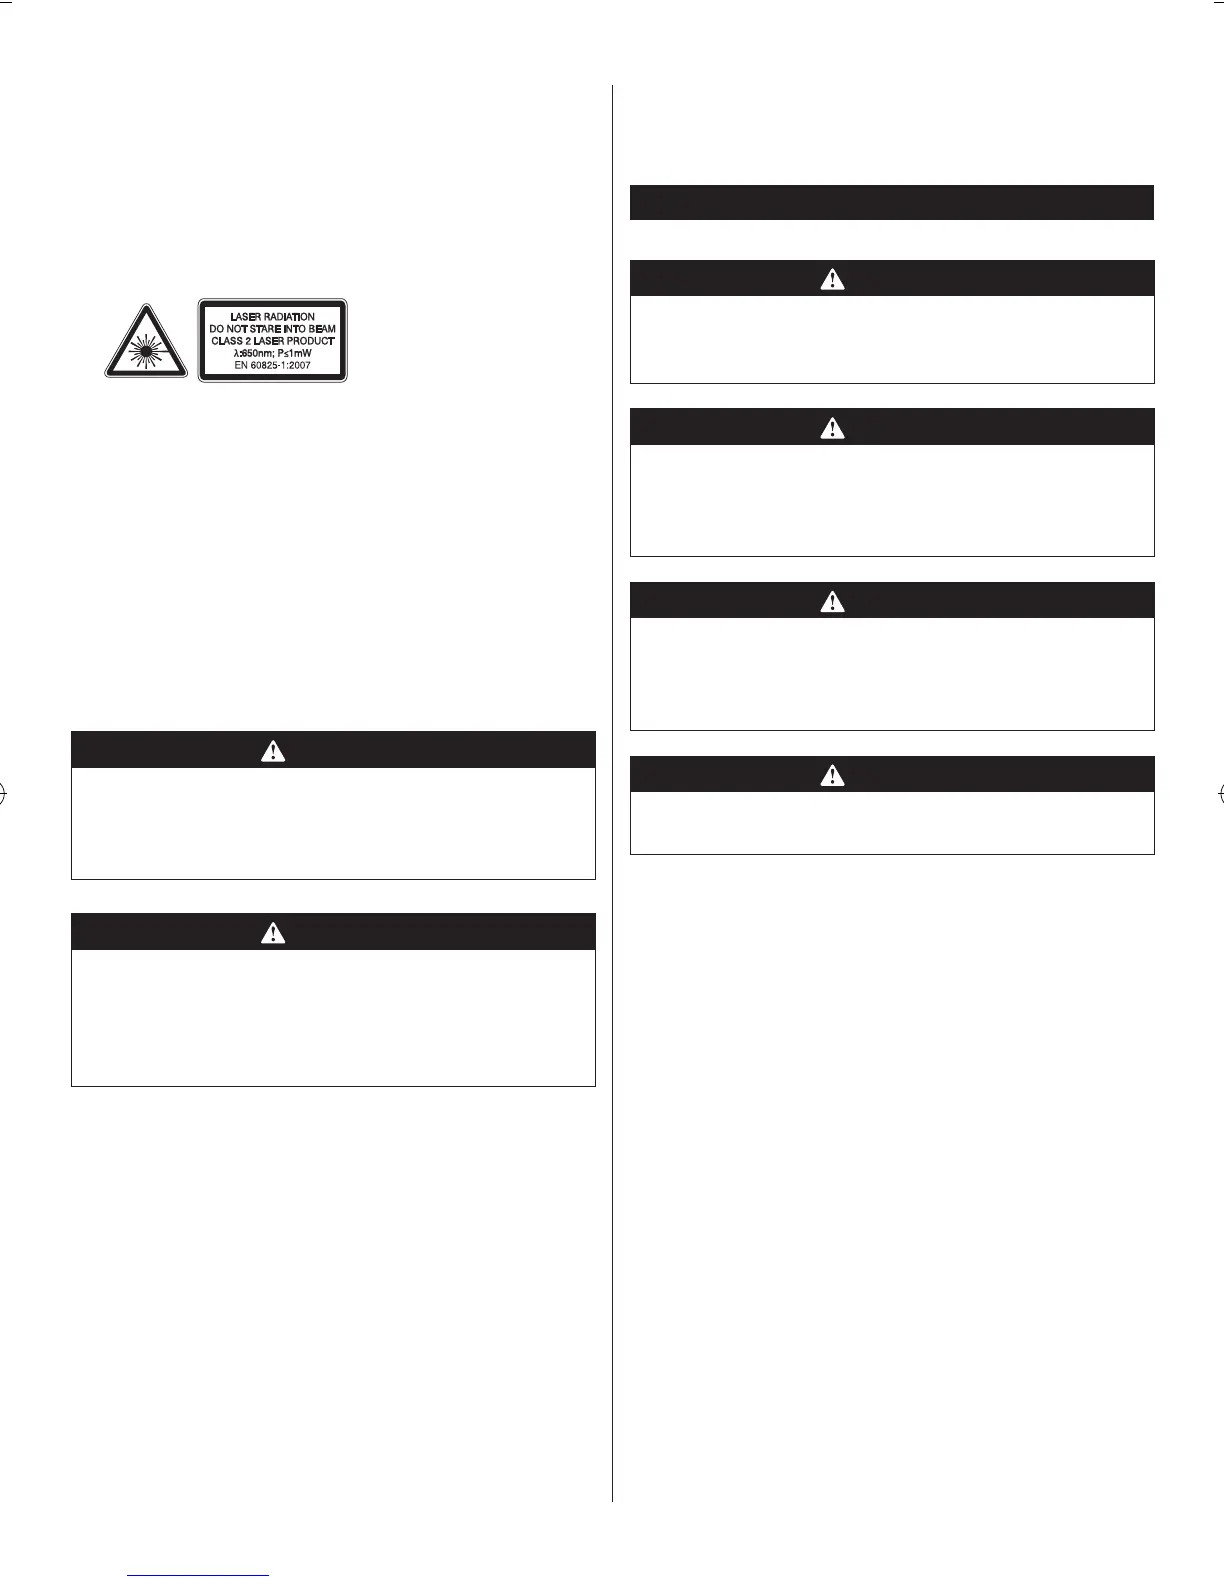
■ Laser warning label:
■ Do not remove or deface warning labels. Removing
labels increases the risk of exposure to radiation.
■ CAUTION: Use of controls or adjustments or
performance of procedures other than those specified
herein may result in hazardous radiation exposure.
■ Do not attempt to repair or disassemble the laser
level. If unqualified persons attempt to repair this
laser product, serious injury may result. Any repair
required on this laser product should be performed by
authorised service centre personnel.
■ CAUTION: The use of optical instruments with this
product will increase eye hazard.
WARNING
Do not use tinted glasses to enhance the laser light.
Tinted glasses will reduce the overall vision for the
application and interfere with the normal operation of
the tool.
WARNING
Laser radiation. Never aim the beam at a work piece
with a reective surface. Bright shiny reective sheet
steel or similar reective surfaces are not recommended
for laser use. Reective surfaces could direct the beam
back toward the operator or bystanders.
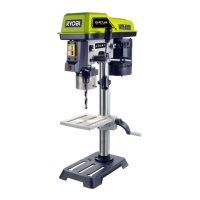
ADJUSTING THE LASER LINES
See Figure 23.
Check the laser alignment to ensure the intersection of
the laser lines is precisely at the spot where the drill bit
meets the workpiece. If it is not, the laser lines should
be adjusted using the laser adjustment knobs located on
opposite sides of the head assembly.
1. Mark an “X” on a piece of scrap wood.
2. Insert a small drill bit into the chuck and align its tip to
the intersection of the lines of the “X”.
3. Secure the board to the table.
4. Turn on the laser guide and verify the laser lines align
with the “X” on the workpiece.
5. If the laser lines do not align, loosen the set screws on
each of the laser housings with a hex key and rotate
the laser adjustment knobs until the lines meet in the
centre of the “X”. Retighten the set screws to secure.
OPERATION
WARNING
Do not allow familiarity with tools to make you careless.
Remember that a careless fraction of a second is
sufcient to inict serious injury.
WARNING
Always wear safety goggles or safety glasses with
side shields when operating power tools. Failure to do
so could result in objects being thrown into your eyes
resulting in possible serious injury.
WARNING
Do not use any attachments or accessories not
recommended by the manufacturer of this tool. The use
of attachments or accessories not recommended can
result in serious personal injury.
WARNING
To avoid possible injury, keep guard closed and in place
while tool is in operation.
CHANGING SPEEDS AND BELT PLACEMENT
See Figure 24.
The spindle speed is determined by the location of the belt
on the pulleys inside the head assembly. The speed chart
located on the cover inside the head assembly shows the
recommended speed and pulley conguration for each
drilling operation.
To change the pulley conguration:
1. Lift pulley cover.
2. Loosen the tension bolt.
3. Remove the belt.
4. Reposition the belt according to the speed chart.
5. Retighten the tension bolt.
NOTE: See the Drilling Speed Table (RPM) (Figure 28)
for size of drill bit and material drilling recommendations.
ON/OFF switch
See Figure 25.
To turn the drill press on:
1. Press the ON button ( l ).
 Loading...