3 Alignments and Adjustments
3-1
3-1 Required Equipment
The following equipment is necessary for adjusting the monitor:
·Computer with Windows 95, Windows 98, Windows NT, Windows 2000, or Windows XP.
·MTI-2050/MTI-2055 DDC MANAGER JIG
3-2 Automatic Color Adjustment
To input video, use 16 gray or any pattern using black and white.
1. Press and hold down both the MENU and the ▲ keys at the same time for about 5 seconds.
2. A blinking display informs you that the automatic color adjustment process is completed.
3. The automatic color adjustment feature is also available in the service function.
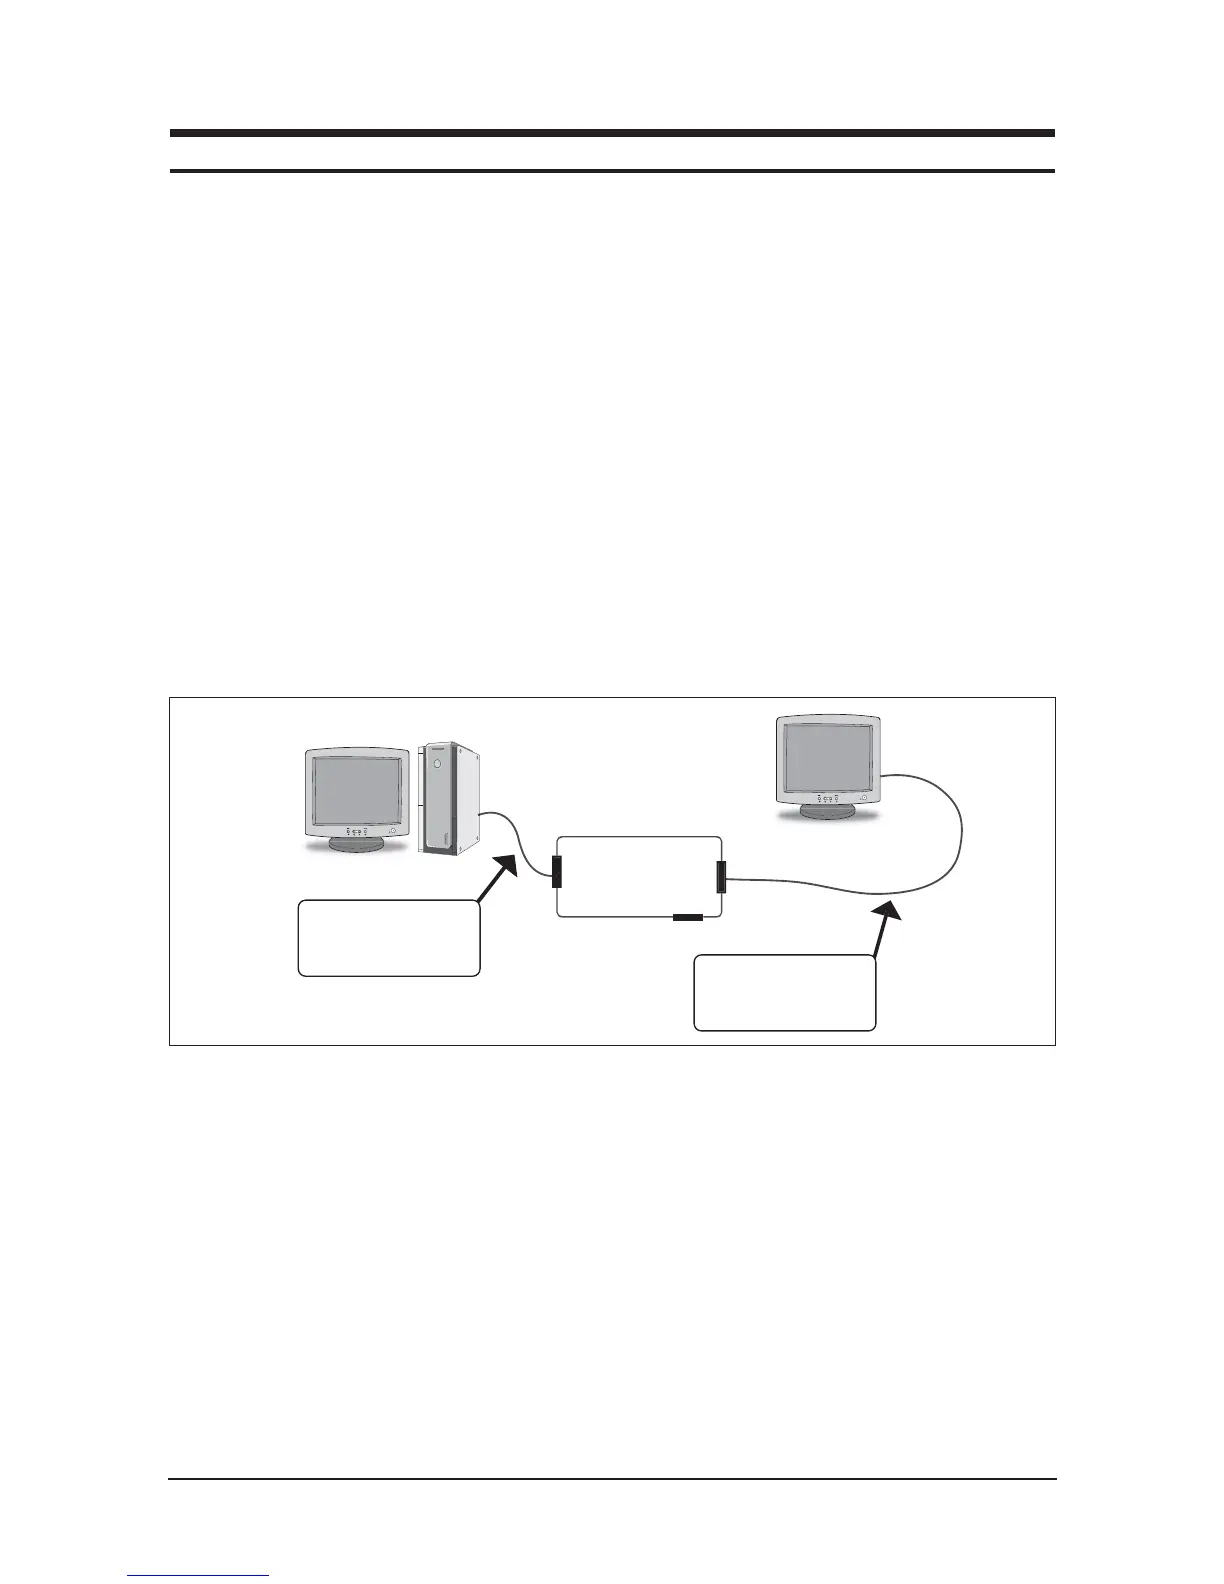
3-3 DDC EDID Data Input
1. Input DDC EDID data when replacing AD PCB.
2. Receive/Download the proper DDC file for the model from HQ quality control department.
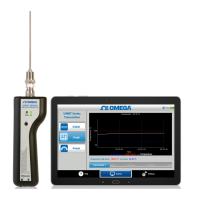
Install the below jig (Figure 1) and enter the data.
3-4 OSD Adjustment When Replacing Panel
1. Set the Brightness and Contrast to zero,
and push the MENU button more than 5 seconds.
The Function OSD is displayed like Figure 2.
2. Select the Panel Information.
3. Select a panel that you want to replace with.
3-5 OSD Adjustment When Replacing Lamp Only
1. Set the Brightness and Contrast to zero,
and push the MENU button more than 5 seconds.
The Function OSD is displayed like Figure 2.
2. Select the Panel Information.
3. Select the upper lamp/ lower lamp.
--. Note : Please perform Automatic Color Adjustment when replacing the panel and main board.
3 Alignments and Adjustments
This section of the service manual explains how to use the RS232 JIG.
This function is needed for AD board change and program memory (IC200) change.
 Loading...