21
and with an earthed type socket that fits the plug of this
machine at the other end.
Mounting the Tool
Note:
We highly recommend that you bolt this mitre saw se-
curely to a work bench to gain the maximum stability of
your machine.
• Locateandmarkthefourboltholesonthebench.
• Drillthebenchwithaø10mmdrillbit,
• Boltthemitresawontothebenchwithbolts,washers
and nuts. Note that these fasteners are not supplied
with the machine.
Operating the Tool
WARNING! Never connect the plug to the power source outlet
until all Installations and adjustments are completed and
you have read and understood the safety and operational
instructions.
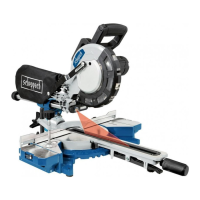
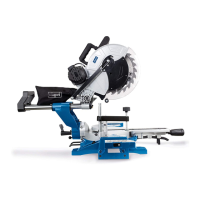
Basic Pullover Mitre Saw Operations
• Alwaysusetheclamp17toholdtheworkpiecermly.
2 holes are provided for the clamp.
• Alwayspositiontheworkpieceagainstthefence.Any
piece that is bowed or warped and cannot be held flat
on the table or against fence may trap the blade and
should not be used.
• Neverplacehandsnearthecuttingarea.Keephands
outside the ”No Hands Zone” which includes the entire
table and is labelled by ”No Hands” symbols.
WARNING! To avoid injury from materials being thrown, un-
plug the saw to avoid accidental starting, and then remove
small materials.
Chop Cut (Fig. 6)
• Forchopcutting,slidethecuttinghead to therear
position as far as it will go, and lock the carriage 1 by
the lock handle 2.
courant et, à l’autre extrémité, d’une fiche femelle avec
mise à la terre, qui s’enfiche dans la scie.
Montage de la scie
N. B.:
Il est vivement recommandé de boulonner la scie à un
établi pour lui assurer le maximum de stabilité.
• Repéreretmarquerl’emplacementdesquatretrousde
fixation sur l’établi.
• Percer les trous dans l’établi avec un foret de 10
mm.
• Boulonnerlascieàl’établiàl’aidedeboulons,ron-
delles et écrous (non fournis avec la scie).
Mode d’emploi
ATTENTION! Ne pas enficher la fiche dans une prise de cou-
rant avant d’avoir terminé toutes les étapes de l’installation
et du réglage et d’avoir lu et compris les consignes de sé-
curité et le mode d’emploi.
Consignes générales
• Toujoursutiliserleserre-joint17pourimmobiliserla
pièce à scier. 2 trous sont prévus pour le serre-joint.
• Toujoursplacerlapièceàcoupercontreleguide.Ne
pas utiliser de pièce cintrée ou tordue ou de pièce qu’il
est impossible de maintenir à plat sur le plateau ou
contre le guide, car elle risque de bloquer la lame.
• Nejamaisplacerlesmainsdanslazonedecoupe,qui
comprend l’ensemble du plateau et est indiquée par
des symboles „Pas de mains”.
ATTENTION! Pour éviter d’être blessé par des projections de
matériaux, débrancher la scie pour l’empêcher de se mettre
en marche accidentellement et enlever les petits morceaux
de matériaux.
Coupe de refend (Fig. 6)
• Pourlacoupederefend,faireglisserlatêtedecoupe
vers l’arrière aussi loin qu’elle peut aller et bloquer le
chariot 1 à l’aide de la manette de blocage 2.
 Loading...

