english 5
Setup
Prepare the workplace where the machine is to be placed.
Ensure sufficient room to allow safe work without malfunc-
tions.
The machine is designed to operate on a level surface and
mustbeplacedsecurelyonrm,levelground.
Please make sure your scheppach machine is placed firmly
on stable plain ground.
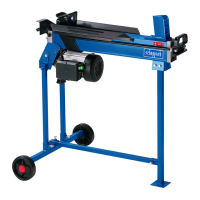
Assembly
Forpackagingreasons, thebase(6)istobeinstalledby
the customer.
Usethe5saucer-headscrewsM8x12thatareincludedin
the delivery.
Placethedevicehorizontallyontheoor,andputtheSty-
ropor pad of the packaging underneath the splitting wedge
side.
m Electrical connection
The installed electric motor is completely wired ready for op-
eration.
The customer’s connection to the power supply system, and
any extension cables that may be used, must conform with
local regulations.
Important remark:
The motor is automatically switched off in the event of an
overload. The motor can be switched on again after a cool-
ing down period that can vary.
Defective electrical connection cables
Electrical connection cables often suffer insulation dam-
age.
Possible causes are:
• Pinch points when connection cables are run through
window or door gaps.
• Kinksresultingfromincorrectattachmentorlayingof
the connection cable.
• Cuts resulting from running over the connecting cable.
• Insulationdamageresultingfromforcefullypullingout
of the wall socket.
• Cracks through aging of insulation.
Such defective electrical connection cables must not be
used as the insulation damage makes them extremely haz-
ardous.
Check electrical connection cables regularly for damage.
Make sure the cable is disconnected from the mains when
checking.
Electrical connection cables must comply with the regula-
tionsapplicableinyourstate/localjurisdiction.
Single-phase motor
• The mains voltage must coincide with the voltage speci-
edonthemotor’sratingplate.
• Doubleinsulatedtools areequippedwith apolarized
plug(onebladeiswiderthantheother.)Thisplugwill
tinapolarizedoutletonlyoneway.Iftheplugdoes
not t fully in the outlet, reverse the plug. If it still
does nott,contact a qualied electrician to install
apolarizedoutlet.Donotchangethepluginanyway.
Warning: Do not permit fingers to touch the terminals of
plug when installing or removing from outlet.
• Double insulation eliminates the need for the three
wire grounded power cord and grounded power sup-
plysystem.Beforeplugginginthetool,becertainthe
outlet voltage supplied is within the voltage marked on
the nameplate.
• The connection to the mains must be protected with a
16 A slow-acting fuse.
Extension cords
• The use of any extension cord will cause some drop in
voltage and loss of power.
• Wiresoftheextensioncordmustbeofsufcientsize
to carry the current and maintain adequate voltage.
• Use the table to determine the minimum wire size
(A.W.G.)extensioncord.
• Iftheextensioncordisworn,cut,ordamagedinany
way,replaceitimmediately.
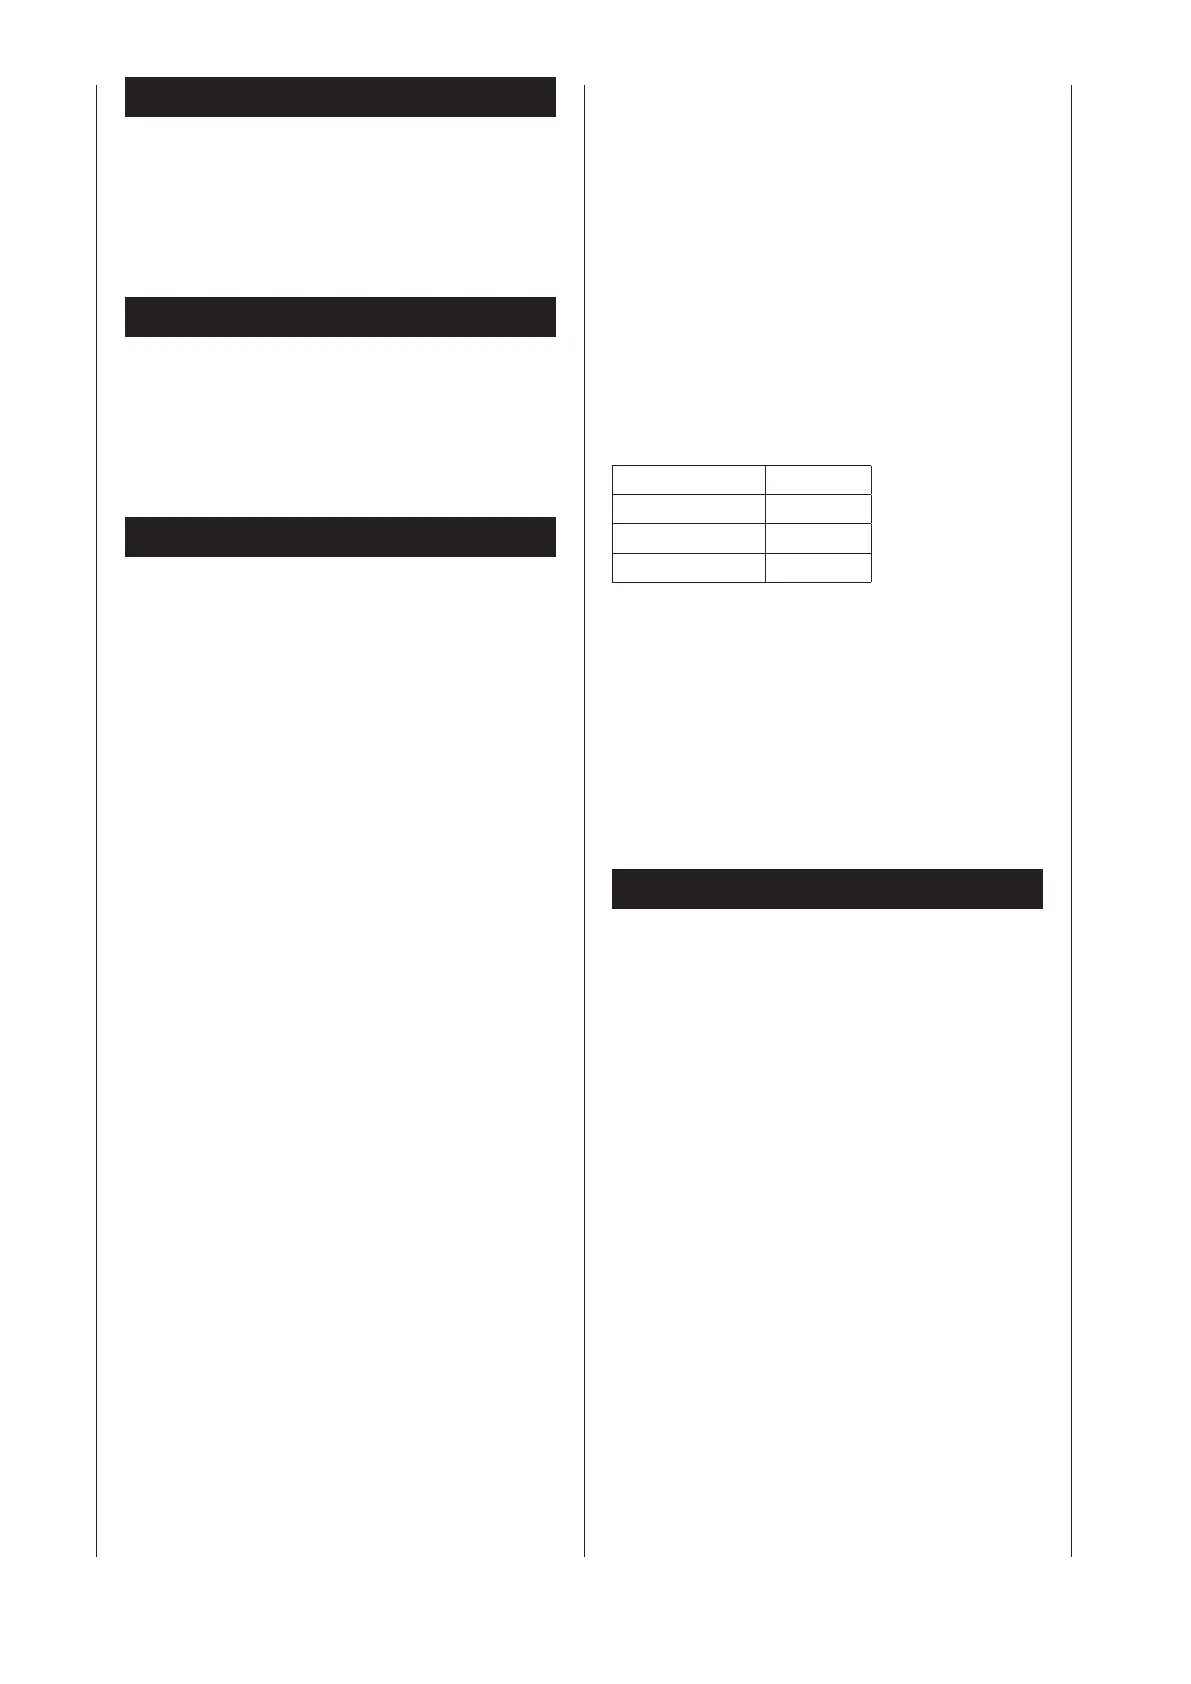
EXTENSIONCORDLENGTH
Wire Size A.W.G.
Upto58ft. 18
25 to 100 ft. 16
100 to 150 ft. 14
Note: Usingextensioncordsover150ft.longisnotrec-
ommended.
Only a qualified electrician is permitted to connect the
machine and complete repairs on its electrical equip ment.
Intheeventofenquiriespleasespecifythefollowingdata:
• Motor manufacturer
• Type of current of the motor
• Datarecordedonthemachine’sratingplate
• Datarecordedontheswitch’sratingplate
.
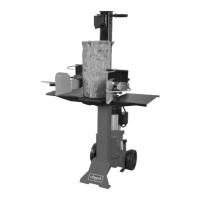
Operation
Before operating your scheppachmachine,the bleed screw
should be loosened by some rotations until air can go in
and out of the oil tank smoothly. Failed to loosen the bleed
screw will keep the sealed air in hydraulic system being
compressed after being decompressed. Such continuous
compression/decompressionwillblowoutthesealsofthe
hydraulic system and cause permanent damage to your
scheppach machine.
Before moving your scheppach machine, make sure the
bleed screw is tightened to avoid oil leaking from this
point.
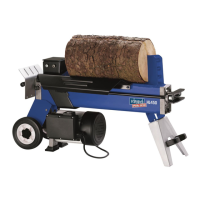
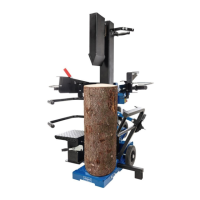
Only split plain cut log.
1.Placethelogplainontotheworktable(3).
2. Fix the log pusher in the required position according to
the length of the log.
Position 1: Length up to 201/2”,
Position 2: Length up to 181/2”,
Position 3: Length up to 161/2”.
3.Complyingwithregulationsandforyoursafety,thehy-
draulic log splitter features two-handed control.
Tostartthesplittingprocess,youmustsimultaneously
press the lever (13) with your left hand and the start
button(8)intheswitchboxwithyourrighthand.
Releasing one of the two control elements will immedi-
ately stop the splitting process, releasing both control
elements will abort the splitting process.
Thepressureplate(2)willthenmovebackintoitshome
position.
 Loading...