808D ADVANCED Page 111 Programming and Operating — Turning
ISO Mode
s
Step 5
Make sure the current system is in ISO mode!
Make sure all preparations and safety measures have been
performed!
Sample program (target workpiece is the same as in Section 5
“Create Part Program Part 2”).
ISO programs can be executed in the
808D ADVANCED as follows:
G291
G99 M3 S800 F0.3
T1
G0 X42 Z2
G71 U1 R0.5
G71 P101 Q102 U0.5 W0 F0.3
N101 G01 X0 Z0 S1200 F0.1
X20,C2
Z-20
X30,C2
W-15
U10 R3
Z-50
N102 X42
G70 P101 Q102
G0 X50
Z50
Note:This program opens/exits ISO
mode with theG291/G290 command. It
is recommended to use the first method
to open ISO mode — using the ISO
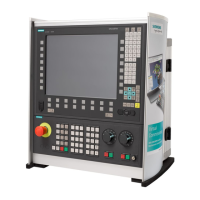
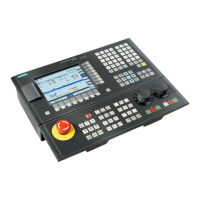
mode active button on the PPU
(described above).
T3 M3 S500
G0 X22 Z4
G92 X20 Z-18 F2.5
X19
X18.5
X18
X17.5
X17
X16.8
X16.75
X16.75
G0 X50
Z50
T2 M3 S400 F0.2
G0 X32 Z-24
G75 R2
G75 X20 Z-31 P3000 Q3000
G0 X50
Z50
G0 X0 Z5
T5
M3 S500 F0.2
G74 R1
G74 X0 Z-21 P1000 Q5000 F0.2
G0 Z50
X50
G290
M30
Step 3
A specified ISO program is then stored in the USB and can be executed
as required.
Program execution.
Press the “USB” SK on the PPU.
Press the “NC” SK on the PPU.
Press the “Copy” SK on the PPU.
Press the “Paste” SK on the
Connect the USB device with sufficient memory to the USB interface on
the PPU.
Make sure the current system is in ISO mode!
Make sure all preparations and safety measures have been
performed!
Operate as described above.
Tool and workpiece setup →simulation→test→machining
Step 4
Transfer the ISO files in the 808D to the USB device.
Use the “Cursor + Select” keys to select the required program
which is then highlighted.
+
BASIC THEORY
 Loading...