5
STEP 3
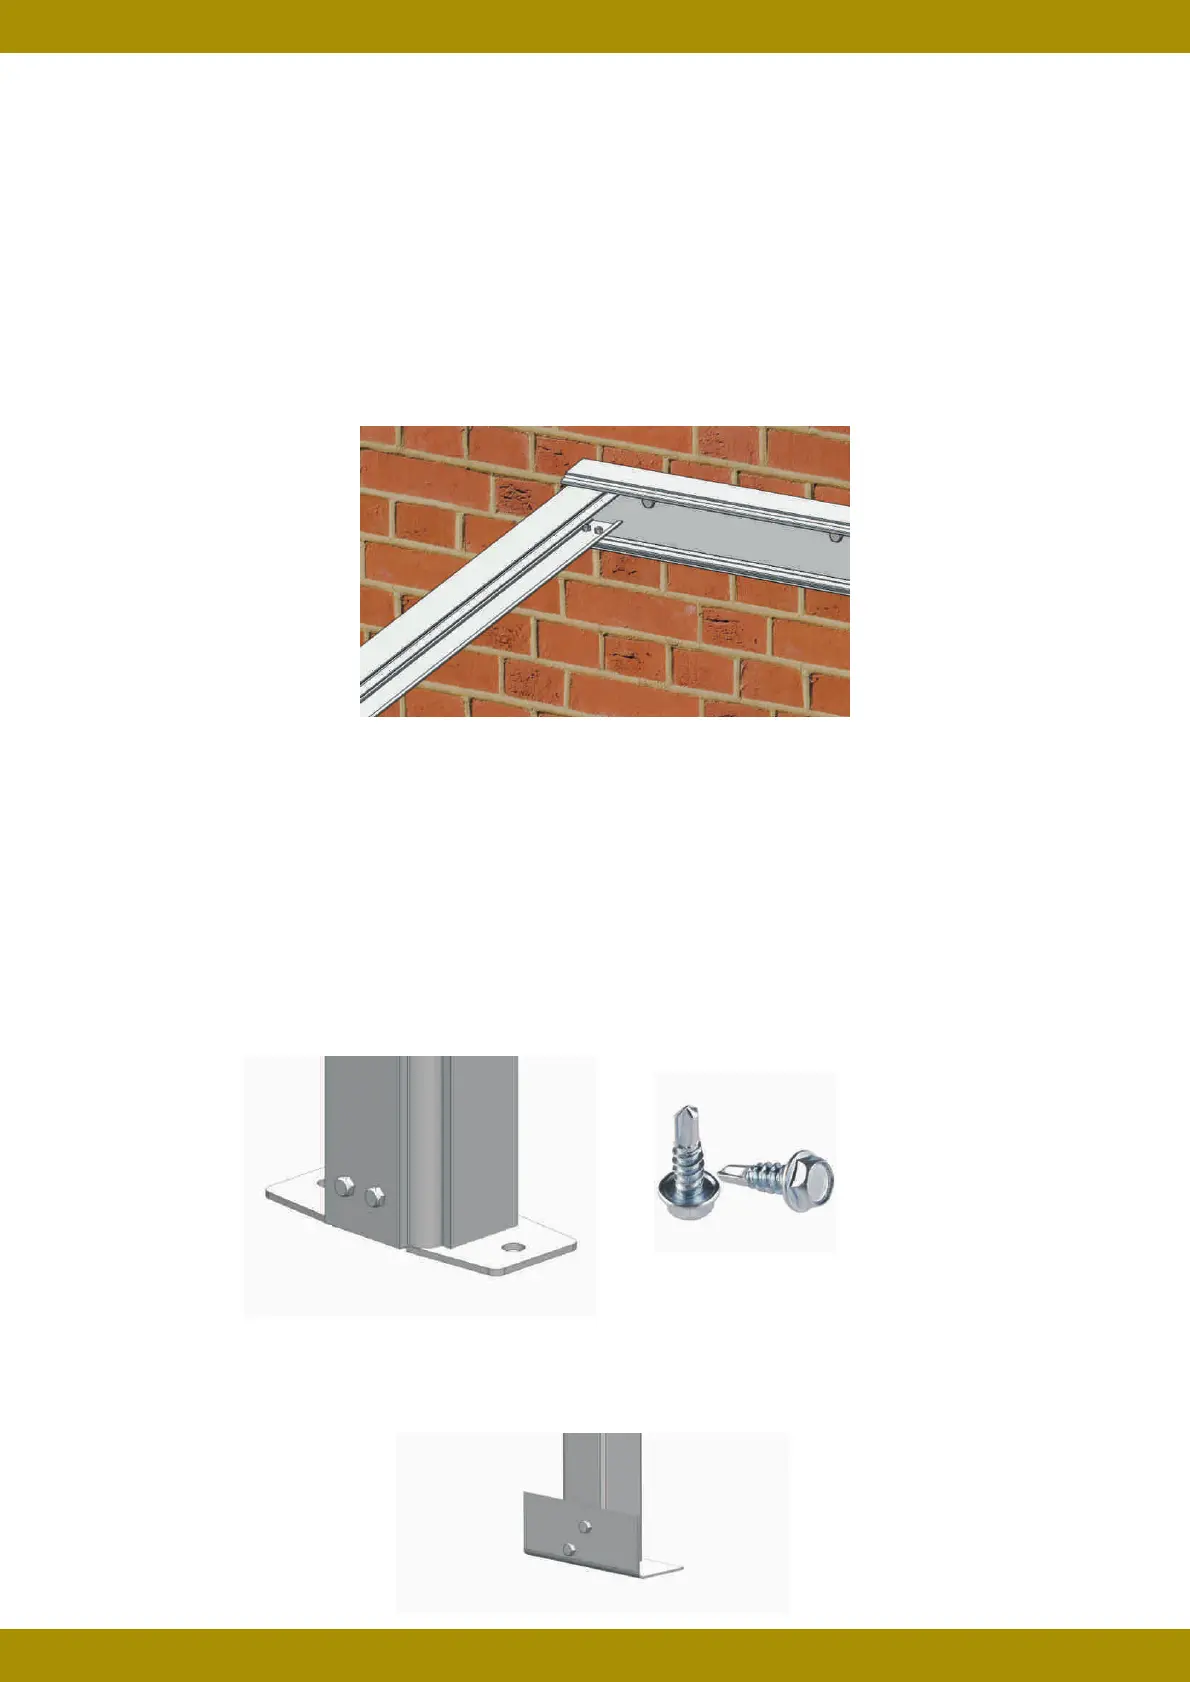
Fitting of Wall Plate to the Wall
Measure 30mm in from one end of the Wall plate and approx 55mm down from the top of the inside
profile and mark before you drill. Drill the wall plate using the correct sized drill bit for the suitable
wall fixings that you intend to use (not supplied). Once this is done repeat at the other end.
Continue to drill holes in the wall plate at approx 55mm down and at approx 300mm centres. This is
only a guide. Please consult a structural engineer for verification. See diagram
You must ensure the wall plate is not twisted or bowed. Use a spirit level to make sure the wall plate
is fitted level.
Using suitable wall fixings, fix the wall plate to the wall, we recommend plastic caps are fitted over
the screw/bolt heads for aesthetic reasons.
Centralise the post foot to the post and attach using 2 x No. 12 x 1 ¼” self drill screws
STEP 4
Fitting of Post Feet to Posts
(Note the
post foot is only suitable for surface mounting the posts. If your posts need to be concreted
into the ground please follow step 4a overleaf)
STEP 4a
Fitting of Post Feet to Posts
Centralise the post anchor to the post and attach using 2 x No12 x 1 ¼” self drill screws
 Loading...