25
C
ollimating a refractor with the adjustable objective-lens cel
l
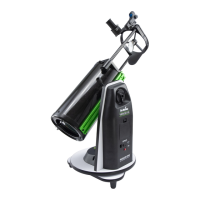
Correctly aligned
Needs collimation
Fig.t
Collimation is the process of aligning the lenses of your telescope so
that the light they collect will focus at the right spot at the back of
your telescope for your eyepieces to work.
Collimation is a simple process and works like this:
Pull off the dew cap at the front of your telescope and look into the
scope. The pair of lenses are held in a cell by a threaded ring. This
cell is held in place by three pairs of screws spaced 120 degrees
apart. The larger Phillip's head screws actually hold the cell on, while
the smaller, buried Allen screws push against a ledge at the front of
the tube and allow the cell to tilt slightly, by tension against the
Phillips screws (Fig.t). The idea being to alternately loosen and
tighten each against the other until you have a round star image.
There are a number of devices available for collimation. One of the
best is your eyepiece and Polaris. (See Fig.h for the location of
Polaris.) For this purpose it is best that your telescope not be polar
aligned, in fact point the mount head due east or west. This is
because German Equatorial Mounts can have a small blind spot near
the pole. Also turn off the motor drive if you have one attached to the
mount.
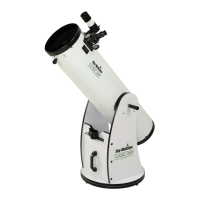
Use your lowest power (largest number eyepiece) to acquire Polaris,
centre it using your slow motion controls. Now switch to your next
higher power eyepiece, while keeping the image centred. The
in-focus star image will have a bright innermost point, a slightly
fainter inner ring and a fainter still outer ring that is hard to see
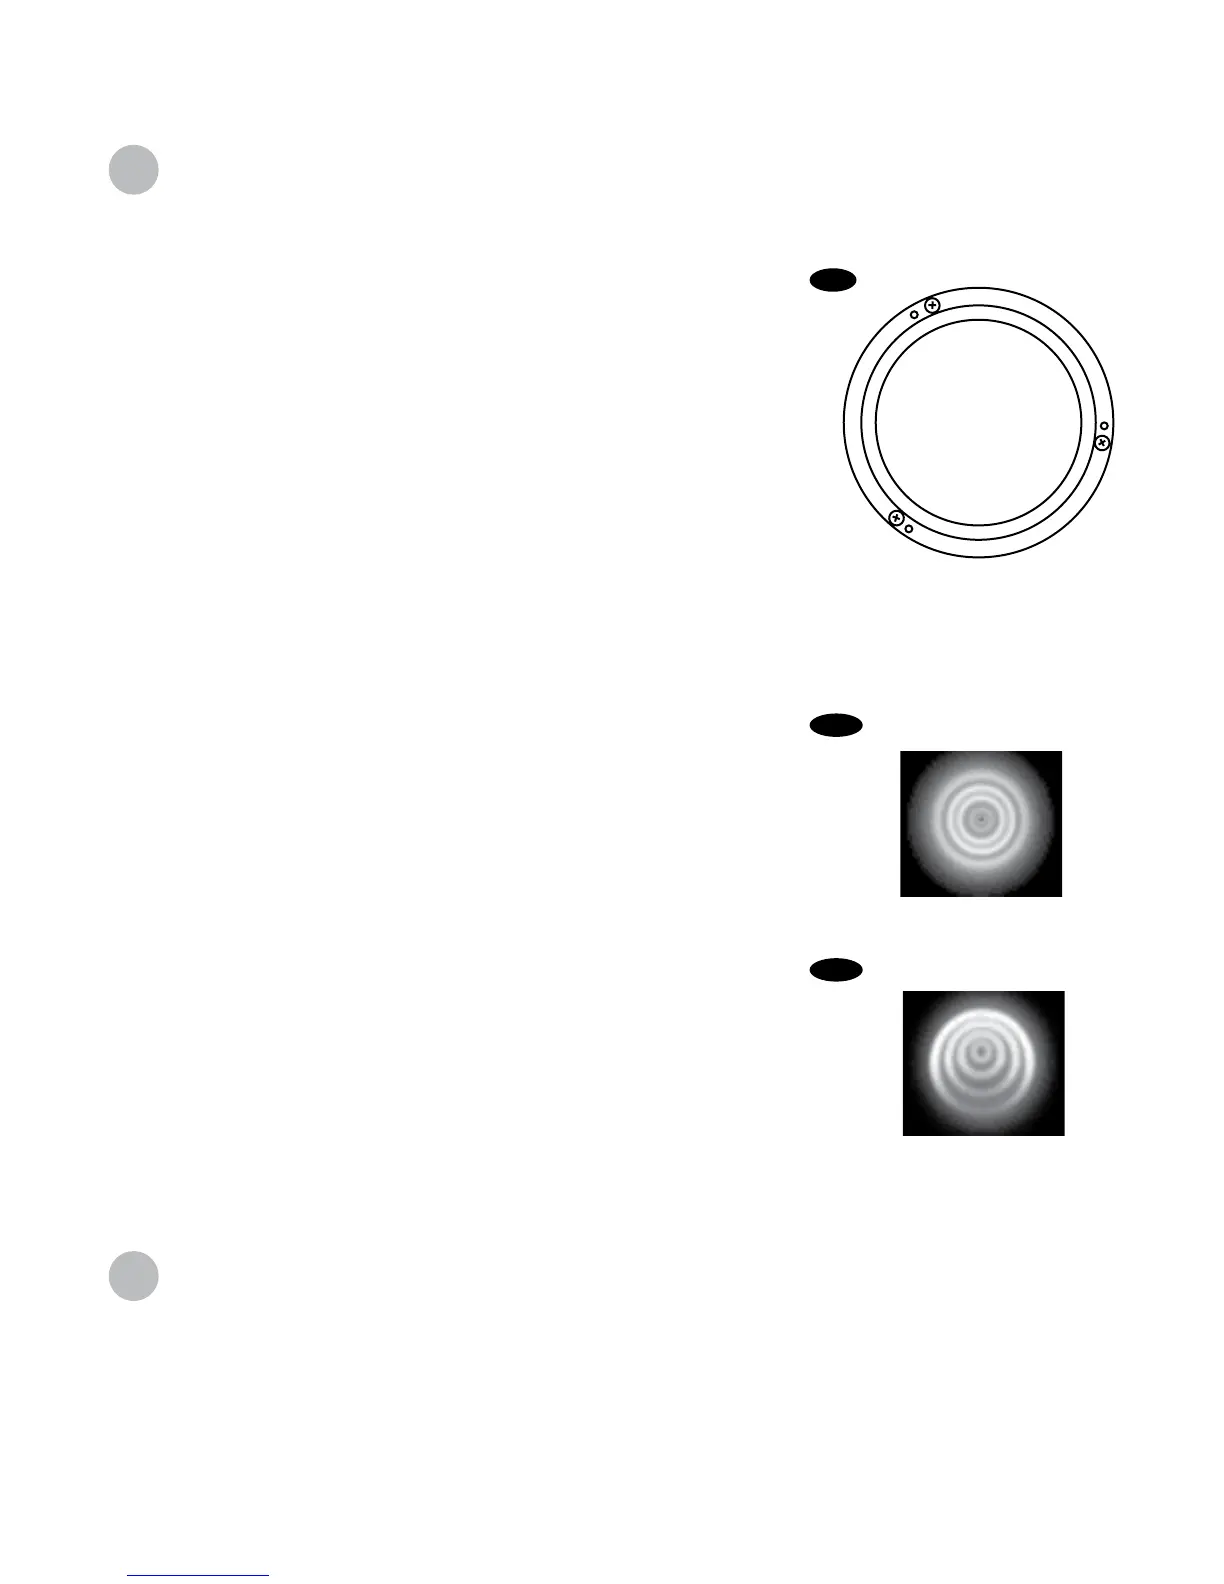
(Fig.t1). If it doesn't look like this, or you can't reach focus then start
with: take out your star diagonal and look at the image slightly out of
focus, this will allow you to gauge the deflection. A typical
off-collimation image will have a bright spot off to one side when you
bring the focus out (Fig.t2).
The actual process is to slightly loosen the pair on the side the
deflection is, slacken the Allen head screws then tighten the Phillip's
head screws against them again. Check the star image again after
moving it into the centre of the eyepiece. If you find your image
getting worse, then go the other way, or slacken the other two Allen
screws a little. Once you have a round star image you are set. It
helps to have a friend to help with the collimation. Have your partner
adjust the screws according to your directions while you look in the
eyepiece.
C
leaning your telescope
Replace the dust cap over the end of the telescope whenever it is not in use. This prevents dust from settling on
the mirror or lens surfaces. Do not clean the mirror or lens unless you are familiar with optical surfaces. Clean the
finderscope and eyepieces with special lens paper only. Eyepieces should be handled with care, avoid touching
optical surfaces.
Fig.t1
Fig.t2
 Loading...