7
TELESCOPE ASSEMBLY
Fig.6
Fig.9
Fig.8
Fig.10
Fig.11
Fig.7
ATTACHING THE TELESCOPE MAIN TUBE
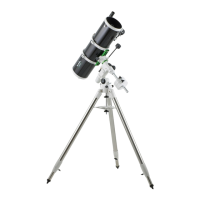
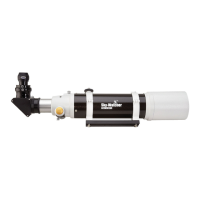
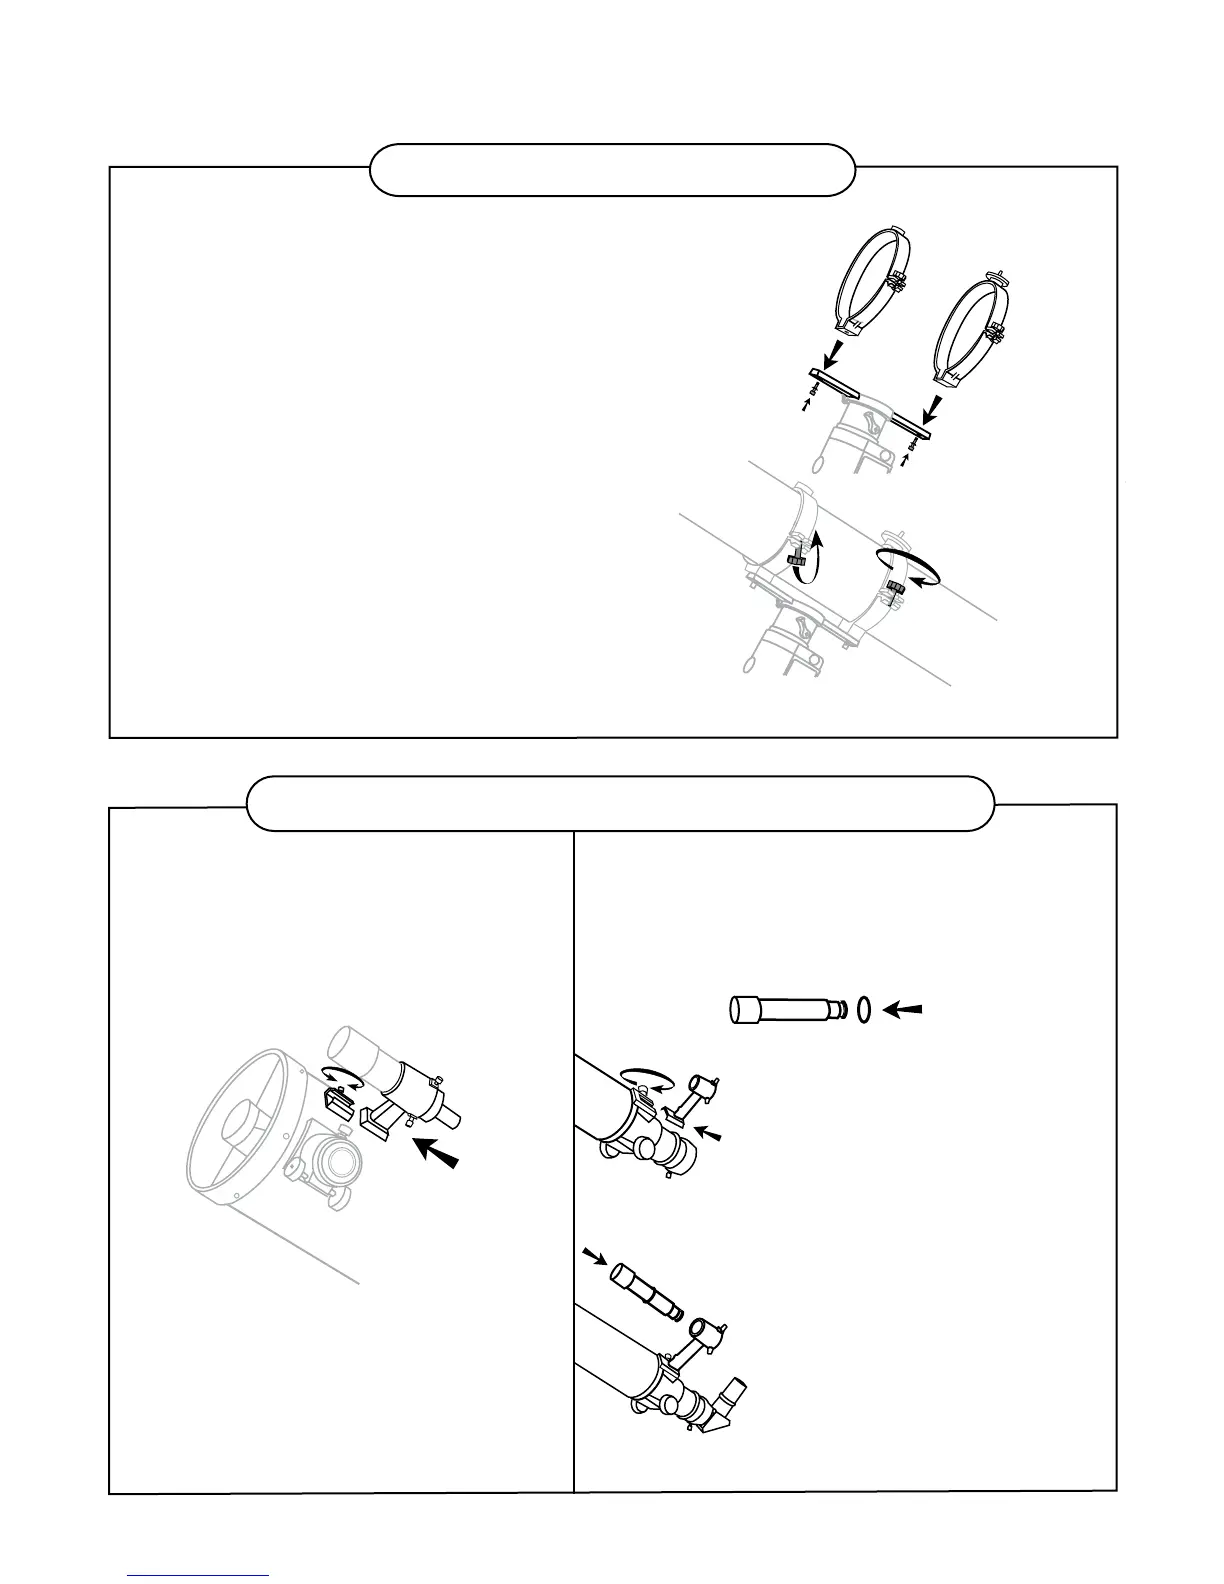
TO THE TUBE RINGS (Fig.7)
1) Remove the telescope tube from the paper covering.
2) Find the center of balance of the telescope tube.
Place this in between the two tube rings. Close the
hinges around the telescope and fasten securely by
tightening the thumb nuts. Do not over tighten.
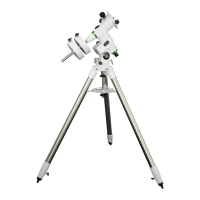
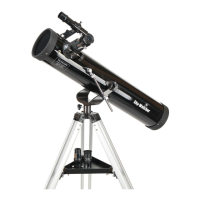
ATTACHING THE TUBE RINGS TO THE MOUNT (Fig.6)
1) Remove the telescope tube assembly from
its plastic packaging.
2) Remove the tube rings from the telescope by
releasing their thumb nuts and opening their hinges.
3) Using the bolts provided, fasten the tube rings to
the mount with the 10mm wrench provided.
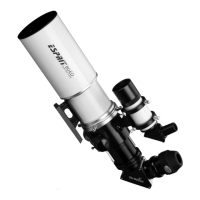
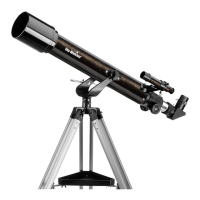
1) Locate the finderscope bracket.
Carefully remove the rubber-o-
ring from the finderscope bracket.
2) Position the o-ring into the
groove located approximately
half-way along the finderscope
tube.
3) Locate the finderscope optical
assembly.
4) Slide the finderscope bracket
into the rectangular slot and
tighten the screw to hold the
mount in place.
5) Position the finderscope into
its mount by sliding it backwards
until the rubber o-ring seats
in the finderscope mount.
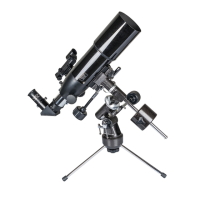
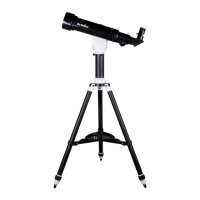
Reflector and Maksutov Refractor
1) Locate the finderscope optical assembly
or Red Dot Finder.
2) Slide the finderscope bracket/Red Dot
Finder into the rectangular slot and tighten
the screw to hold the mount in place.
ATTACHING THE FINDERSCOPE
(Fig. 9, 10, 11)
ATTACHING THE FINDERSCOPE
BRACKET/RED DOT FINDER (Fig. 8)
FINDERSCOPE/RED DOT FINDER ASSEMBLY
 Loading...