ASSEMBLING YOUR TELESCOPE
6
Note: Loosen the azimuth adjustment knobs if mount does not
fit into tripod head completely. Retighten knobs to secure.
Fig. 1
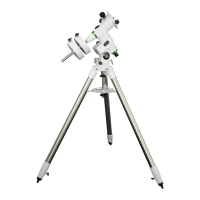
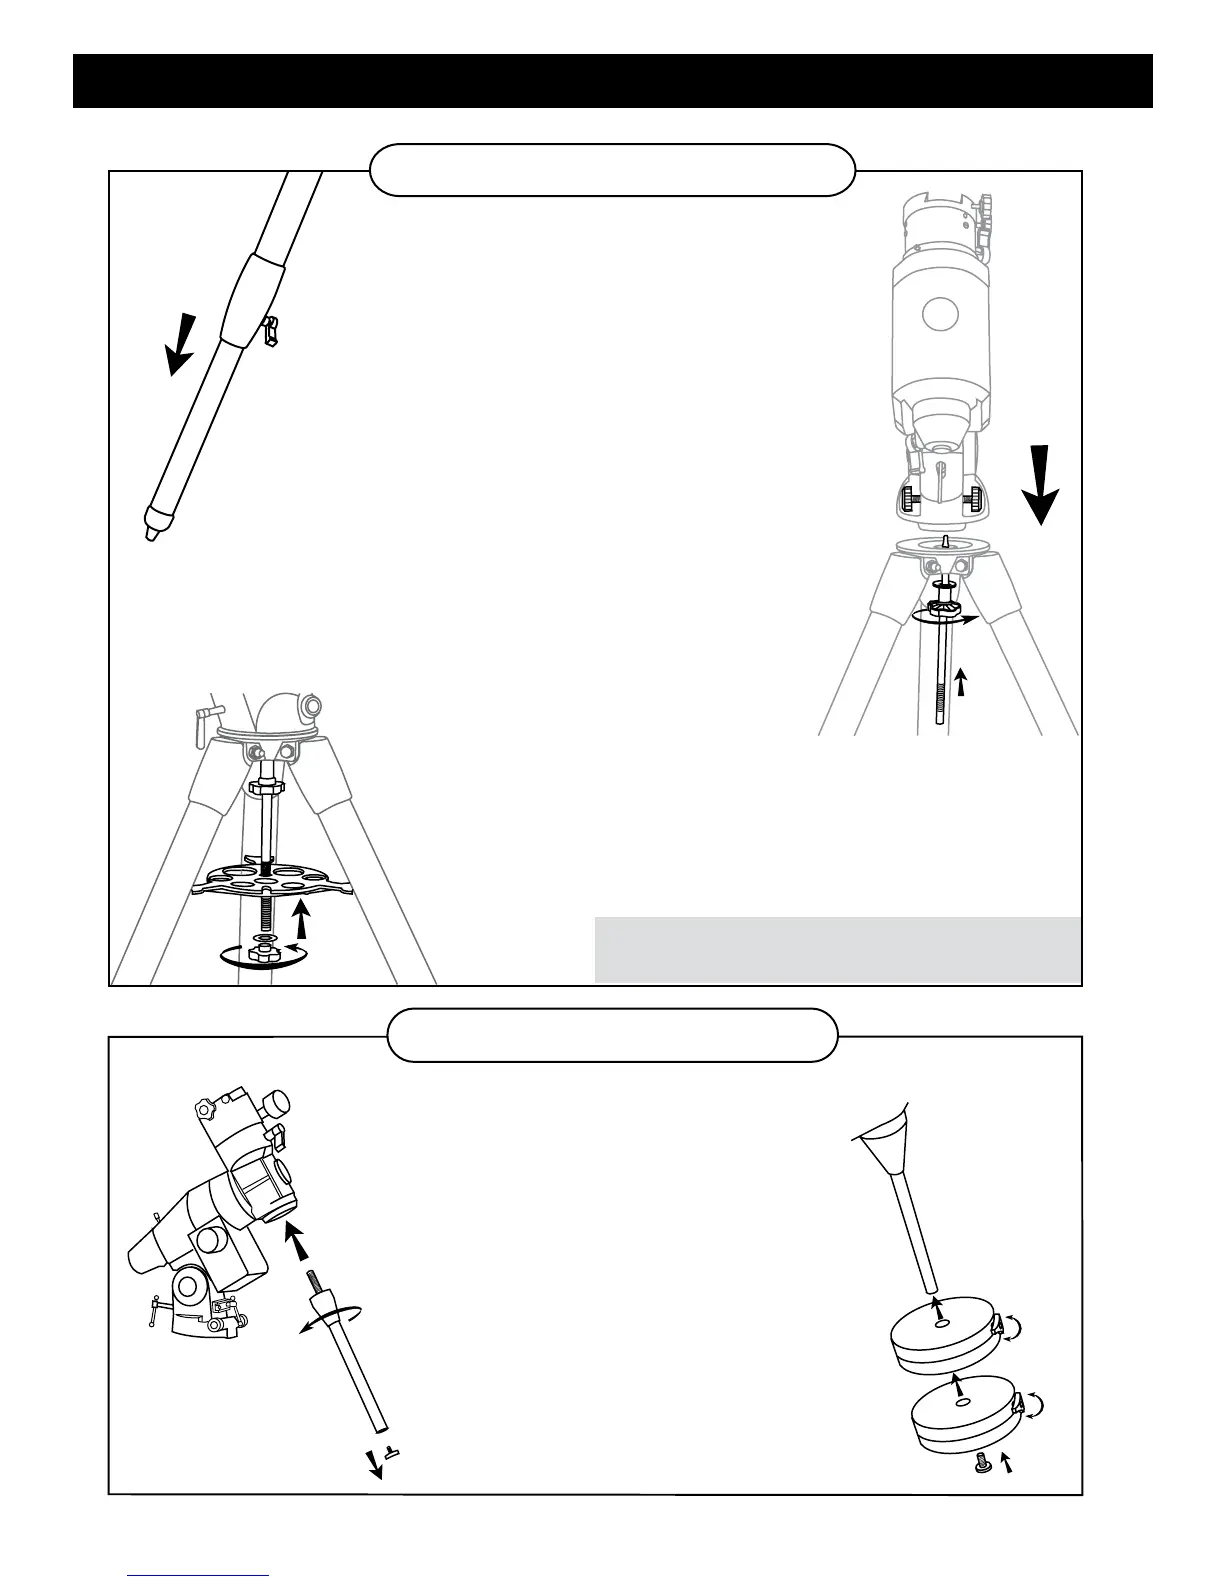
ASSEMBLING THE TRIPOD LEGS (Fig.1)
1) Slowly loosen the height adjustment clamp
and gently pull out the lower section of
each tripod leg. Tighten the clamps to hold
the legs in place.
2) Spread the tripod legs apart to stand
the tripod upright.
3) Place a carpenter's level or bubble level on
the top of the tripod legs. Adjust the height of
each tripod leg until the tripod head is properly
leveled. Note that the tripod legs may not be at
same length when the equatorial mount is level.
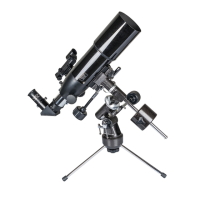
ATTACHING THE ACCESSORY TRAY (Fig. 3)
1) Slide the accessory tray along the primary locking
shaft until it pushes against the tripod legs.
2) Secure with the washer and locking knob.
ATTACHING MOUNT TO TRIPOD LEGS (Fig. 2)
1) Align metal dowel on the tripod head with the gap
between the azimuth adjustment knobs underneath
the mount.
2) Push the primary locking shaft up against the
mount and turn the knurled knob underneath to
secure mount to tripod.
Fig. 3
TRIPOD SET UP
Fig. 2.
Fig.4
Fig.5
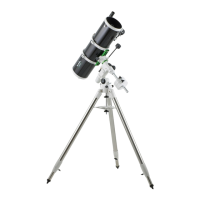
MOUNT ASSEMBLY
1) Locate counterweight rod.
2) Screw counterweight rod into threaded
hole on the end of the declination
shaft. Tighten locknut on the
counterweight rod until it is locked
against the mount.
3) Unscrew the threaded cap from the
end of the counterweight rod.
4) Locate the counterweights and slide
them halfway along the counterweight
rod. Tighten the counterweight thumb
screws to secure.
5) Replace the cap on the end of the
counterweight rod.
INSTALLING COUNTERWEIGHT (Fig.4, 5)
 Loading...