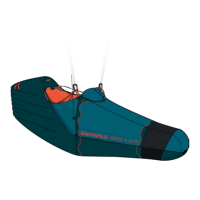
Set Up and Adjustments 4948 Set Up and Adjustments
SHOULDER STRAPS
The optimal setting of the shoulder straps depends on
the pilot’s body size. First, the height of the shoulder strap
position must be defined. Depending on the size of the
pilot, it should be set so that the starting point of the
shoulder straps is below the cervical vertebra.
Now, sit upright with the harness on and the chest/leg
straps closed, and tighten the shoulder straps symmet-
rically to the point where they begin to tension. During
flight, the straps should lie on the shoulders. To short-
en the adjustment, pull on the buckle in the direction of
flight, and to open it, push the buckle upwards.
SIDE ADJUSTMENT STRAPS
On both sides of the RANGE X-ALPS you’ll find
a main adjustment strap for the back, a knotted
line for the fine adjustment of the lumbar area,
and another knotted line for the forward seat
area.
POD
The length of the pod can be adjusted by means of a knotted
line at four points on the foot plate. The Lycra insert in the
front part of the pod provides enough clearance.
For each knotted line, three length are possible. The top
line leads to the upper loop on the footplate, the bottom
and diagonal lines lead to the lower loop. The diagonal lines
assist as additional support.
WARNING
TO PREVENT UNNECESSARY WEAR AND TEAR OF
THE LYCRA, IT IS PROHIBITED TO LENGTHEN IT BE-
YOND THE RANGE OF THE KNOTTED LINE.
EN
7 SET-UP AND ADJUSTMENTS
The RANGE X-ALPS is available in sizes S, M and L and should be set up and adjusted ex-
actly to match your needs. Before your first flight, you should carry out the set-up in a sit-
ting position with the harness hanging in a simulator. The individual adjustments depend
on the shape of your body, your personal preferences, and your flying style. Finer adjust-
ments can be made gradually after a few flights. Naturally the reserve parachute must be
installed before making the adjustments.
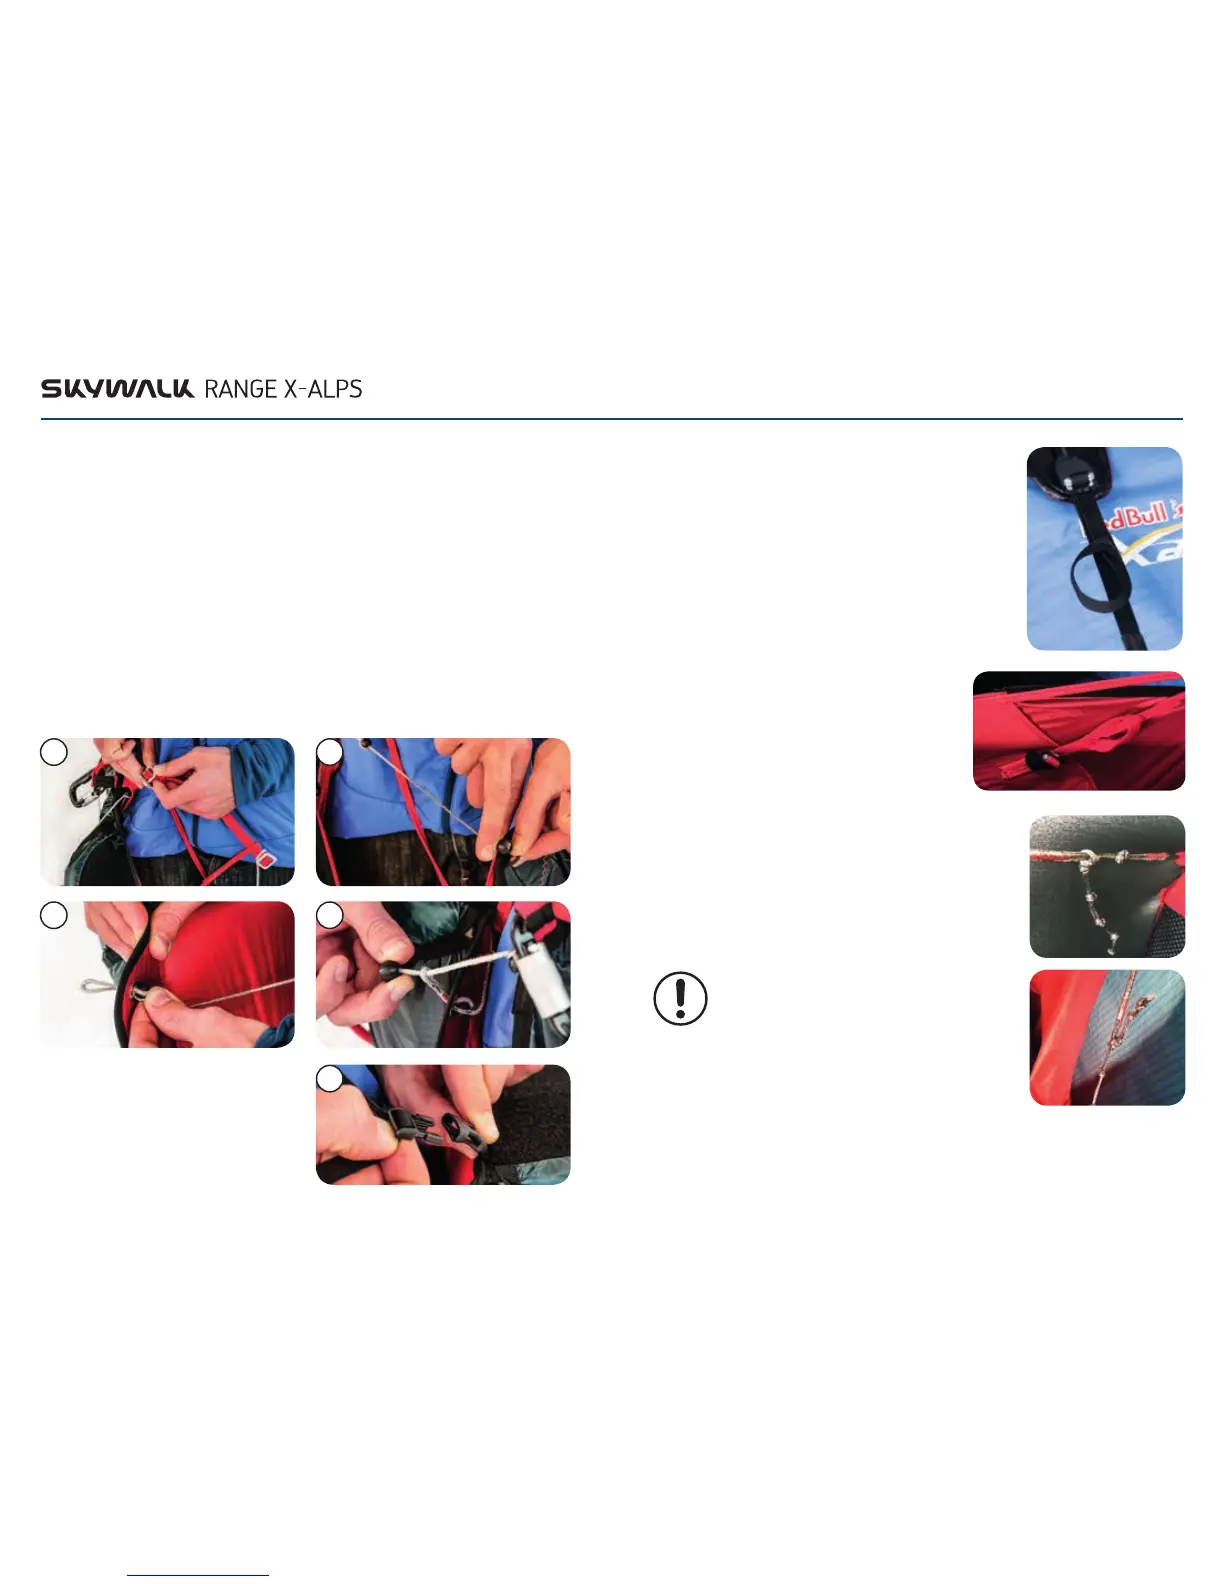
Follow these steps to put on the harness:
1. Put your arms through the shoulder straps.
2. Close the Get Up system (pic 1).
3. Lead the right ball through the left loop on the cocoon. (pic 2).
4. Guide the safety line through the right eyelet on the cocoon and lead the left ball
through the loop of the safety line (pic 3+4).
5. Attach the cockpit with the plastic clips (pic 5).
1
4
2
5
3
 Loading...