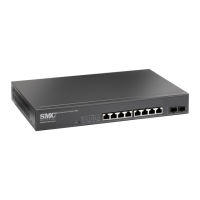
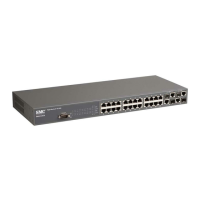
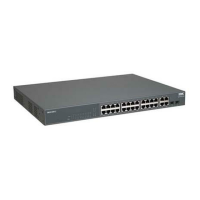
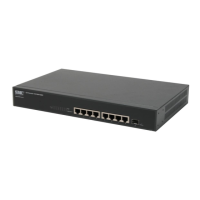
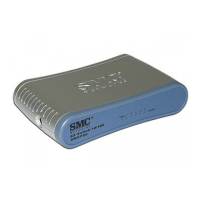
EZ Switch 10/100
5
other sources of electrical interference such as radios,
transmitters, etc.
• Make sure that a properly grounded power outlet is
located near to the switch.
Instructions
1. Positioning the Switch: For desktop or shelf
mounting, attach the four adhesive foot pads to the
bottom of the switch.
2. Applying Power: Plug one end of the power adapter
into the socket on the switch’s rear panel, and the
other end into an appropriate electrical outlet. Check
the Power LED to be sure power is on.
Note: It is not necessary to power off the switch before
connecting or disconnecting any UTP cables, as
these actions will not disrupt the operation of
other devices attached to the switch.
3. Connecting PCs: Connect each PC to an RJ-45 port
on the switch using a straight-through twisted-pair
cable segment, maximum 100 meters (328 ft.). The EZ
Switch 10/100 will support up to 5 or 8 Connections.
4. Cascading Switch and Other Network Devices:
Prepare straight-through Category 5 twisted-pair cable
with RJ-45 plugs. Make sure the cable does not exceed
100 meters (328 ft). Connect one end of the cable to
the switch’s port, and connect the other end of the
cable to an MDI/MDI-X RJ-45 port on the other
device.
 Loading...
