18
Note: Menu selection indicates current configuration (ENABLED or DISABLED).
Torque THEN Angle Mode
Torque THEN Angle mode is setup by first setting a target torque and units then a target angle before
selecting Torque THEN Angle mode. In Torque THEN Angle mode, when applied torque reaches target
torque, wrench automatically switches to angle mode for angle measurement. Progress lights indicate
applied torque progress while torque is measured and angle when angle is measured.
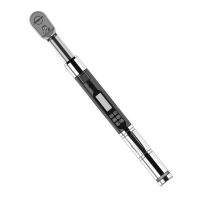
1. From target torque screen, use UP /DOWN buttons to set target torque and UNITS U button
to select torque measurement units then press ENTER button.
2. Angle target screen is displayed. Use UP /DOWN buttons to set target angle then press
ENTER button.
3. Torque THEN Angle mode screen is displayed.
4. Apply torque until target is reached then rotate wrench to target angle.
Note: UNITS U button can be used to select torque units while on Torque THEN Angle screen.
Note: Torque THEN Angle Presets are entered by pressing and holding Units button while on Torque
THEN Angle screen. Refer to "Adding a Torque Preset" and "Adding an Angle Preset" in Basic
section for parameter entry.
Note: Torque cycle is not recorded in memory unless both torque and angle reach targets.
Note: Red and yellow progress lights turn on if torque exceeds 110% of wrench full scale or if angle
exceeds target plus 4% in manual mode.
Note: Red and yellow progress lights turn on if torque exceeds maximum torque or if angle exceeds
maximum angle in Preset mode.
Calibration
Calibration menu is password protected. Contact your local Snap-on Repair
Center regarding Calibration menu.
Setting Date and Time
Set Date/Time function allows user to set real-time-clock date and time for time stamping data
records, recording last calibration date and notifying user of an expired calibration interval.
Note: When date and time is set for first time, In-Service date is also set and is used for calculating
initial calibration interval (see "Setting Calibration Interval" in Advanced Configuration section).
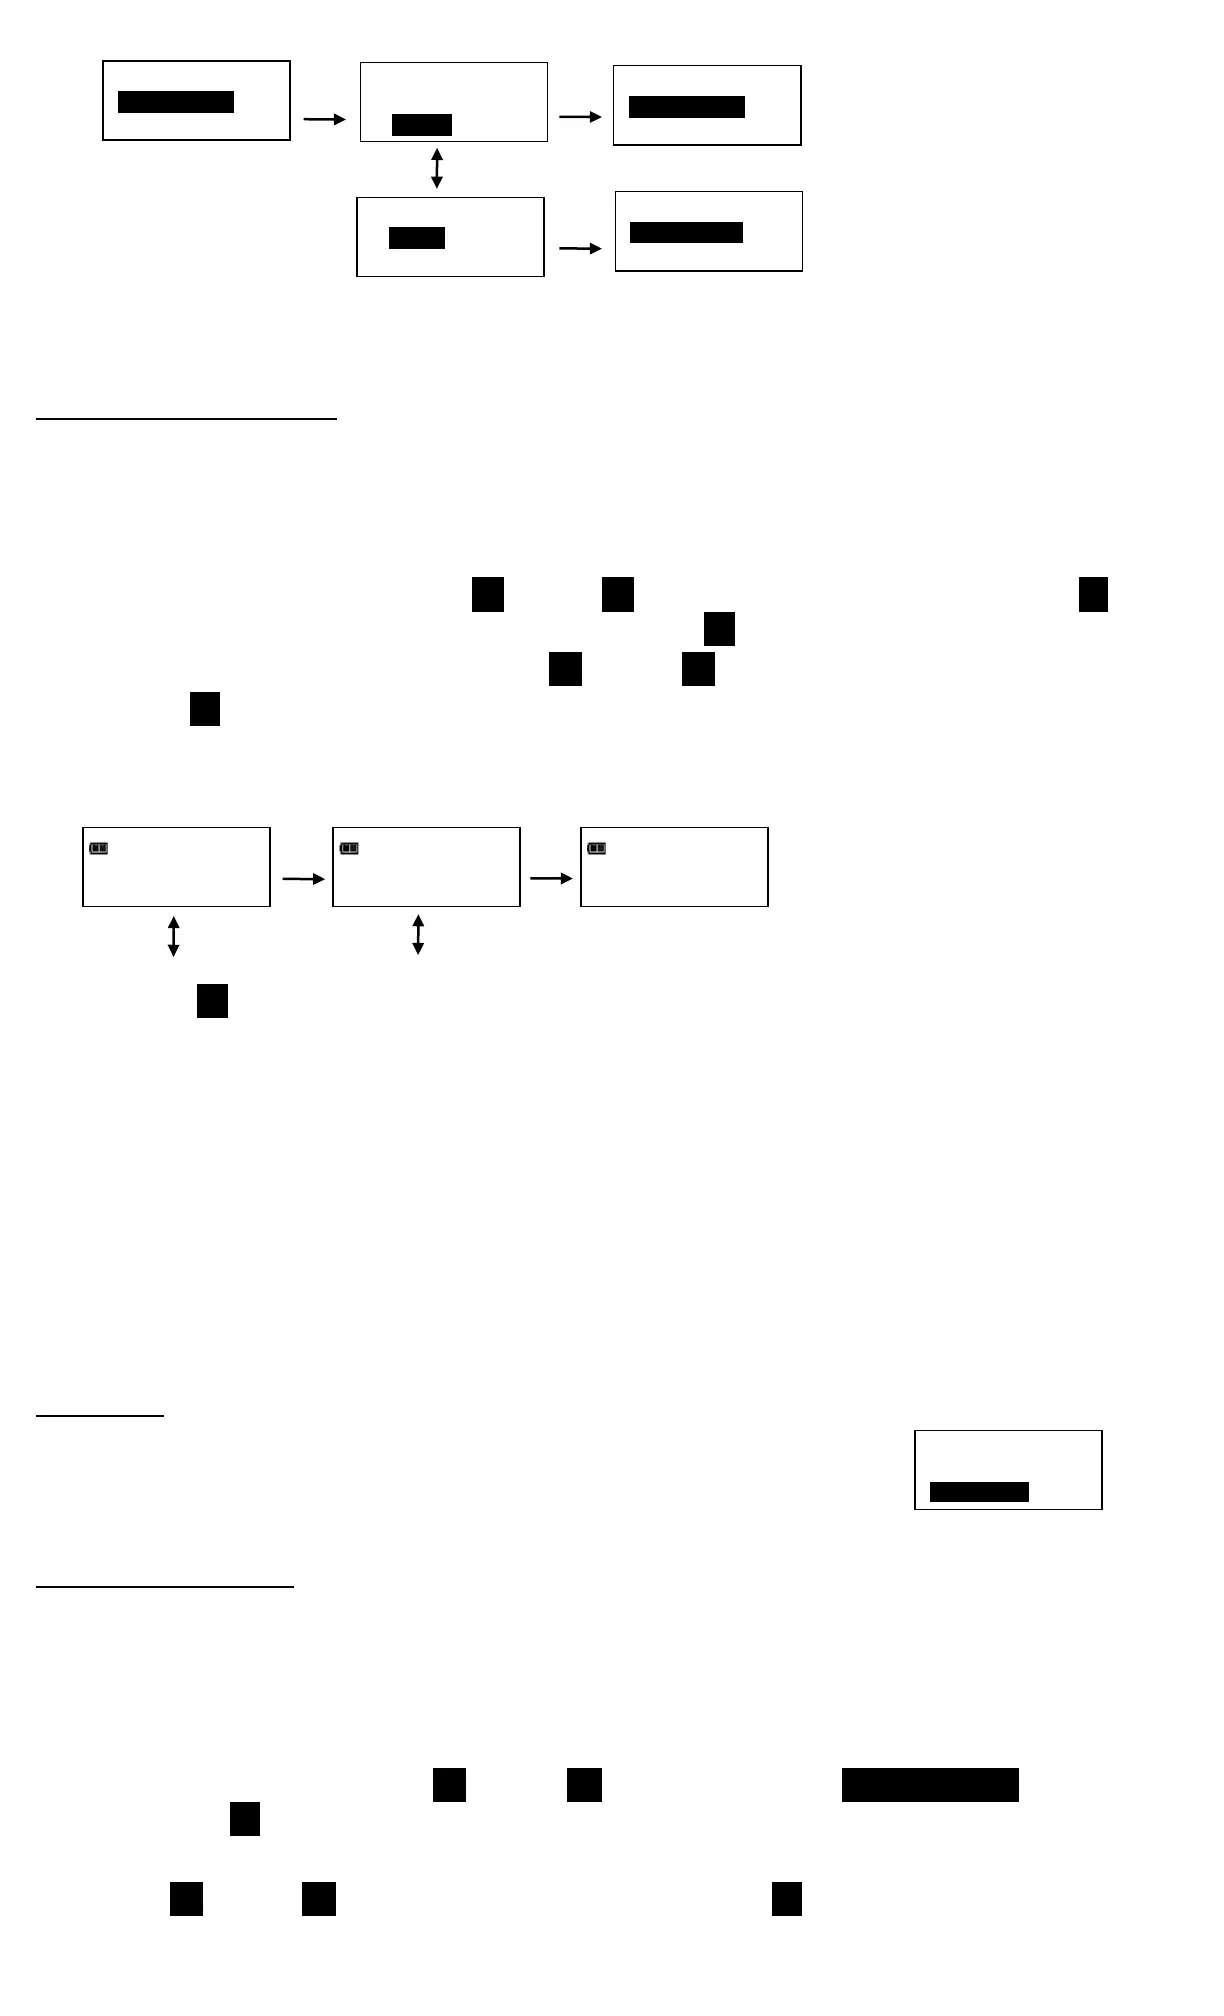
1. From Configure menu, use UP /DOWN buttons to highlight SET DATE/TIME selection then
press ENTER button.
2. SET DATE screen is displayed with year highlighted.
3. Use UP /DOWN buttons to set year then press ENTER button to highlight month.
 Loading...