Table of
contents
Operation
Search
MENU/Settings
Search
Index
103
GB
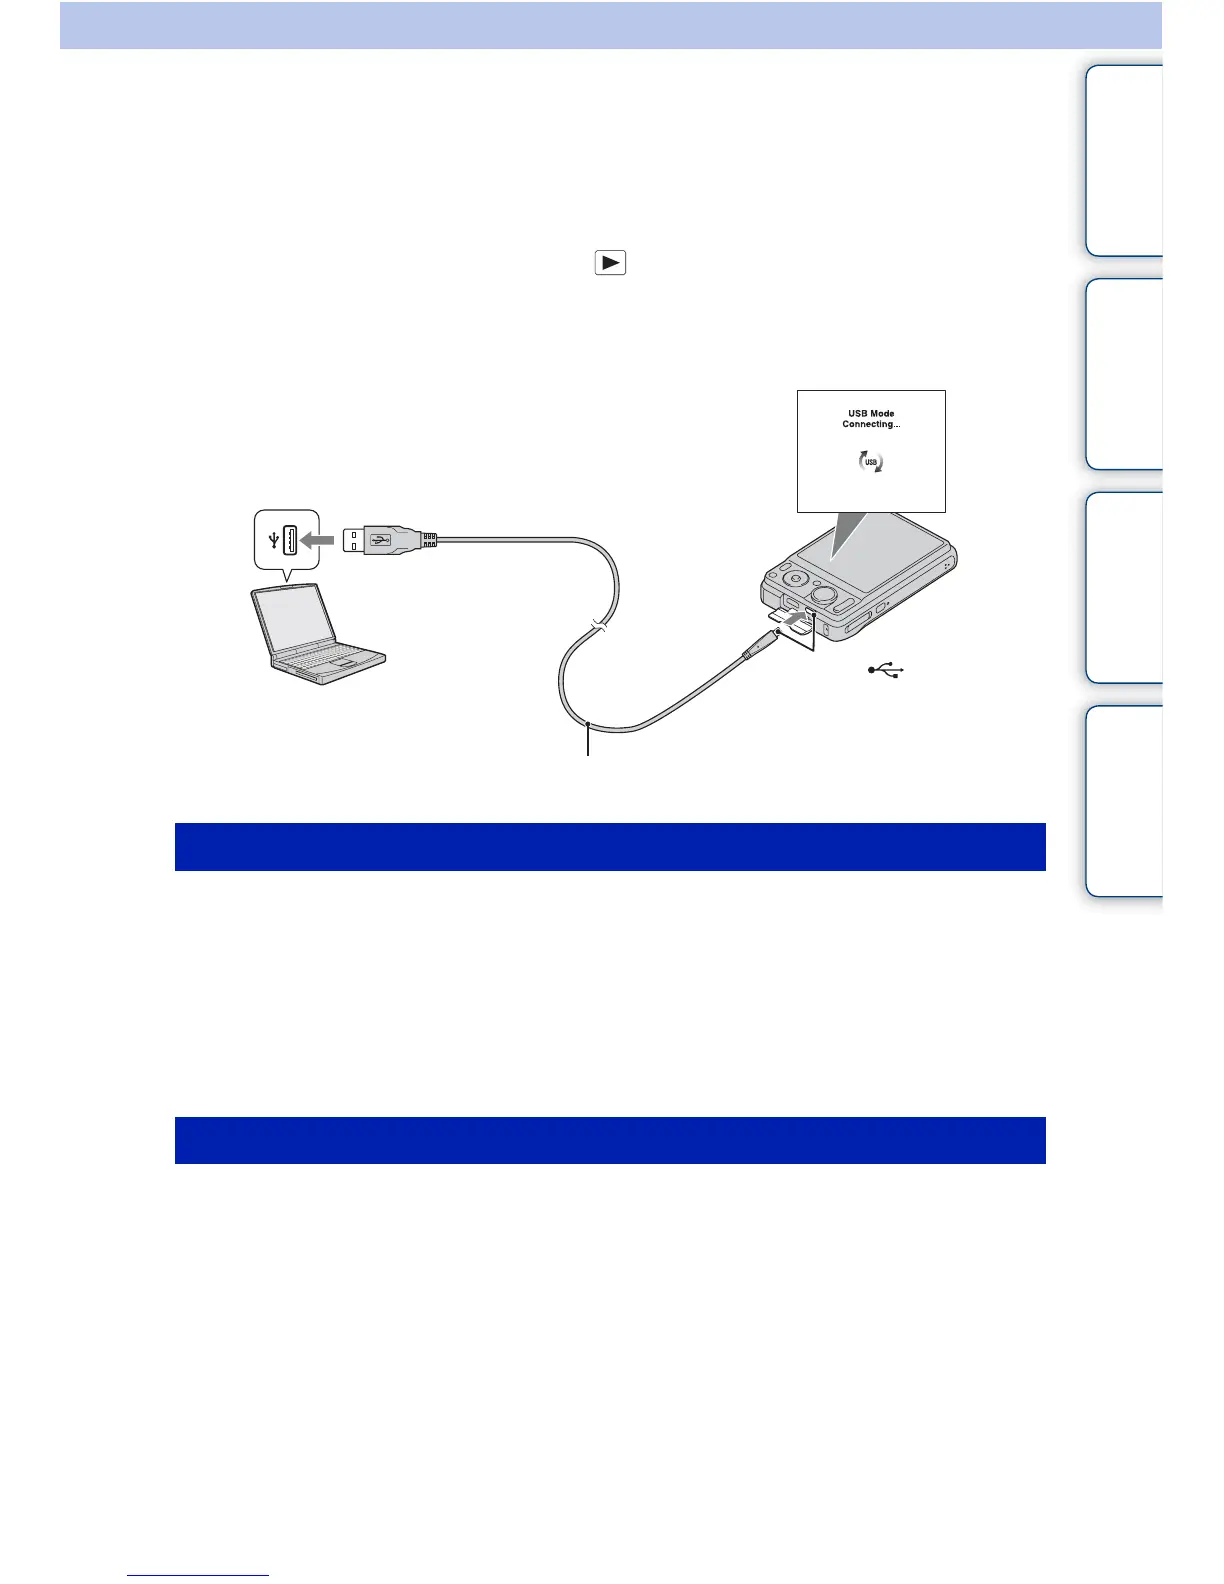
Connecting the camera to the
computer
1 Insert a sufficiently charged battery pack into the camera.
2 Turn on the computer, then press (Playback) button.
3 Connect the camera to your computer.
• When a USB connection is established for the first time, your computer automatically runs a program
to recognize the camera. Wait for a while.
“PMB” allows you to easily import images.
For details on “PMB” functions, see the “PMB Help”.
Importing images to a computer without using “PMB”
When the AutoPlay Wizard appears after making a USB connection between the camera and a
computer, click [Open folder to view files] t [OK] t [DCIM] or [MP_ROOT] t copy the
desired images to the computer.
1 Connect the camera to your Macintosh computer first. Double-click the
newly recognized icon on the desktop t [DCIM] or [MP_ROOT] t the
folder where the images you want to import are stored.
2 Drag and drop the image files to the hard disk icon.
The image files are copied to the hard disk.
3 Double-click the hard disk icon t the desired image file in the folder
containing the copied files.
The image is displayed.
Importing images to a computer (Windows)
Importing images to a computer (Macintosh)
Dedicated USB cable
1 To a USB jack of the computer
2 To the
(USB)/A/V OUT
jack
 Loading...