 Loading...
Do you have a question about the Sony Cyber-shot DSC-W5 and is the answer not in the manual?
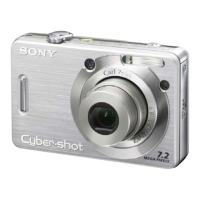
| Effective Pixels | 5.1 MP |
|---|---|
| Optical Zoom | 3x |
| Display | 2.5" LCD |
| Digital Zoom | 2x |
| LCD Screen Resolution | 115, 000 pixels |
| ISO Sensitivity | Auto, 100, 200, 400 |
| Battery Type | NP-BG1 |
| Image Sensor | 1/2.5" Super HAD CCD |
| Video Resolution | 640 x 480 |
| Focal Length | 6.3 - 18.9 mm (38 - 114 mm equivalent) |
| Aperture Range | f/2.8 - f/5.2 |
| Storage Media | Memory Stick PRO Duo, Memory Stick Duo |
| Shutter Speed | 1/8 - 1/1000 sec |
Learn fundamental camera techniques for capturing quality photos, covering focus, exposure, color, and image quality settings.
Locate and understand the function of each physical component and button on the camera for proper operation.
Understand the meaning of icons and information displayed on the camera's LCD screen during shooting and playback.
Learn how to select different shooting modes (Auto, Scene, Program, Manual) using the camera's mode dial.
Step-by-step guide on how to access and navigate through the camera's menu options using the control buttons.
Overview of available menu items categorized for shooting and viewing functions, detailing their accessibility by mode.
Details on settings available in the shooting menu, including exposure, focus, white balance, and image quality adjustments.
Explore menu functions for managing and organizing images, such as folder selection, protection, and playback settings.
Guide to changing default camera settings via the setup menu, including file numbering, USB, and video output.
Configure camera-specific settings like AF mode, digital zoom, date/time, and red-eye reduction for optimal performance.
Manage the camera's internal memory, including formatting and backing up data to a Memory Stick.
Perform operations on the Memory Stick, such as formatting, creating folders, and copying data.
Adjust LCD backlight, beep settings, language, and initialize camera settings to default values.
Configure file numbering, USB connection modes (PictBridge, PTP, Normal), and video output signals.
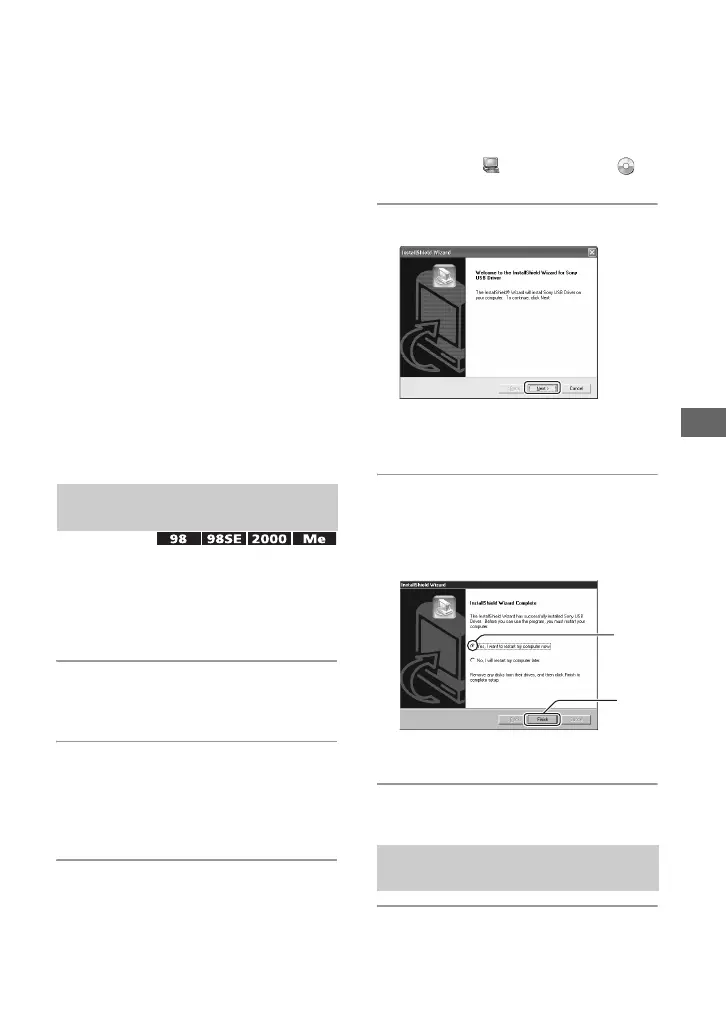
Instructions for connecting the camera to a Windows PC, installing drivers, and viewing/managing images.
Detailed steps for transferring images from the camera's Memory Stick or internal memory to your computer.
Guide to installing and using the included PicturePackage and ImageMixer software for image management and video CD creation.
Instructions for connecting the camera to a Macintosh computer and copying images for viewing and video CD creation.
Explore various methods for printing photos, including direct connection, computer transfer, and photo shop services.
Learn how to print images directly from the camera to a PictBridge-compliant printer without a computer.
Steps to print images after copying them to a computer using the supplied software like PicturePackage.
Instructions on preparing images using DPOF marking for printing services at a photo shop.
Connect the camera to a TV using the A/V cable to view images and movies on a larger screen.
Information on matching the camera's color system (NTSC, PAL, etc.) with the TV for optimal viewing.
Interpret camera error codes (C/E:xx) and system messages for diagnosing and resolving problems.
Solutions for problems related to battery life, power turning off, charging, and power indicators.
Address issues like inability to record, out-of-focus images, zoom or flash malfunctions, and incorrect date/time.
Troubleshoot computer connection failures, USB driver issues, Memory Stick errors, and internal memory capacity problems.
Resolve problems related to connecting to a printer, printing images, and PictBridge compatibility.
Information on different Memory Stick types, compatibility, usage notes, and handling precautions.
Guidelines for using the battery charger, battery types, effective battery usage, and charging recommendations.
Important precautions regarding camera placement, cleaning, operating temperatures, moisture condensation, and battery care.
Detailed technical specifications of the camera, including image device, lens, power, dimensions, and connectors.