EasyManua.ls Logo

Sony MZ-R30 Analog PCLink User Manual

Sony MZ-R30 Analog PCLink
156 pages
To Next Page IconTo Next Page
To Previous Page IconTo Previous Page
Page #20 background image
20-EN
z Editing recorded tracks
You can edit your recordings by adding/
erasing track marks or labeling tracks and
MDs. Premastered MDs cannot be edited.
Notes on editing
•Do not move or jog the recorder while “Toc
Edit” is flashing in the display.
•You cannot edit tracks on an MD that is
record-protected. Before editing tracks,
close the tab on the side of the MD.
To erase the whole disc
You can quickly erase all the tracks and
data of the MD at the same time.
Note that once a recording has been
erased, you cannot retrieve it. Be sure to
check the contents of the disc you want to
erase.
1 In stop mode, keep pressing ERASE
and slide REC to the right.
"All Erase?" and "Push Erase" appear
in the display alternately. To cancel
erasing, press p .
2 Press ERASE again.
”Toc Edit” flashes in the display.
When erasing finishes, “BLANK
DISC” appears.
ERASE
p
Erasing tracks
To erase a track
Note that once a recording has been
erased, you cannot retrieve it. Check the
track number before erasing.
1 Press ERASE while playing the track
you want to erase.
“Erase OK?” and “Push Erase”
appear in the display alternately, and
the recorder plays the selected track
repeatedly. To cancel erasing, press
p .
2 Check the track number in the
display and press ERASE again.
The track is erased from the MD and
the remaining tracks are renumbered.
To erase a part of a track
Add track marks at the beginning and the
end of the part you want to erase, then
erase the part.
p
REC
ERASE

Table of Contents

Question and Answer IconNeed help?

Do you have a question about the Sony MZ-R30 Analog PCLink and is the answer not in the manual?

Sony MZ-R30 Analog PCLink Specifications

General IconGeneral
TypeMinidisc Recorder
Sampling Frequency44.1 kHz
Frequency Response20 Hz - 20 kHz
Signal-to-Noise Ratio90 dB
Recording MediaMiniDisc
Recording FormatATRAC
Wow and FlutterBelow measurable limits
Inputmicrophone
Power SupplyAA batteries or AC adapter
PC LinkYes
Recording TimeUp to 74 minutes (SP mode), Up to 148 minutes (LP2 mode), Up to 296 minutes (LP4 mode)
OutputHeadphones (stereo mini-jack), Line Out (stereo mini-jack)

Summary

Safety and Warnings

General Safety Precautions

Essential safety guidelines for fire, electric shock, eye damage, and hearing protection.

Canadian Customer Safety Notice

Specific electrical plug safety caution for Canadian users.

Liability Disclaimer

Legal statement limiting seller's responsibility for product use or defects.

Recording Basics

Connecting for Recording

Steps for connecting audio sources and power for recording.

Inserting and Starting Recording

Procedure for inserting an MD and initiating the recording process.

Playback Basics

Connecting for Playback

Steps for connecting headphones and power for playback.

Inserting and Starting Playback

Procedure for inserting an MD and starting audio playback.

Advanced Recording Techniques

Analog vs. Digital Input

Comparison of analog and digital input methods for recording audio.

Synchro-Recording

How to perform automatic recording from digital sources using Synchro REC.

Microphone Recording

Instructions for using a microphone for audio input.

Monaural Recording

Enabling monaural mode for extended recording time.

Manual Recording Level

Setting the recording volume manually for analog inputs.

Setting Clock for Date/Time Stamping

Configuring the clock to add date and time stamps to recordings.

Playback Features

Track Selection and Repeat Modes

Navigating tracks and setting various repeat playback options.

Sound Enhancement and Hearing Protection

Using Mega Bass and AVLS features for audio quality and hearing safety.

Checking Playback Status

Viewing playback progress, remaining time, and track information.

Connecting to Stereo System

Procedure for outputting audio to an external stereo system.

Editing Recorded Tracks

Erasing Tracks and Discs

Methods for deleting individual tracks or the entire disc content.

Track Mark Management

Adding and removing track marks to segment recordings.

Moving and Labeling Tracks

Rearranging track order and adding text labels to recordings.

Power Sources

Using Lithium-Ion Battery

Instructions for charging and using the rechargeable battery.

Using Dry Batteries

Guide for inserting and managing dry cell batteries and their life.

Additional Information

Precautions for Safe Use

Guidelines for operation, heat, installation, cleaning, and battery handling.

Troubleshooting Guide

Solutions for common operational problems and symptoms.

System Limitations

Understanding inherent restrictions of the MiniDisc recording system.

Error Message Guide

Explanation of error messages and their remedies.

Technical Specifications

Detailed technical data of the recorder.

About MiniDisc

MiniDisc Technology Overview

Explanation of MiniDisc operation, types, and core features.

MiniDisc Design Advantages

Details on MiniDisc's size, ATRAC compression, and shock resistance.

Controls and Display

Recorder Controls

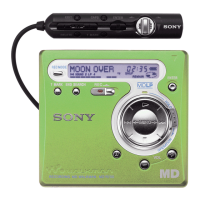
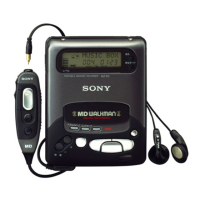
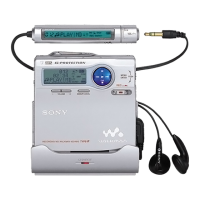
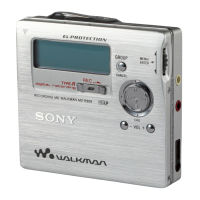
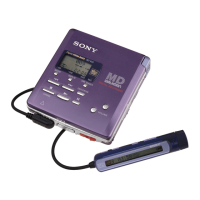
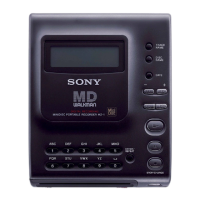
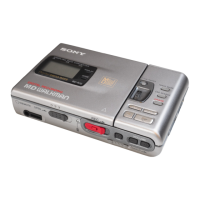
Identification and function of buttons on the recorder unit.

Display Window Indicators

Meaning of symbols and information shown on the display.

Headphone Remote Control

Functions of the remote controller attached to the headphones.

Related product manuals