44
authentication to be performed before
sending e-mail.
Account Name: Enter the mail account.
Password: Enter the password.
5 Confirm the contents of the e-mail
report.
When you click on [View] is pressed, the
contents of the e-mail report are
displayed.
6 Send the test mail.
Check on the Send test mail check box
then click on [Apply] to send your test
mail to the e-mail address you set.
• The e-mail report function is not available
because the network which Outbound Port25
Blocking is used cannot be connected to the
SMTP server.
• You cannot use the following characters to
enter the characters in the text box: “ ' ”, “ “
”, “ \ ”, “ & ”, “ < ”, “ > ”
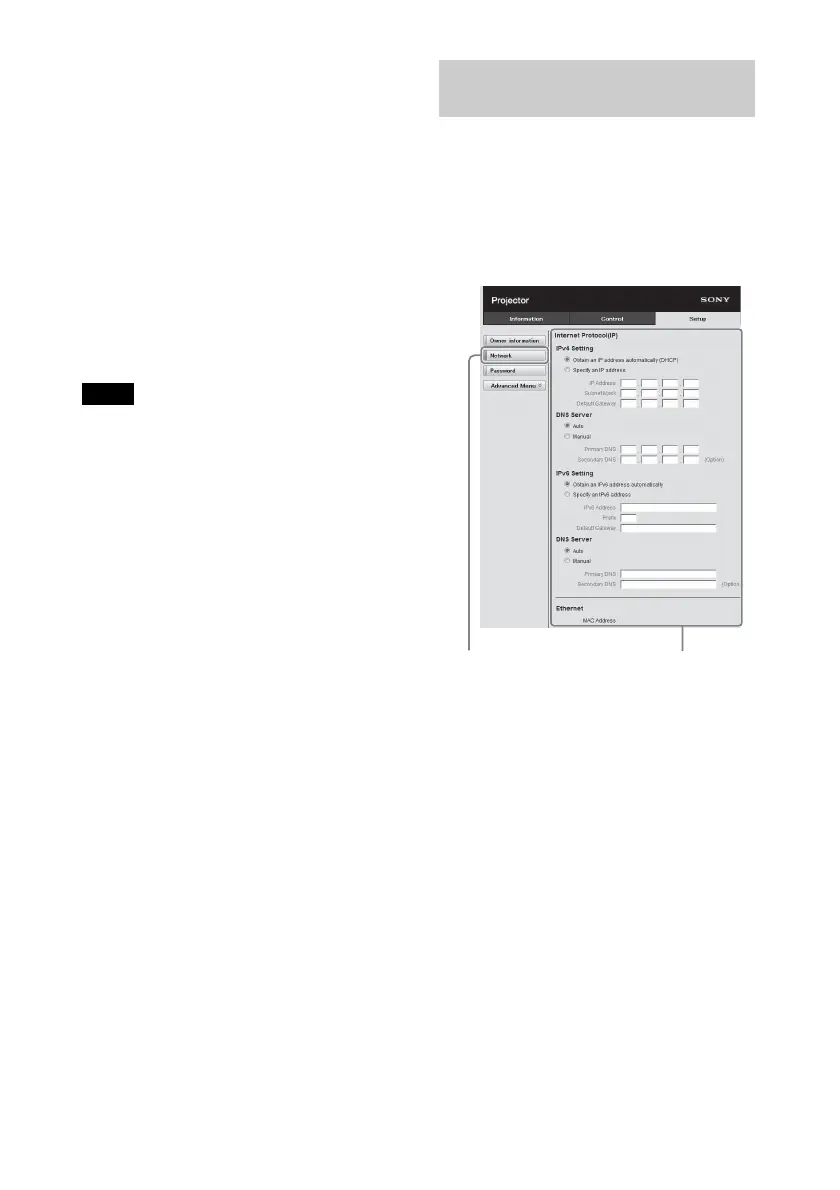
Set the LAN network function on the Setup
page.
Entered values will not be applied unless
you click on [Apply].
1 Click on [Network] to open the
Network page.
2 Set the items for internet protocol.
(a) Setting the IPv4 address
Obtain an IP address automatically:
Automatically provides the network
settings by a DHCP server function,
such as the router. The IP Address,
Subnet Mask, Default Gateway,
Primary DNS, and Secondary DNS
display the values provided by a
DHCP server.
Specify an IP address: Set the network
manually.
-IP Address: Input the IP address of the
projector.
-Subnet Mask: Input the subnet mask of
the projector.
-Default Gateway: Input the default
gateway of the projector.
Notes
Setting the LAN Network of
the projector
Network button
LAN Network
setting area
 Loading...