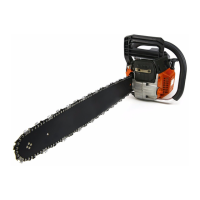
ASSEMBLY AND OPERATION
Sprocket (F30): Check for cracks as well as for excessive wear interfering with the chain drive. If the
wearing is found, replace it with a new one. Never t a new chain on a worn sprocket nor a worn chain on
a new sprocket.
(1) Sprocket
(2) Needle Bearing
(3) Clutch Drum
(4) Spacer
(5) Clutch Shoe
Fuel Filter: Disassemble the lter and wash with gasoline or replace with a new one.
Oil Filter: Disassemble the lter and wash with gasoline or replace with a new one.
Front and Rear Dampers: Replace if the adhered part is peeing or cracked, on the rubber part
Saw Chain: Replace if the adhered part is peeing or cracked, on the rubber part
Place your le on the cutter and push straight forward, keep the le position as
illustrated. (F31)
After every cutter has been set, check the depth gauge and le it to the proper level
as illustrated. (F32)
Be sure to round off the front edge to reduce the chance of kickback or tie-strap
breakage.
(1) Appropriate gauge checker
(2) Make the shoulder round
(3) Depth gauge standard
Make sure every cutter has the same length and edge angles as illustrated
(4) Cutter length
(5) Filing angle
(6) Side plate angle
(7) Top plate cutting angle
Guide Bar: Reverse the bar occasionally to prevent partial wear.
The bar rail should always be a square. Check for wear of the bar rail. Apply a ruler
to the bar and the outside of the cutter. If a gap is observed between them, the rail
is normal. Otherwise, the rail is worn. This will need to be repaired or replaced.
1. Ruler
2. Gap
3. No gap
4. Chain tilts
9
 Loading...