STIHL 064, 066 43
4.6.3 Vacuum Test
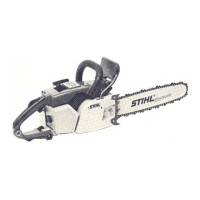
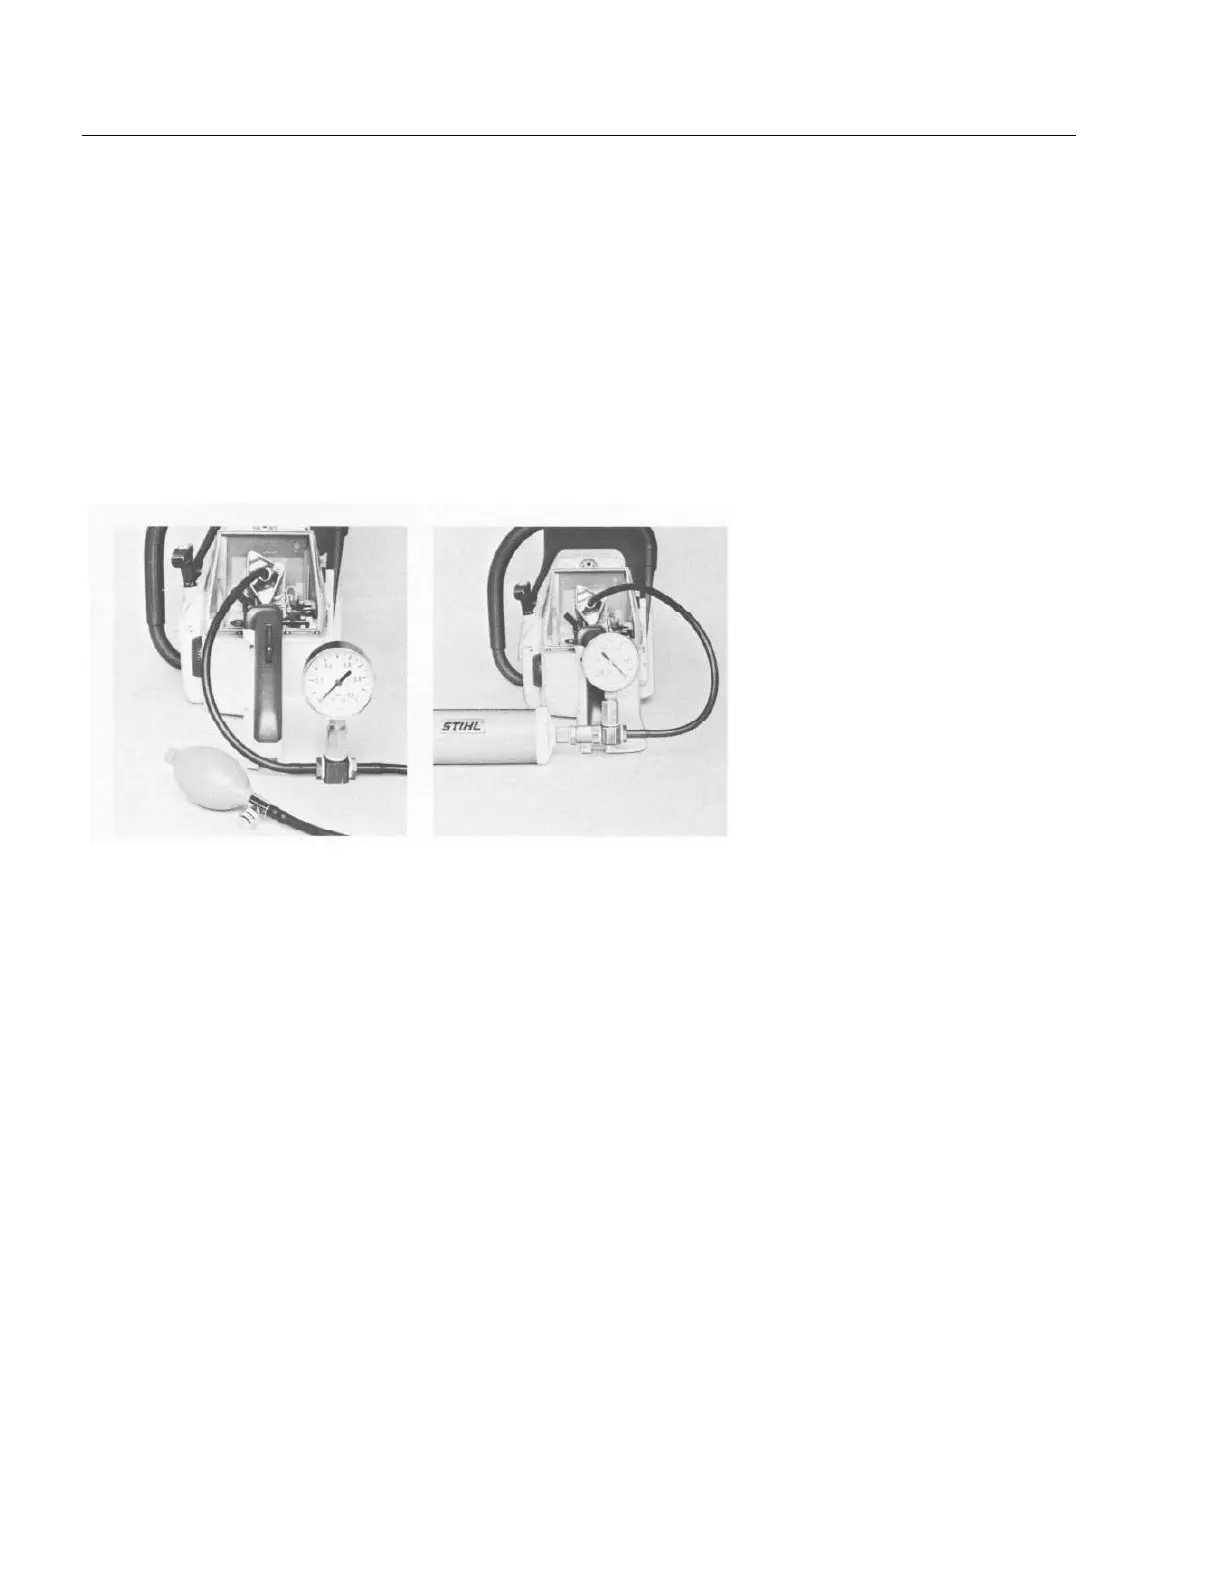
Test setup with carburetor and Test setup with vacuum pump
crankcase tester 1106 850 2905 0000 850 3500
Note: When you release the pump piston,
the non-return valve automatically seals the
suction hose.
If the vacuum reading remains constant, or
rises to no more than 0.3 bar (4.25 psi)
within 20 seconds, it can be assumed that
the oil seals are in good condition.
However, if the pressure continues to rise
(reduced vacuum in crankcase), the oil
seals must be replaced, even if no leaks
were detected in the pressure test.
- Use rubber bulb to pump air into Oil seals tend to fail when sub- - After finishing the test, discon-
the crankcase. jected to a vacuum , i.e. the seal- nect the hose.
ing lip lifts away from the crank-
The gauge must indicate a press- shaft during the piston's induction Reassemble the machine in the
ure of 0.5 bar (7.25 psi). If this stroke because there is no internal reverse sequence.
pressure remains constant, the counterpressure.
crankcase is airtight. However, if Note: Coat the mounting screws
the indicated pressure drops, the An additional test can be carried of both muffler casings with Loctite
leak must be located and the out with the vacuum pump to de- (see 12.2), refit them and tighten
faulty part replaced. Coat the sus- tect this kind of fault. The prepara- to the specified torque - see 4.1.
pect area with oil and pressurize tions for this test are the same as
the crankcase again. If bubbles for the pressure test - see 4.6.2.
appear in the oiled area, replace
the faulty part. - Connect the vacuum pump's
suction hose to test flange nipple.
- After finishing the test, open the
vent screw and disconnect the - Pull out the pump piston several
hose. times until the gauge indicates a
vacuum of 0.5 bar (7.25 psi).
Reassemble the machine in the
reverse sequence.
Note: Coat the mounting screws
of both muffler casings with Loctite
(see 12.2), refit them and tighten
to the specified torque - see 4.1.
 Loading...