5HSODFLQJWKH&KDLQ6SURFNHW
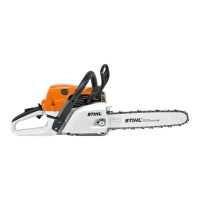
Top: Locking screw in position
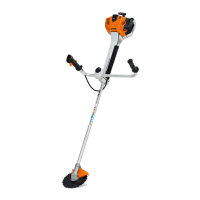
Center: Removing the clutch
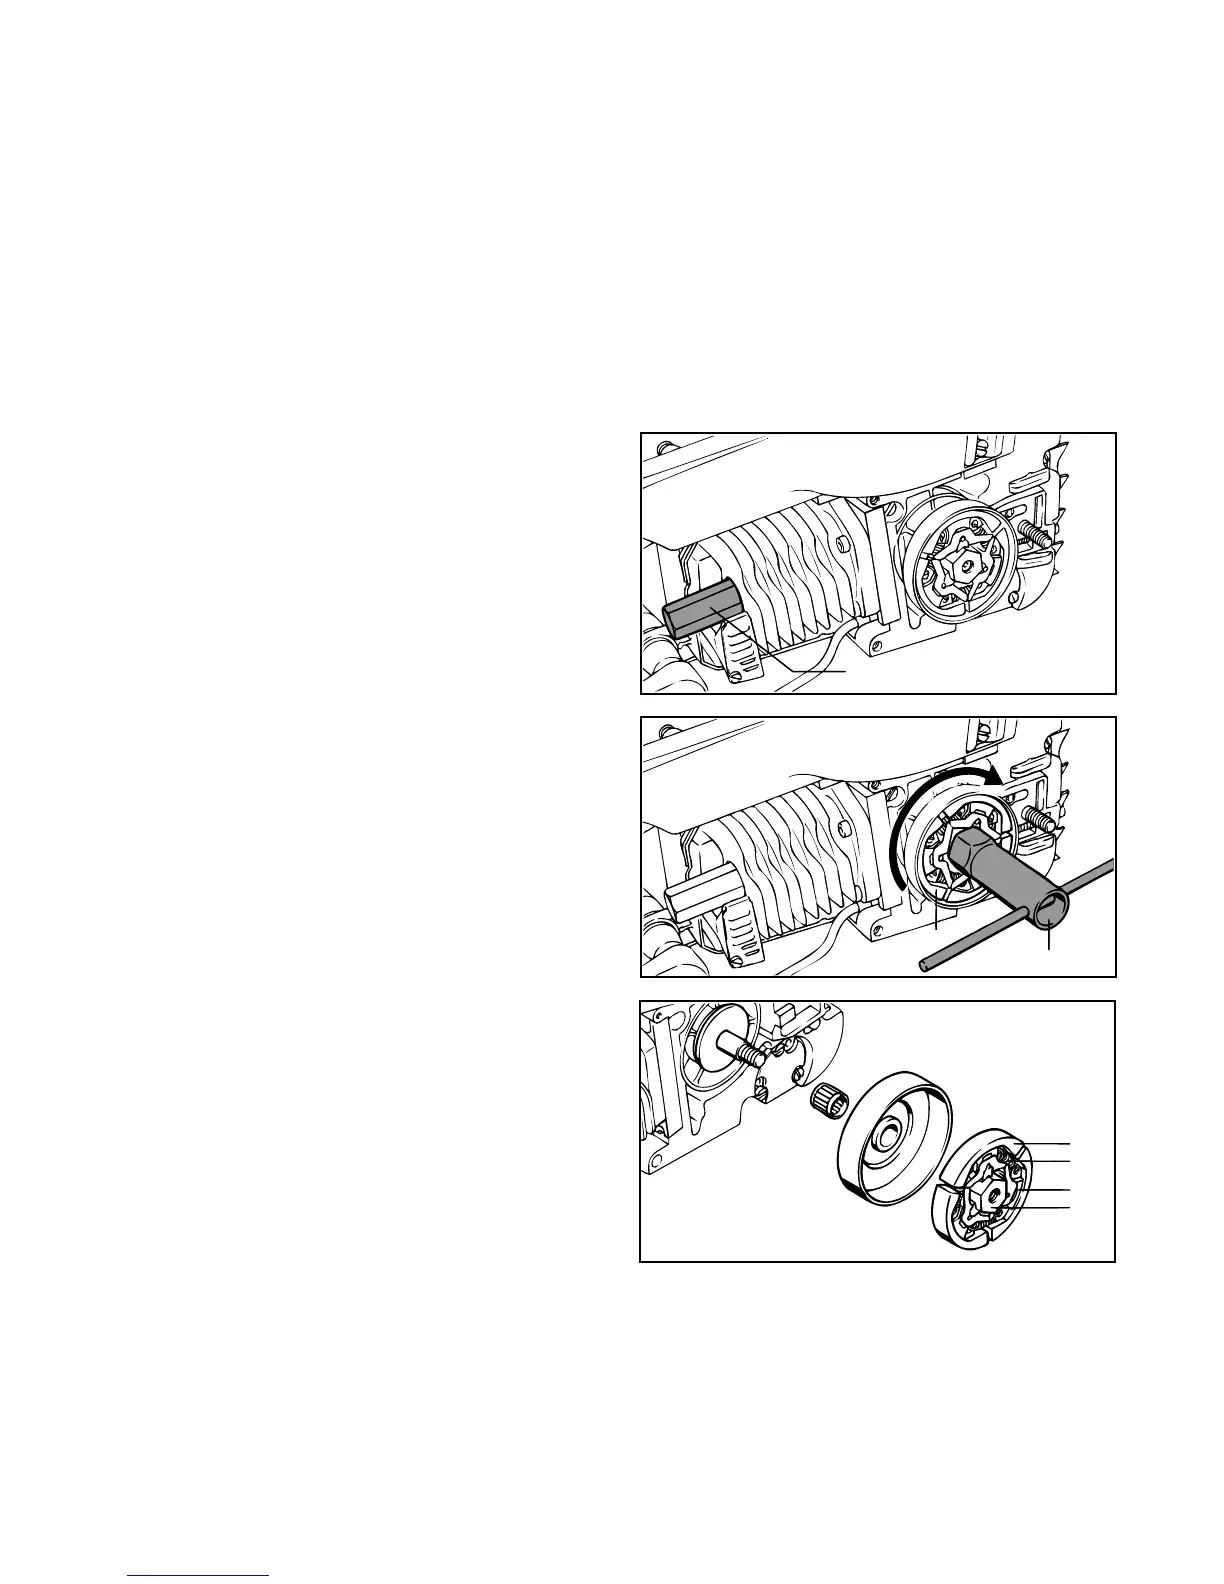
Bottom: Parts in correct order
125BA029 LA
3
2
125BA028 LA
1
125BA030 LA
4
5
6
7
First disengage the chain brake (pull hand guard back
toward front handle) and then remove the chain sprocket
cover, guide bar and chain.
Take out the spark plug and screw locking screw into
spark plug hole by hand until it is firmly seated.
Turn clutch to rotate crankshaft clockwise until the piston
head butts against the lockig srew. Now use a suitable
19-mm wrench to unscrew the clutch.
&DXWLRQ
7KHFOXWFKKDVDOHIWKDQGWKUHDGXQFUHZLWFORFNZLVH
After unscrewing the clutch, remove the chain sprocket and
needle cage from the crankshaft. Clean the stub of the
crankshaft. Wash out needle cage in clean gasoline and
lubricate it with anti-friction bearing grease.
Examine clutch shoes , springs , retainers and
clutch carrier for cracks. If any damage is found, replace
the parts concerned.
Only original STIHL chain sprockets may be installed.
Reverse the above sequence to refit the parts. Take care to
ensure that the clutch shoes and retainers are correctly
positioned. Securely tighten down the clutch again.
Remove the locking srew, refit and tighten down the spark
plug. Fit the spark plug connector.
 Loading...