12
English / USA
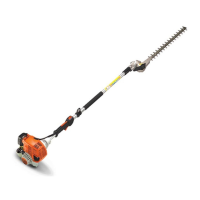
HL 75, HL 75 K
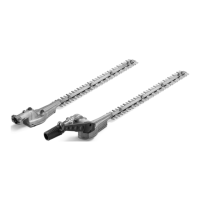
Mounting the Loop Handle
Not necessary on 0° fixed angle
version with handle hose on the
drive tube.
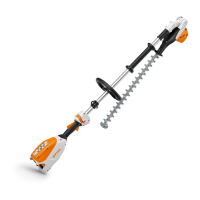
: Fit the square nuts (1) in the barrier
bar (2) – the holes must line up.
: Fit the clamp (3) in the loop
handle (4) and place them both
on the drive tube (5).
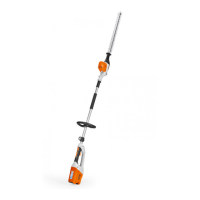
: Place clamp (6) in position and fit
the barrier bar (2) so that the holes
line up.
: Insert screws (7) and tighten them
down moderately against the barrier
bar.
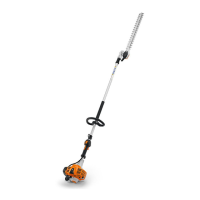
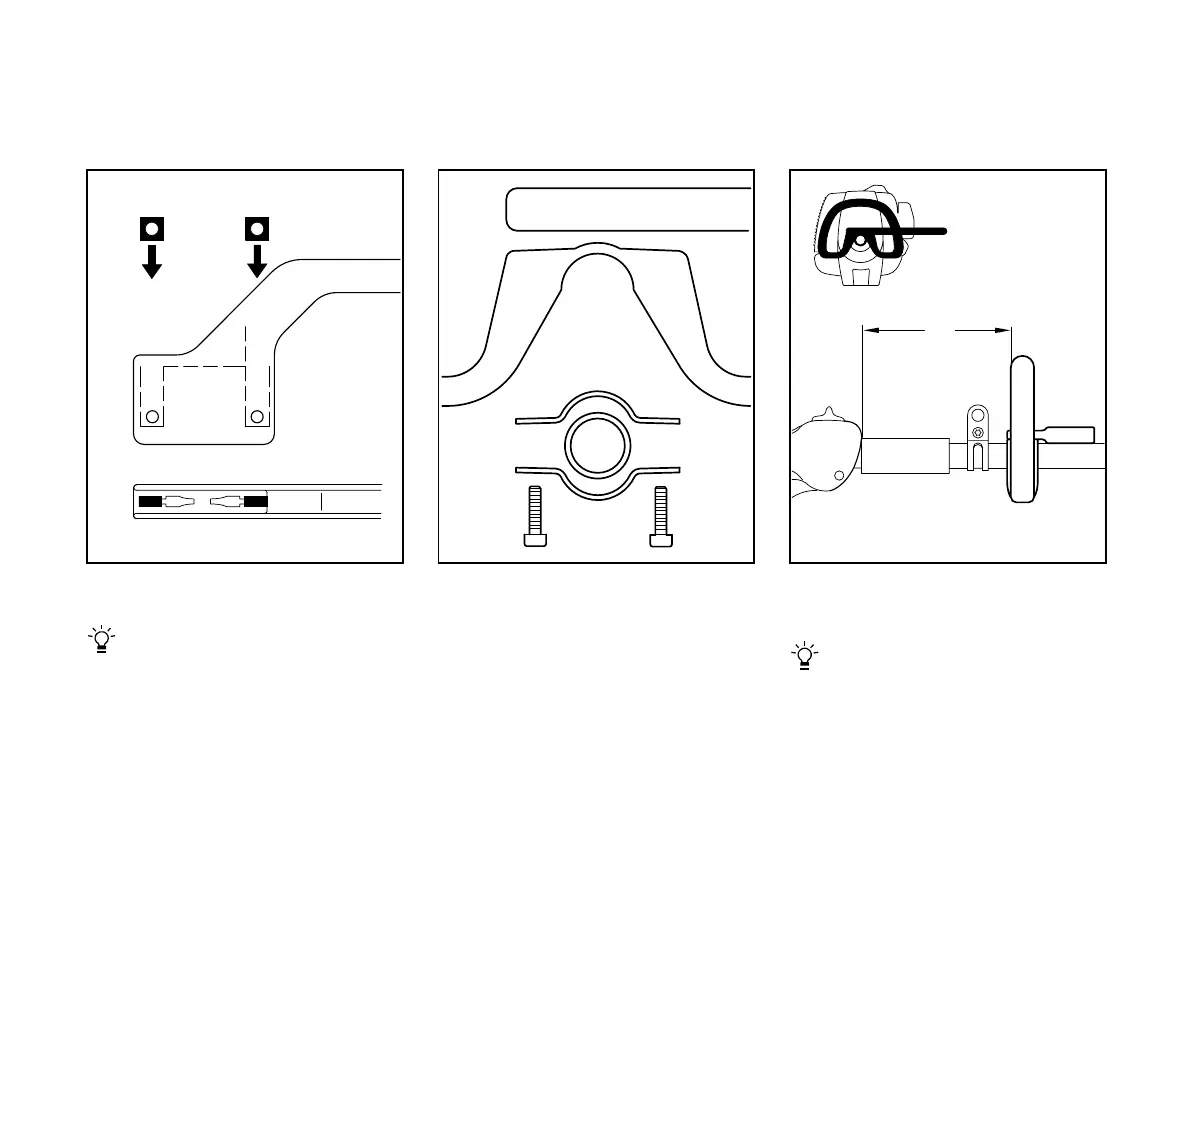
: Align the loop handle (4) and move
it to the most comfortable position.
On HL 75 K, distance A must not be
more than 30 cm (12”) – about
25 cm (10”) is recommended.
On HL 75, distance A must not be
more than 55 cm (22”) – about
35 cm (14”) is recommended
: Tighten down the screws (7)
securely.
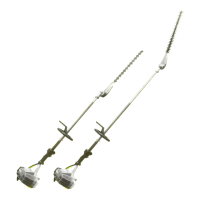
Assembling the Unit
1
1
2
2
11
389BA001 KN
7
7
6
5
3
4
2
389BA002 KN
389BA042 KN
4
A
 Loading...