22
English / USA
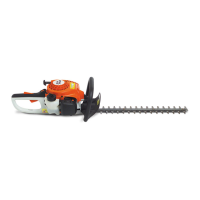
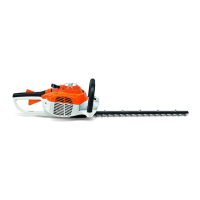
HL 75, HL 75 K
: Wash the foam element in a clean,
non-flammable cleaning solution
(e.g. warm soapy water) and then
dry.
: Fit new felt element.
As a temporary measure you can
knock it out on the palm of your
hand or blow it out with compressed
air. Do not wash.
Replace damaged parts!
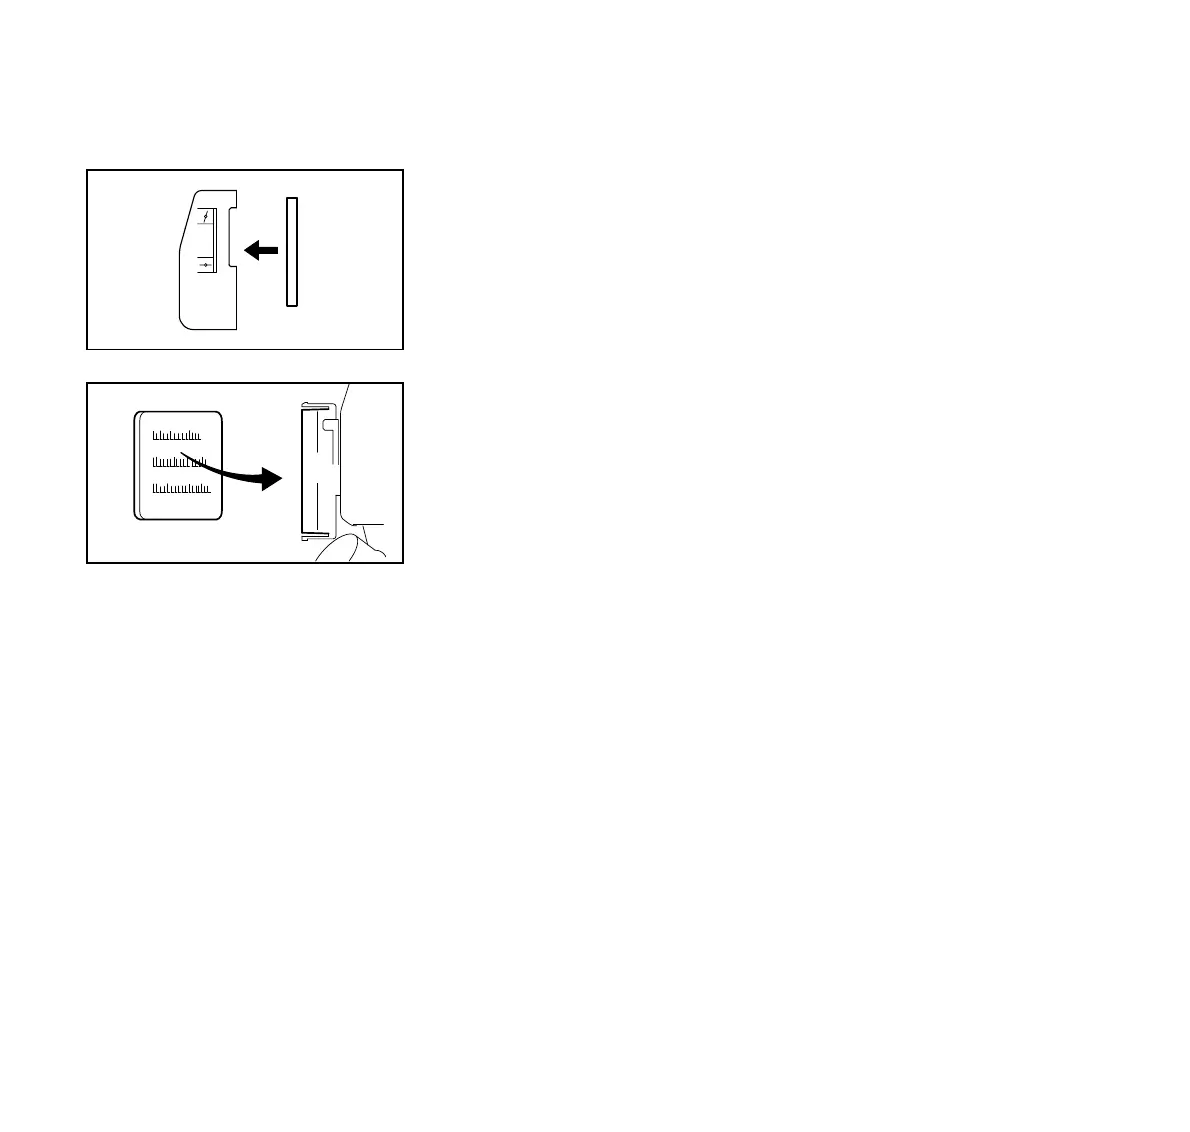
: Install the foam element (3) in the
filter cover (2).
: Place felt element (4) (lettering
facing inward) in filter housing (5).
: Fit filter cover so that it snaps into
position.
Exhaust emissions are controlled by the
design of the fundamental engine
parameters and components (e.g.
carburation, ignition, timing and valve or
port timing) without the addition of any
major hardware.
General Information
The carburetor comes from the factory
with a standard setting.
This setting provides an optimum fuel-air
mixture under most operating
conditions.
With this carburetor it is only possible to
adjust the high speed screw within fine
limits.
2
3
355BA031 KN
4
5
355BA032 KN
Motor Management Adjusting the Carburetor
 Loading...