Component Access / Removal
600 Series
(Prior to #1810000)
7-22
#3756270 - Revision B - January, 2006
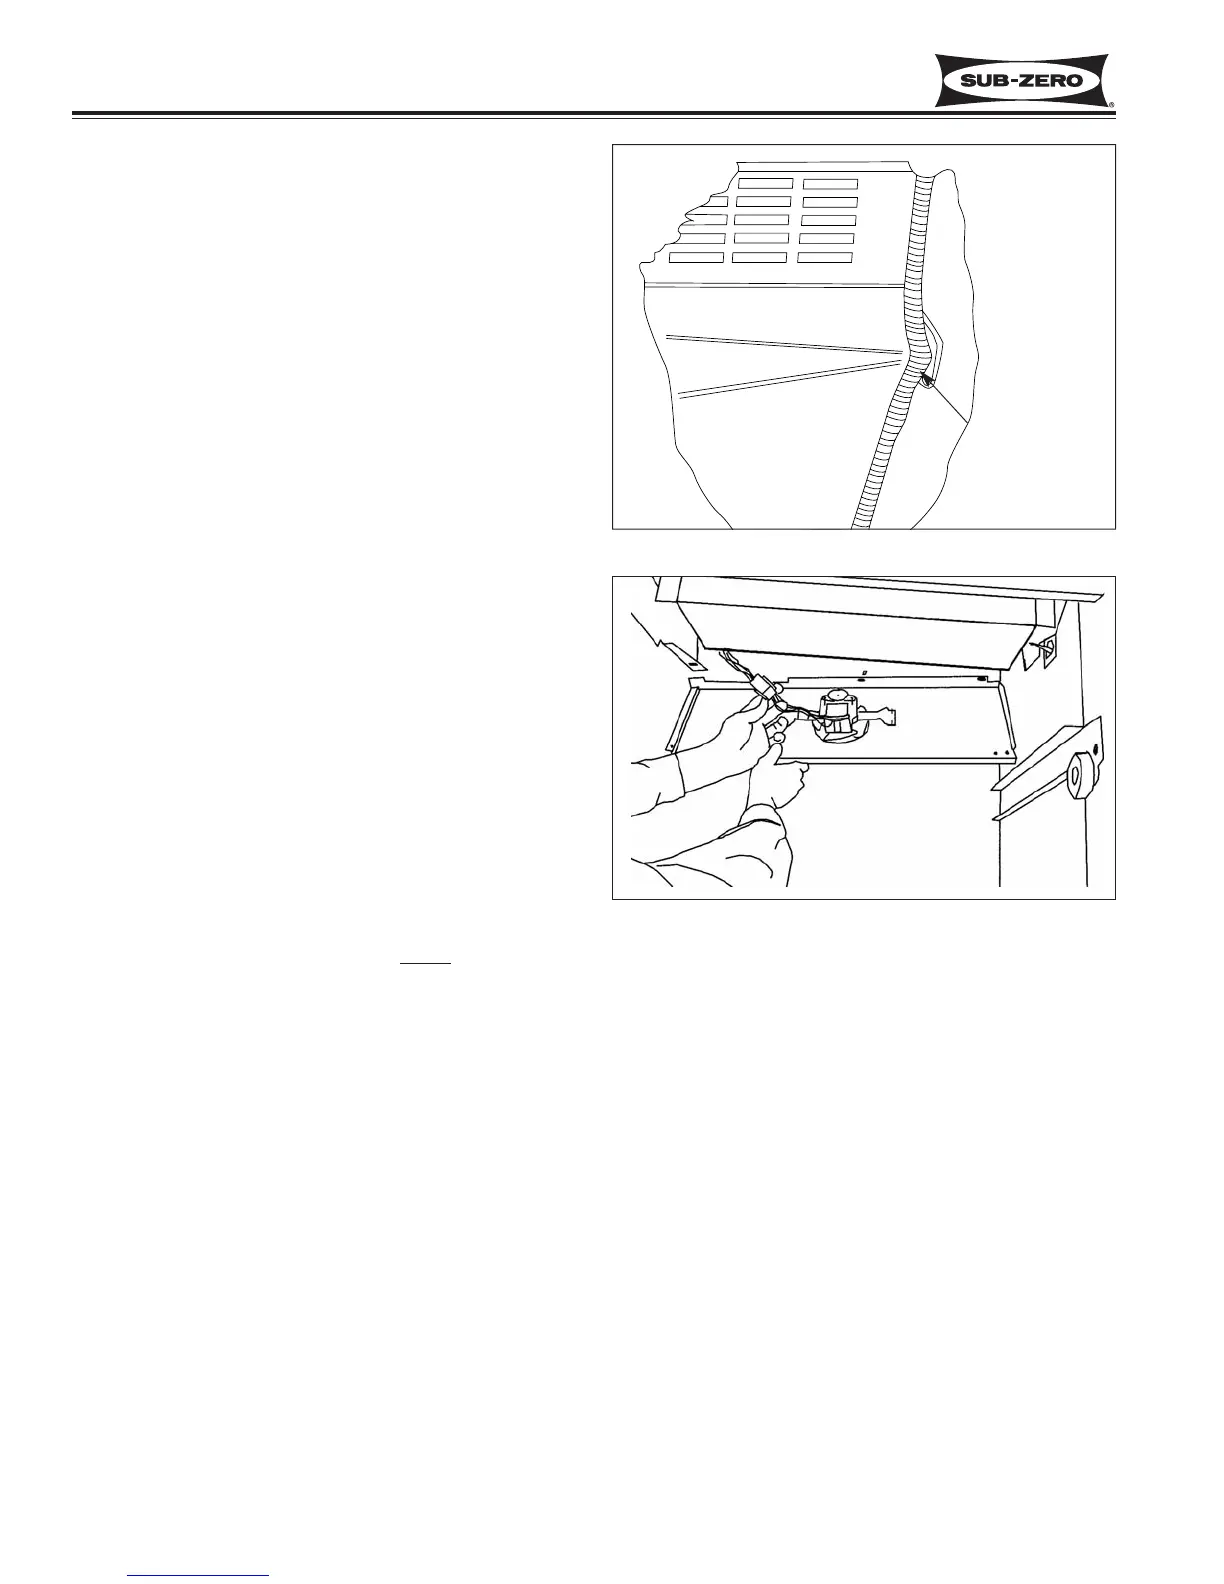
Figure 7-45. Model 611, 650 Silicone Seal
Figure 7-46. Model 611, 650 Freezer Evaporator Fan
and Shroud
Freezer Evaporator Cover (Models 611, 650)
The freezer evaporator cover is located at the top of the
freezer compartment, and the right side is sealed to the
right wall with silicone. (See Figures 7-44 & 7-45)
To remove the freezer evaporator cover, the freezer air
duct will first need to be removed. Now, cut the silicone
seal at the right side with a knife. Then, extract the
mounting screws from the back and front of the evapo-
rator cover. Pull the left side of the evaporator cover
down and disconnect the electrical leads to the lights.
Continue to pull the evaporator cover down and to the
left.
NOTE: When replacing the evaporator cover it is impor-
tant to reseal the right side with silicone. Failure to seal
the right side could cause an icing situation in the freez-
er compartment. (See Figure 7-45)
Freezer Evaporator Fan Assembly
(Models 611, 650)
To access and remove the evaporator fan assembly, the
freezer air duct and evaporator cover will need to be
removed first. Now, remove the mounting screws at the
left side of the fan shroud. Tilt the front edge of the
assembly down and disconnect the fan motor wiring
from the wire harness. (See Figure 7-46) Continue to
tilt the assembly forward and pull out. The freezer
evaporator fan can now be removed from the fan
shroud.
NOTE: When reinstalling freezer evaporator fan assem-
bly , the oblong holes in the rear flange of the fan
shroud must be placed over the two upper
white pegs
in the rear wall.
Silicone Seal
 Loading...