27
Chapter 2: Installation
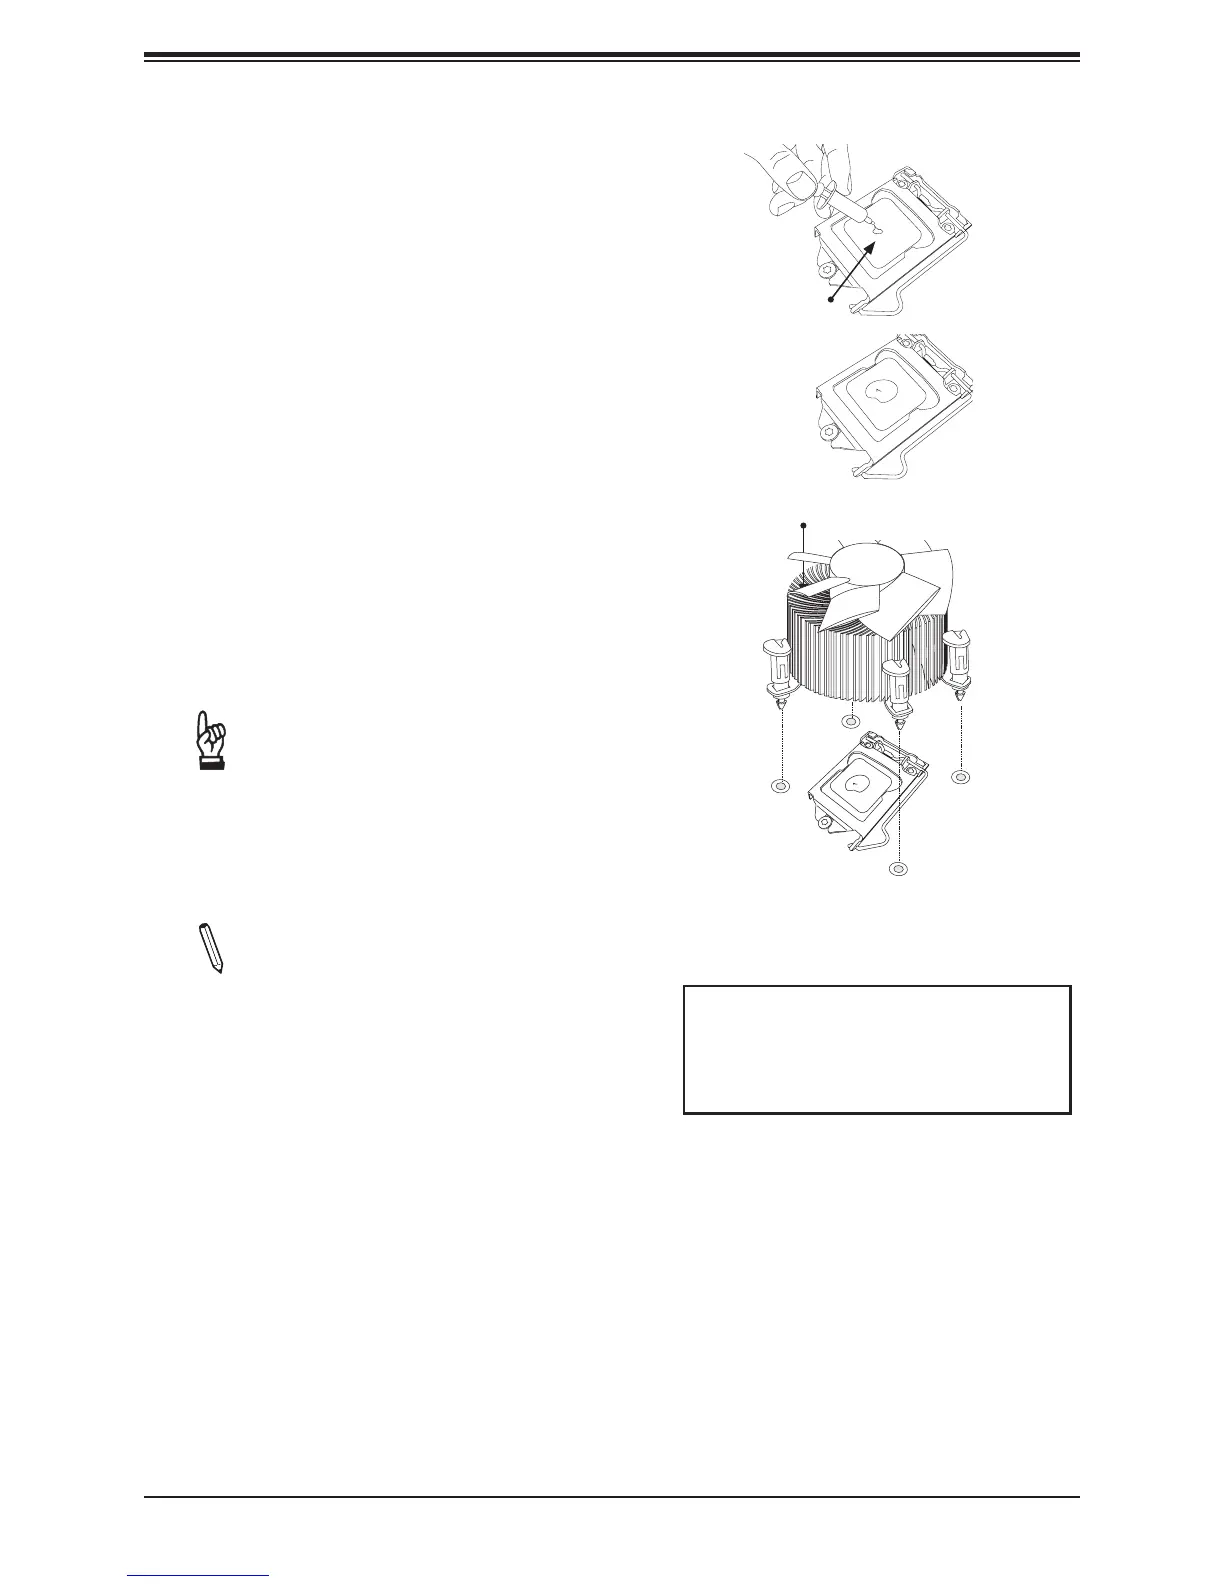
Thermal Grease
Heatsink
Fins
Installing an Active CPU
Heatsink with Fan
1. Locate the CPU fan power connector on
the motherboard. (Refer to the layout on
the right for the CPU fan location.)
2. Position the heatsink so that the heatsink
fan wires are closest to the CPU fan
power connector and are not interfering
with other components.
3. Inspect the CPU fan wires to make sure
that the wires are routed through the
bottom of the heatsink.
4. Remove the thin layer of the protective
lm from the heatsink.
Important: CPU overheating may oc-
cur if the protective lm is not removed
from the heatsink.
5. Apply the proper amount of thermal
grease on the CPU.
Note: If your heatsink came with a ther-
mal pad, please ignore this step.
6. If necessary, rearrange the wires to
make sure that the wires are not pinched
between the heatsink and the CPU. Also,
make sure to keep clearance between the
fan wires and the ns of the heatsink.
Recommended Supermicro heatsink:
SNK-P0046A4 or SNK-P0051AP4
active heatsink
(2U+ or 4U chassis)
 Loading...