EasyManuals Logo

Suzuki DL1000 Owner's Manual

Suzuki DL1000
115 pages
To Next Page IconTo Next Page
To Previous Page IconTo Previous Page
Page #89 background imageLoading...
Page #89 background image
7-37
5. Draw out the axle.
6. With the wheel moved forward,
remove the chain from the
sprocket.
7. Pull the rear wheel assembly
rearward.
NOTE: Never depress the rear
brake pedal with the rear wheel
removed. It is very difficult to force
the pads back into the caliper
assembly.
8. To replace the wheel, reverse
the complete sequence listed.
9. After installing the wheel,
apply the brake several times
and then check that the wheel
rotates freely.
Rear axle nut tightening torque:
100 N·m (10.0 kgf-m, 72.5 lbf-ft)
WARNING
Failure to adjust the drive chain
and failure to torque bolts and
nuts properly could lead to an
accident.
Adjust the drive chain as
described in DRIVE CHAIN
ADJUSTMENT section after
installing the rear wheel.
Torque bolts and nuts to the
proper specifications. If you
are not sure of the proper
procedure, have your autho-
rized SUZUKI dealer or a
qualified mechanic do this.
www.ClassicCycles.org

Table of Contents

Other manuals for Suzuki DL1000

Questions and Answers:

Question and Answer IconNeed help?

Do you have a question about the Suzuki DL1000 and is the answer not in the manual?
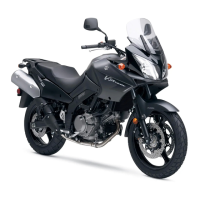
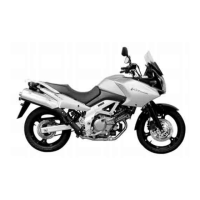
Suzuki DL1000 Specifications

General IconGeneral
Displacement996cc
Compression Ratio11.3:1
Final DriveChain
StarterElectric
Bore x Stroke98.0mm x 66.0mm
Transmission6-speed
Rear SuspensionLink type, coil spring, oil damped
Front BrakesDual hydraulic disc
Rear BrakesSingle hydraulic disc
Fuel Tank Capacity22.0 L (5.8 US gal)
Ground Clearance165 mm (6.5 in)
IgnitionElectronic
Fuel SystemElectronic Fuel Injection

Related product manuals