5
If the drainpipe is incorrectly installed, leaks will be caused by
the malfunction of the water-level switch.
Adjust the position to ensure the gaps between the body and
the four sides of ceiling are even. The body's lower part
should sink into the ceiling to a depth of 10-12 mm (refer to
Fig. 4-9).
Locate the air conditioner firmly by wrenching the nuts after
having adjusted the body's position. (Refer to Fig. 4-10)
3
4
Refer to 3 mentioned in the existing ceiling.
Remove the installation paper board.
1
2
Newly built houses and ceilings
In the case of new built house, the hook can be embedded in
advance (refer to 2 mentioned in the existing ceiling). But it
should be strong enough to bear the indoor unit and not
become loose because the concrete has shrunk.
After installing the body, fasten the installation paper board onto
the air conditioner with bolts (M6X12) to determine in advance
the sizes and positions of the hole opening on the ceiling.
(Refer to Fig. 4-5)
Please guarantee the horizontal flatness of the ceiling when
installing it.
Refer to 1 mentioned in the existing ceiling.
4.3 Install the main body
The existing ceiling (to be horizontal)
Cut a quadrangular hole of 910 x 910 mm in the ceiling
according to the shape of the installation paper board.
(refer to Fig. 4-4, Fig. 4-6 and Fig. 4-7)
The center of the hole should be in the same position the air
conditioner body’s center.
Determine the lengths and outlets of the connecting pipe,
drainpipe and cables.
To balance the ceiling and to avoid vibration, please reinforce
the ceiling when necessary.
Adjust the hexangular nuts on the four installation hooks
evenly to ensure the balance of the body.
Select the position of the installation hooks according to the
hook holes on the installation board.
Drill four holes of 12 mm, 45-50 mm deep at the selected
positions on the ceiling. Then embed the expansible hooks.
Face the concave side of the installation hooks toward the
expansible hooks. Determine the length of the installation
hooks from the height of ceiling. Then cut off the unnecessary
part.
If the ceiling is extremely high, determine the length of the
installation hook according to facts.
1
2
3
Install the unit in a location that can bear its weight.
Insufficient support will cause the unit to fall, which may cause
injury.
Special installation methods can prevent the unit be blown around
by strong winds or shocked by earthquakes. Improper installation
can cause an accident.
WARNING
Fig. 4-5
Unit body
Install the paper board
Central hole
Screw M6×12
(Accessories)
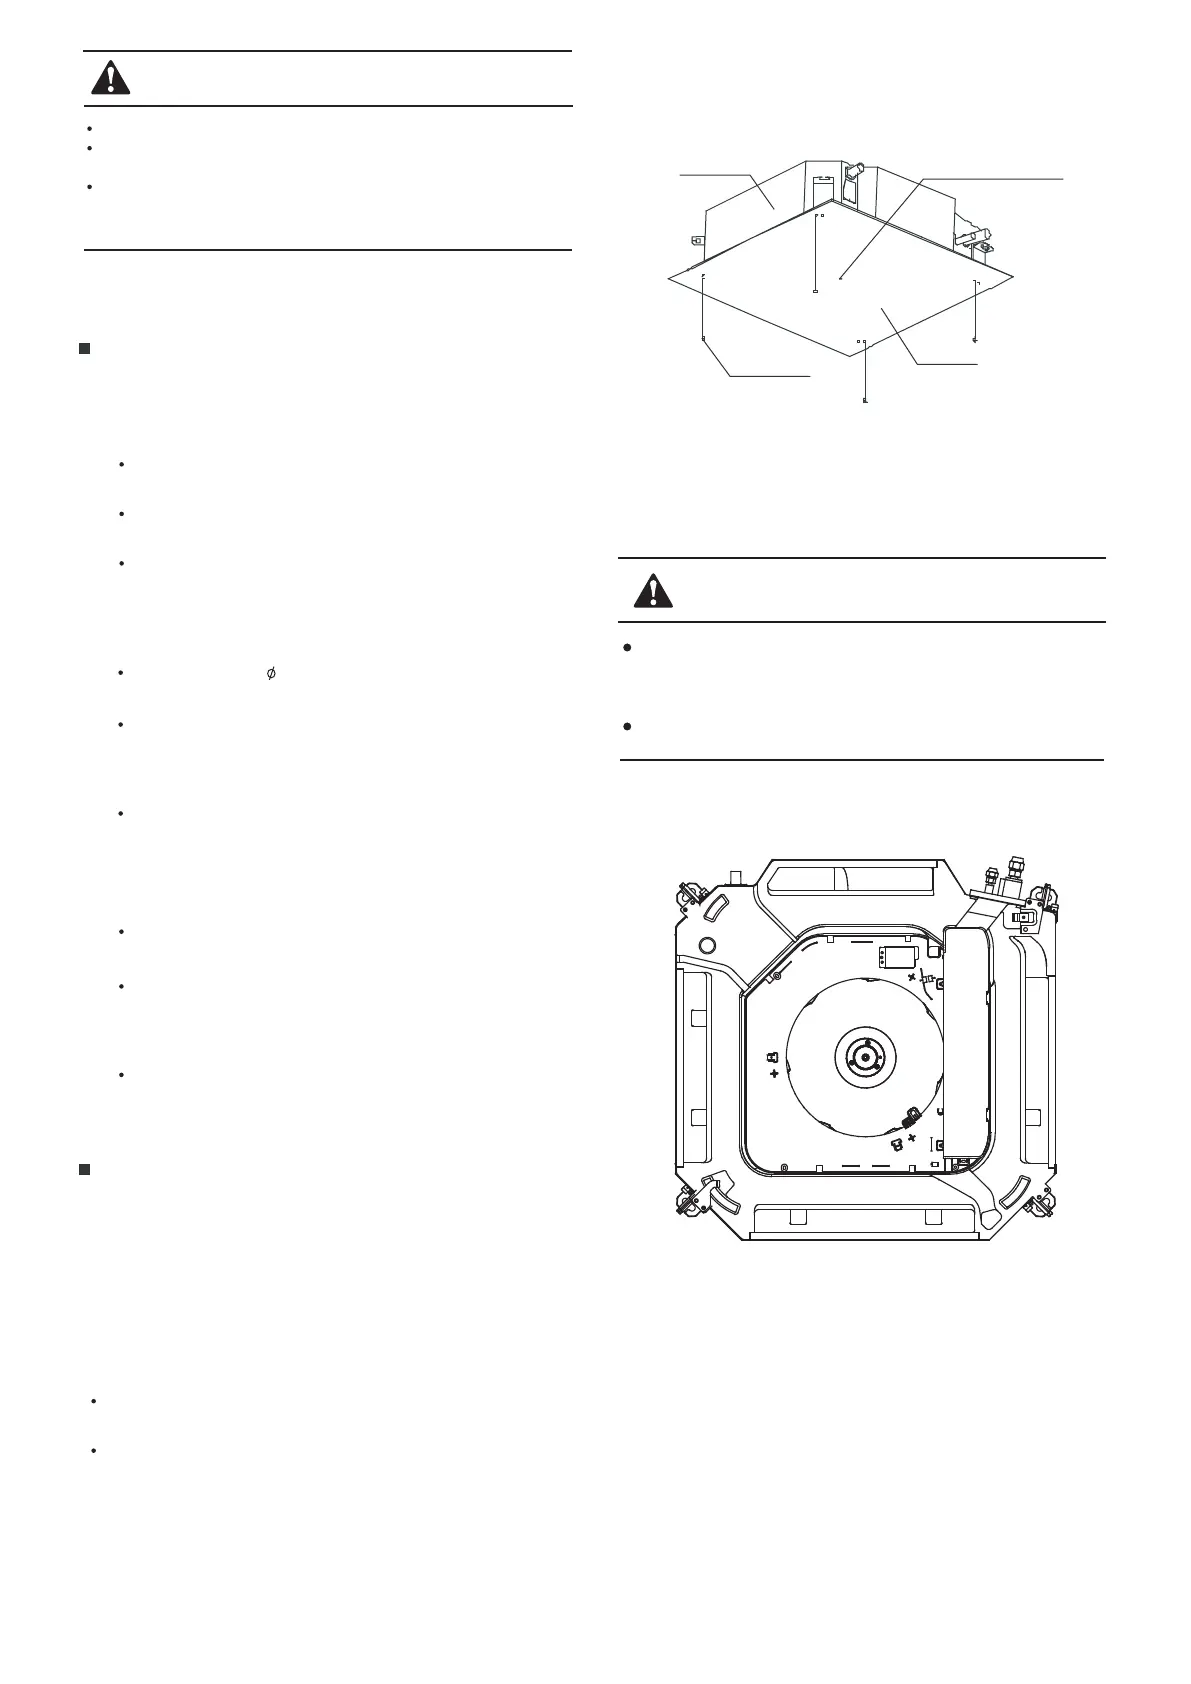
Before installing the indoor unit, first remove the buffer between
the fan and flared mouth. Otherwise, the fan motor will be
damaged (See Fig. 4-6).
Ensure that the indoor unit is placed horizontally.
CAUTION
Fig. 4-6
 Loading...