Removal and Installation Procedures
TLA5000 Series Service Manual
6-15
Floppy Disk Drive
1. Remove the top and right trim and the top-right cover.
2. Locate the Floppy Disk Drive in the locator diagram in Figure 6--5 on
page 6--14.
3. Set the instrument so its bottom is down on the work surface and the front
panel is facing you.
4. Remove the cable from the back of the floppy disk drive.
5. Remove the two T-15 Torx-drive screws that secure the floppy disk drive
assembly to the chassis.
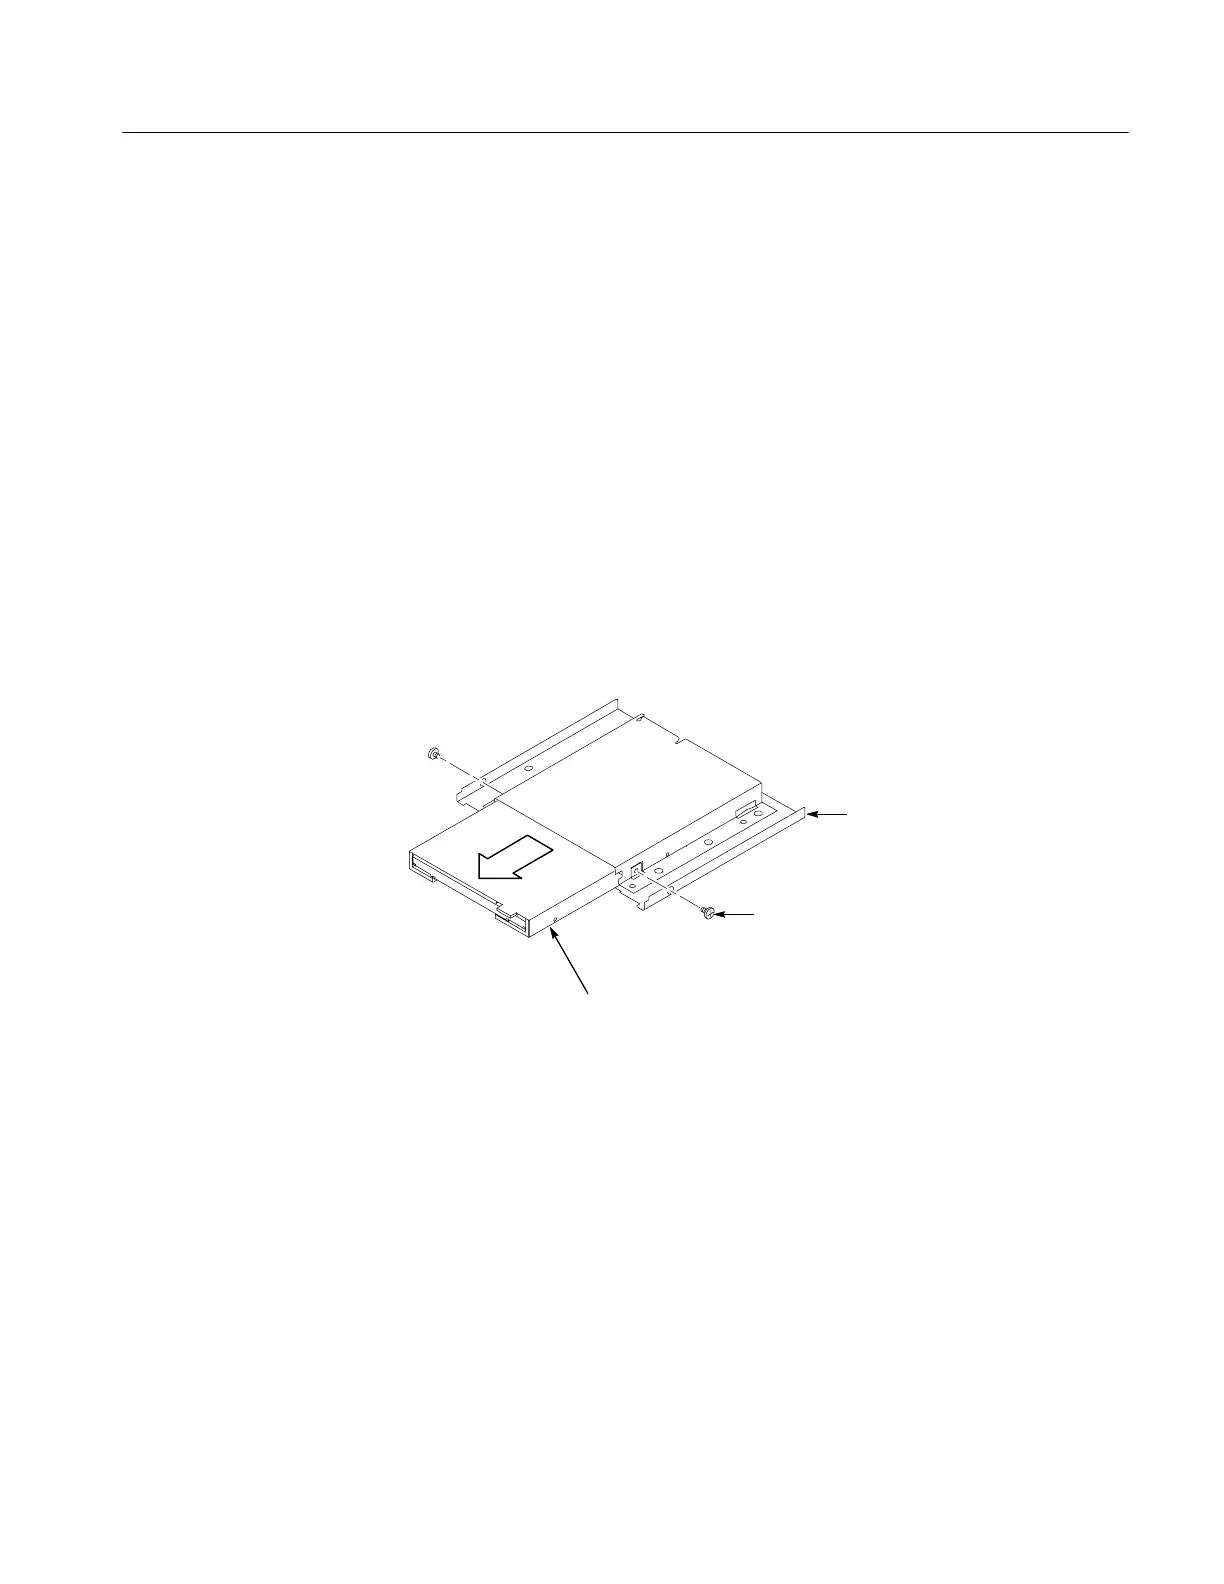
6. Use a #0 Phillips screwdriver to remove the two small Phillips screws that
secure the floppy disk drive assembly to the bracket (see Figure 6--6).
7. Remove the floppy drive from the bracket.
Floppy drive
Floppy drive
bracket
#0 Phillips
screws (2)
Figure 6- 6: Floppy disk drive removal
8. To reinstall the floppy disk drive, reverse steps 1 through 7. Tighten the T-15
Torx-drive screws to 8-in lbs; tighten the Phillips screws to 2.5-in lbs.
 Loading...


