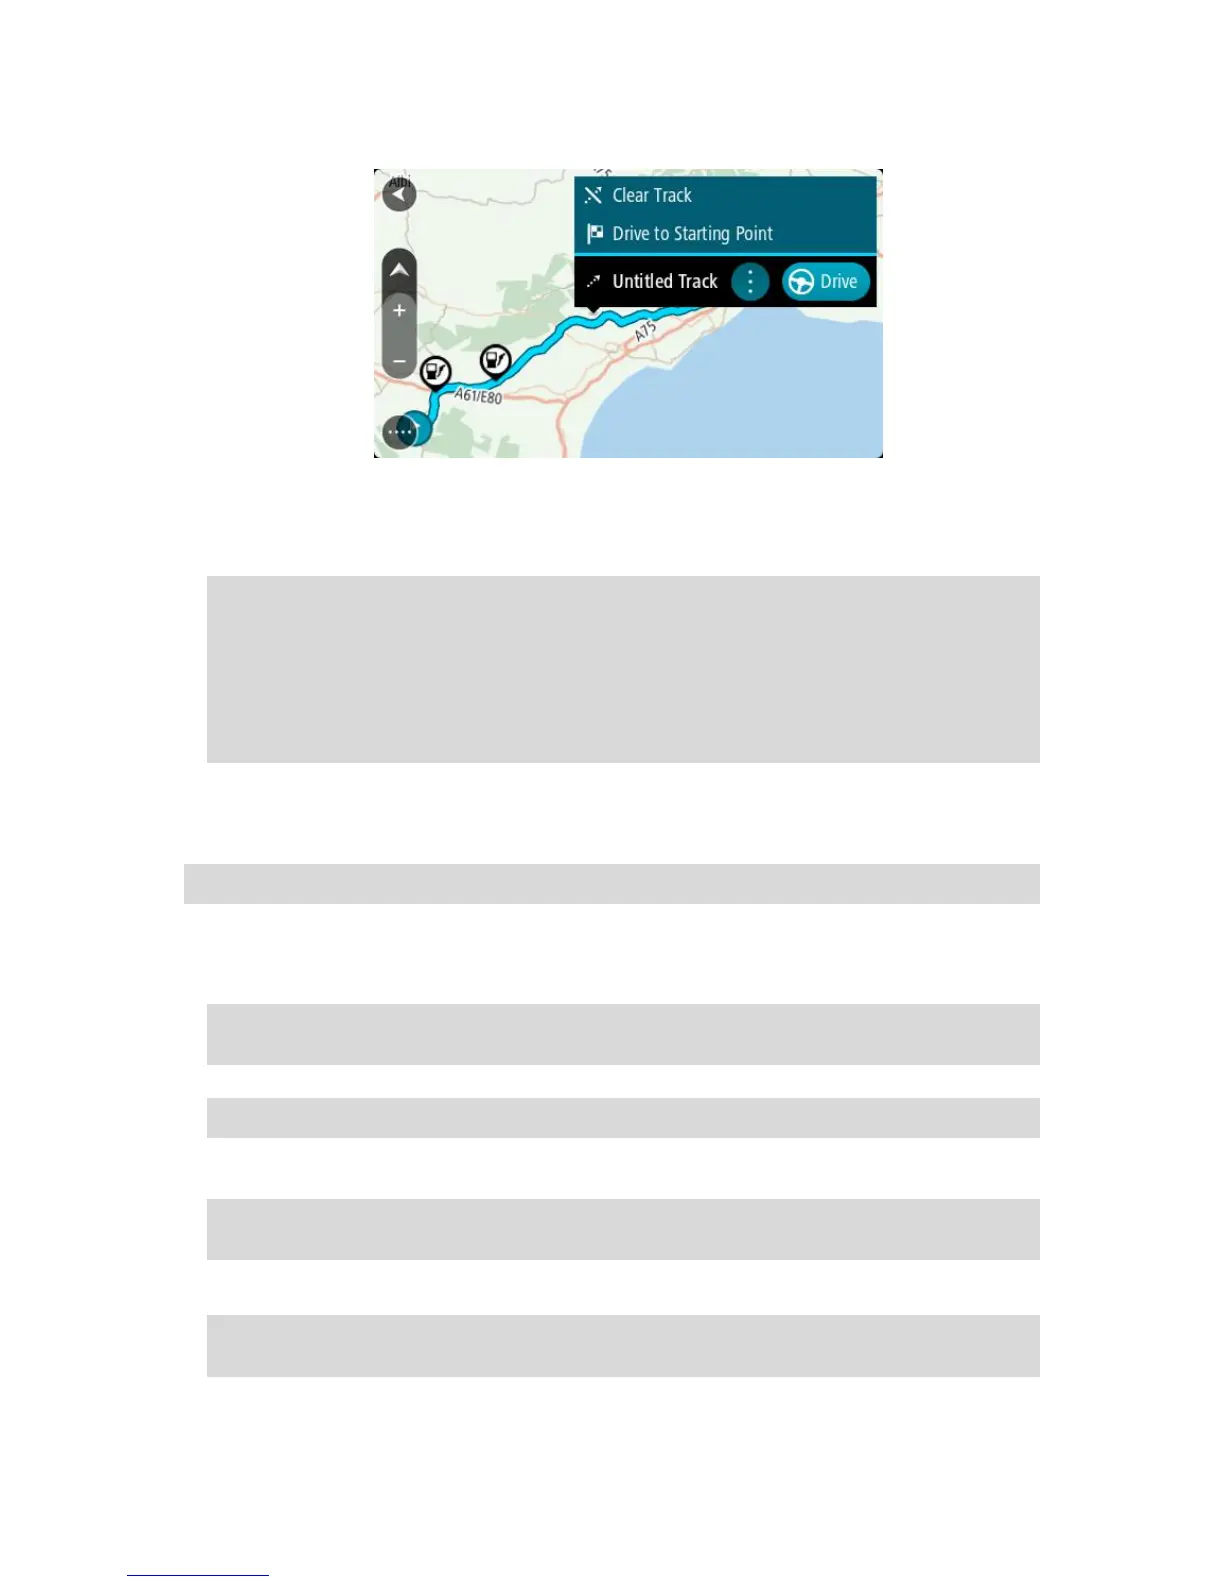
3. Select the track, then select the pop-up menu.
4. Select Drive to Starting Point.
The starting point of the track is converted to your first stop and then the route is planned.
Guidance to your destination begins from your current location. As soon as you start driving, the
guidance view is shown automatically.
Note: You see two different colours on the map for your route and track. You see one color for
the route from your current location to the starting point and another second color for the
track.
Tip: There are two other ways to navigate using a saved route:
Select the starting point of the route. When the pop-up menu opens, select Drive to Starting
Point.
Alternatively, select Drive to Starting Point or Ride to Route in the Current Track menu.
Exporting tracks to a memory card
You can export tracks as GPX files and save them on a memory card for sharing with other users.
Note: Currently, you can export only tracks from your GO.
To export one or more tracks, do the following:
1. In the Main Menu, select My Routes.
2. Select Share Tracks.
Tip: Alternatively, when in map view, select a track and select Share Track from the pop-up
menu.
3. Select one or more tracks from your list for export.
Tip: To select or deselect all routes for export, select the pop-up menu button.
4. Select Share then select Export to Memory Card.
You see the message Saving.
Tip: If there is not enough space on your memory card or your card is not formatted correctly,
you get on-screen help to fix the problem.
5. When you see a message that your tracks have been exported successfully, remove your memory
card to share your tracks with other users.
Note: Each exported route is saved as a GPX file in the TomTom Routes folder on your
memory card.
 Loading...